When it comes to building materials, wood doesn’t always draw the most attention as the strongest in the bunch. That honor usually goes to concrete and steel – steel embedded in concrete provides support and a foundation for tall buildings, while concrete increases tensile strength and can be formed into a variety of shapes with the help of rebar. Wood, on the other hand, decays and is vulnerable to moisture damage and fire.
 That’s not necessarily the case anymore, thanks to the development of advanced timber. New materials like glulam, or sheets of timber bonded with moisture-resistant structural adhesives, can be produced using two to three times less energy than steel, making them environmentally-friendly alternatives to other building materials. Granted, this requires the beams to be burned at the end of their lifespan, but glulam still has an equivalent or better environmental profile compared to steel, not to mention a lower cost.
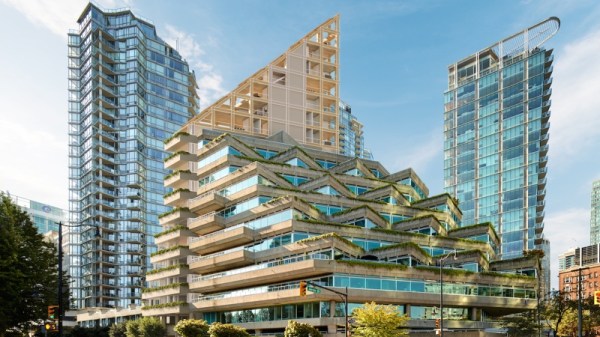
Among engineered wood, there are some varieties more commonly used among hobbyists – MDF, plywood, or particle board for instance. Others, like Cross-Laminated Timber (CLT) are more common among building materials. While CLT buildings have existed for decades, recently major cities like Stockholm and Vancouver have seen a resurgence of timber construction. Since wood can theoretically store carbon for the entire length of its lifespan, up to 0.8 tons in a cubic meter of spruce, some architecture firms like Oslotre are building houses with a negative carbon footprint.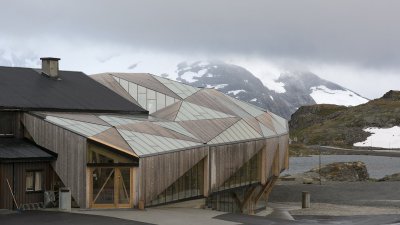
Projects like Sidewalk Labs and Masthamnen are proposing entire neighborhoods and skyscrapers built from advanced timber. Compared to International Style architecture, characterized by gray concrete, shiny metal, and glass, this movement could be a step towards returning to natural architectural forms. Given the stress reducing effects of green spaces in cities, engineered wood buildings could bridge the gap between modern architectural styles and natural woodlands.