You know how it goes — sometimes you just have to stop in the middle of a project and build yourself a tool that vastly improves your workflow as soon as it’s completed. [Ikkalebob] aka [Will Cogley] on YouTube is working on some super secret project that requires a whole bunch of servos. And since all of them have to be tested and set, he built this adorable servo tester as a time-saving gift to himself.
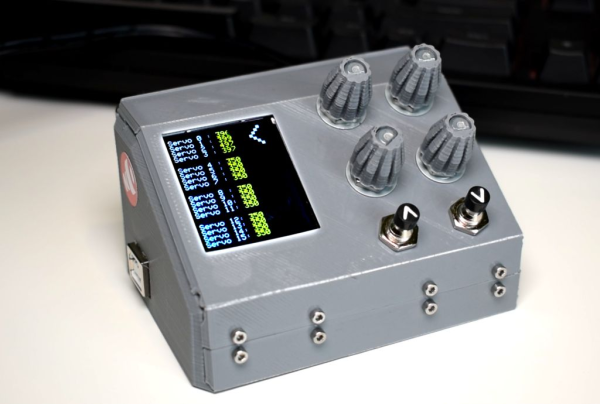
This tester revolves around an Adafruit 16-channel servo driver and an Arduino Uno. The servos show up on the screen in groups of four, and can be tested four at a time with the pots. The buttons let [Ikkalebob] move up and down between the groups. The SainSmart LCD proved to be more difficult to set up than others, but [Ikkalebob] did you a solid and tweaked the library. It’s available along with his code and STLs.
Speaking of STLs, we really dig the mini NASA console look and the folding enclosure. Leveraging the print process to build hinges and other things is awesome, and so is getting away with using fewer fasteners. You can see a bit of how [Ikkalebob] designed it in the video after the break.
Depending on what you’re doing with servos, you might want a different kind of testing suite. Here’s one that’s geared toward RC pilots.
Continue reading “Space-Saving Servo Tester Console Looks Space-Worthy”