It’s one thing to assemble your own circuits from scratch using off the shelf components. It’s quite another to build the components first, and then build the circuit.
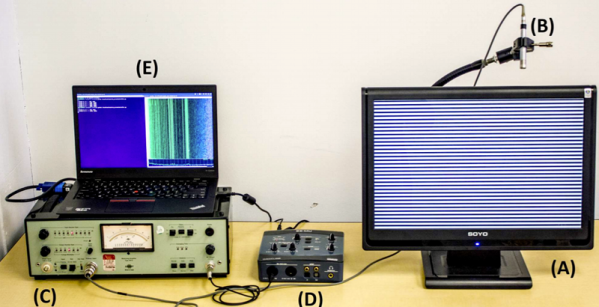
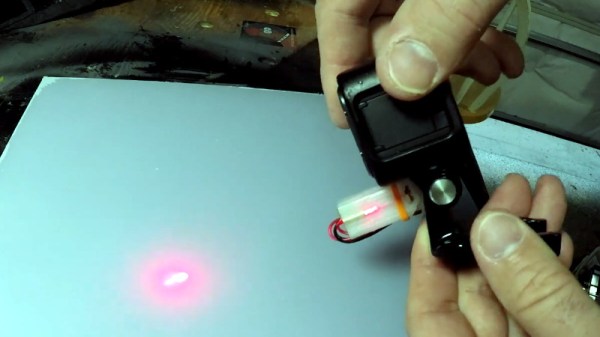
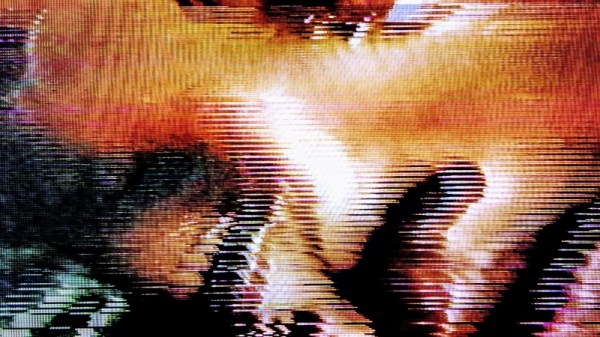
That’s the path [Joris Wegner] took with this video distortion effects box, dubbed PHOSPHOR. One might wonder why you’d want a box that makes a video stream look like playback from a 1980s VHS player with tracking problems, but then again, audio distortion for artistic effect is a thing, so why not video? PHOSPHOR is a USB MIDI device, and therein lies the need for custom components. [Joris] had a tough time finding resistive optoisolators, commonly known as Vactrols and which are used to control the distortion effects. He needed something with a wide dynamic range, so he paired up a bright white LED and a cadmium sulfide photoresistor inside a piece of heat shrink tubing. A total of 20 Vactrols were fabricated and installed on a PCB with one of the coolest silkscreens we’ve ever seen, along with the Sparkfun Pro Micro that takes care of MIDI chores. Now, distortions of the video can be saved as presets and played back in sync with music for artistic effects.
This isn’t the first time Vactrols have made an appearance here, of course. We saw them a while back with this Arduinofied electric guitar, and more recently with a triple-555 timer synth.
Continue reading “DIY Vactrols Give MIDI-Controlled Video Distortion”