Pickups are a key part of an electric guitar’s sound. You can spend a king’s ransom on tracking down just the right Vintage American Original 1950s Whatevers (TM) to put in your Spudocaster, but it’s not the only way. [Keith Decent] decided to make a pickup from scratch, using only materials found lying around the workshop. (Youtube, embedded below).
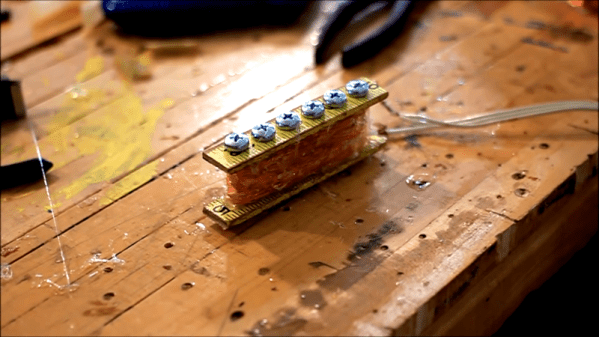
To build a pickup, you’ll want some magnet wire. In this case, [Keith] harvests this from an old transformer. A pickup body is then constructed from an old wooden ruler and some machine screws. A drill is used to spin the pickup body while the wire is roughly wound on, and everything is then held together with lashings of hot glue.
It’s a grungy build with a very Mad Max vibe – with the perfect aesthetic to suit [Keith]’s junkbox guitar build. The sound is good, but difficult to rate accurately when used on a guitar with slightly imperfect intonation. We’d love to hear it installed on a well-tuned body to get a better comparison.
It goes to show you don’t need to spend money on new parts and tools to get a build started. Sometimes you can make something perfectly functional with stuff you have lying around at home. Video after the break.
Continue reading “Building Your Own Guitar Pickup From Scrap”