[Jeri Ellsworth] has done some YouTubing again (yes, that’s a word, just like YouTuber) after a four-year hiatus. She’s recently uploaded a very enjoyable four-part series touring the Museum of Radio and Technology in Huntington, West Virginia.
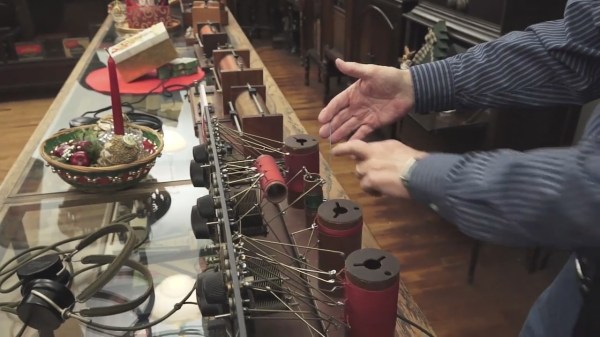
Part one contains radios spanning the ages, starting with a spark gap transmitter, some wonderful crystal sets, pocket radios from the 1940s, commercially available amateur radio transmitters and receivers from the 1930s to the 1950s, and more. There’s even a lovely hack of a transmitter built into an old refrigerator. Part two contains educational toys, three covers television sets and cameras, and four is about all types of record players and hi-fi. Each contains equipment as old as the spark gap transmitters in part one.
You may know of [Jeri] as co-founder of castAR, an augmented reality startup that recently shut its doors, but before that she was famous among hackers for her numerous projects ranging from a flexible electroluminescent display, a centimeter wave scanner using hacked feed horns, to yours truly’s personal favorite, a Commodore 64 bass keytar.
So nuke some popcorn, sit back, and enjoy the tour following the break.
Continue reading “Jeri Ellsworth Tours A Radio And Tech Museum”