Maker Faire Bay Area is next weekend, and you know what that means: we’re having a meetup on Saturday night. If you’re in the area, it’s highly recommended you attend. It’s a blinky bring-a-hack with booze. You can’t beat it. I heard the OPShark is showing up. All hail the OPShark. You’re gonna want to RSVP if you’re going k thx.
It only took twelve years, but [ladyada] finally got herself on the cover of Make.
Nvidia has the Jetson, an extremely powerful single board computer + GPU meant for machine learning, imagifying, and robotics applications. If you want to do fancy ML stuff with low power devices, I’d highly recommend you check the Jetson out. Of course, the Jetson is only the brains of any Machine Learning robot; you also need some muscle. To that end, Nvidia released the Isaac robotic simulator. It’s a simulator for standard bits of hardware like quadcopters, hovercrafts (?), robotic arms, and yes, selfie drones. What does this mean? Standardized hardware means someone is going to produce 3rd party hardware, and that’s awesome.
This is just an observation, but fidget spinners are just now hitting the mainstream. We didn’t know what they were for a year ago, and we don’t know now.
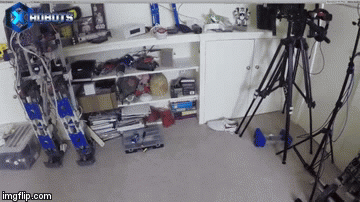
A Hebocon is a shitty robot battle. DorkbotPDX just had their first Hebocon and the results were… just about as shitty as you would expect. Since this is a shitty robot battle, a MakerBot made an appearance. This robot, SpitterBot, was designed to blow extruded filament all over its opponent. Did the MakerBot win? Yes, SpitterBot won the ‘Poorest Quality’ award.
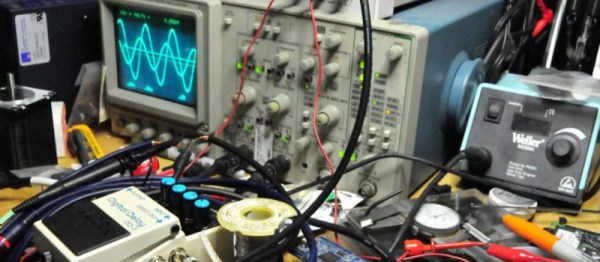
Supplyframe, Hackaday’s parent company, hosts monthly-ish electronic get-togethers in the San Fransisco office. The focus of these meetups is to find someone cool who built something awesome and get them to talk about it. The March meetup featured [Pete Bevelacqua] who built a Vector Network Analyzer from scratch. The video is worth a watch.
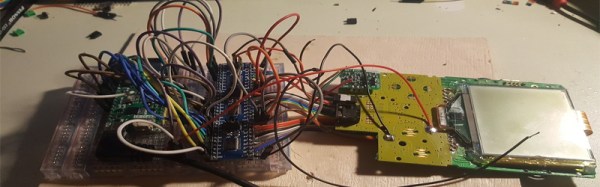


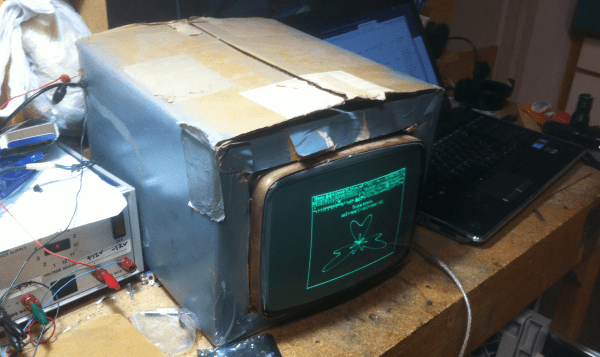
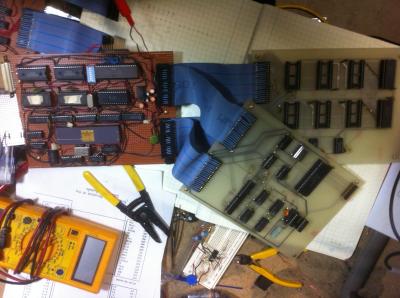 Way back in 1989, [MmmmFloorPie] was a senior in college. His capstone project was a 68000 based computer which could record and playback audio, as well as display waveforms on a CRT. The CRT in question was ordered from a classified add in Popular Science magazine. It was a bare tube, so the heavy cardboard box it shipped in was repurposed as a case.