It’s the standard test for a hardware hack, half serious half in jest, “Can it run DOOM?”. The iconic early-90s shooter from id software has made an appearance on everything from toothbrushes to LEGO bricks, but nobody has yet posed the opposite question: Can DOOM run it?“. It’s one answered by [Danny Spencer], who has proved that it’s possible to perform computational tasks in the game by producing a working adding machine in a DOOM level.
If you’re familiar with the folks who build working computers within Minecraft, this is in a similar vein. Game elements are used to create logic elements, and from there more complex systems can be assembled. DOOM doesn’t have the in-game logic that Minecraft has, but by clever combination of monster behaviour with in-game actions involving rooms, buttons, and doors, it’s possible to create the simplest of building blocks, the NAND gate.
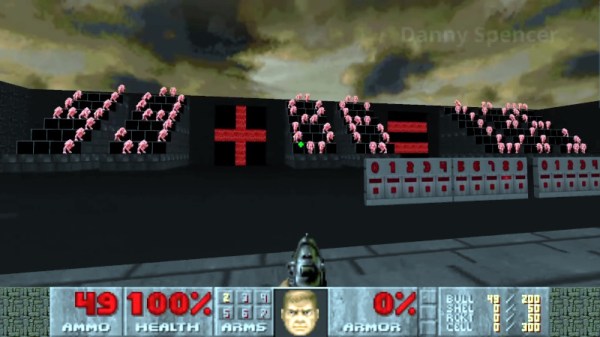
The video below the break shows the adder in action, first in operation (we like the monster-driven display!), and then a tour of the logic area with its rooms full of computational monsters. It’s important to note that this isn’t a computer, he hasn’t proved it as Turing complete, and that the maximum size of a DOOM level whatever it is will impose an upper limit on what can be done. But it does show that in theory at least a computer can be made in DOOM, and we’re sure people will continue this work.
Continue reading “Not Can It Run DOOM, But Can DOOM Run It?”