If you’re unfamiliar with SCARA robots, the acronym stands for Selective Compliance Assembly Robot Arm. This refers to the fact that the arms are rigid in the Z axis but somewhat compliant in the X and Y axes, and that they’re often used for assembly tasks. In any case, you can spend a great deal of money equipping your factory with these robots, or you can build your own for the fun of it. If you’re not endowed with a seven-figure investment for opening a production plant, consider exploring [tuenhidiy’s] project instead.
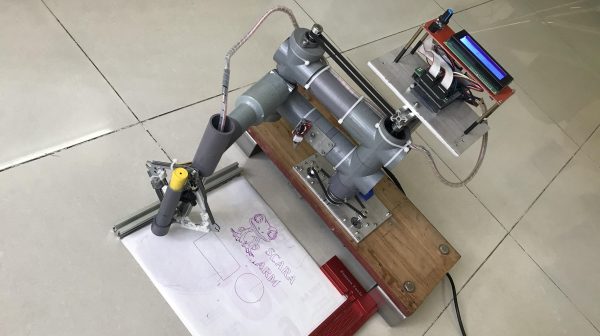
The build enlists an Arduino Mega as the brains of the operation. It’s paired with a RAMPS controller for running a pair of NEMA 17 stepper motors that actually move the arm in the X-Y plane. Additionally, a tray eject mechanism from a CD/DVD drive is enlisted to act as the Z axis. The frame is assembled from PVC plumbing components and a small amount of aluminium T-slot profile.
The resulting arm isn’t fast in the video we see of the build, but it works as a basic plotter without too much complaint. The benefit of the Z-axis in this case is obvious, as it allows the pen to be lifted off the page where necessary.
We’ve seen plenty of good plotter designs around these parts before, too. Video after the break.