When people are thinking of the future of space travel, an idea that floats around is a spaceship with a giant solar sail pushed along by a massive laser. Inspired by the concept but lacking a giant laser, [Tom Stanton] build a small craft powered by a vortex cannon.
Creating a vortex is hard enough, but creating a vortex with enough oomph to travel a longer distance and push something takes some doing. [Tom] started with some cheap solenoids, but had a few issues. Their interior nozzles were quite small, which restricted airflow. He used four valves all plumbed together to provide the volume of air needed. Additionally, he found that their response time was lacking. They couldn’t quite switch off quickly enough so instead of a puff of air, it pushed out something closer to a stream. To compensate, [Tom] 3d printed and tried a few different sizes of cone nozzles to see if that helped. Unfortunately, it did not. So he combined the nozzle with an expansion chamber that allowed the pressure wave to shorten, then it narrows to speed it up again. This provided a decent vortex.
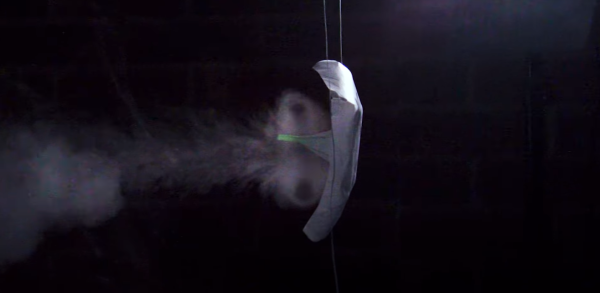
Next [Tom] turned to his craft. After designing a 3d model, he had a template to cut out some shapes from paper and taped them together to form a light vehicle that can capture the vortex. The initial tests weren’t too promising as the craft twisted and the string that it traveled on had too much friction. Switching to a vertical test showed more promise but trying to generate multiple vortexes rapidly was unsuccessful as the turbulence from the previous rings broke up the newer rings.
So what’s to be learned from this? It seems like he doesn’t have much to show. [Tom] tweaked and iterated his way to a working vortex cannon and has continued to refine his craft. Hopefully, in the future, we’ll see a fully-functional version of this. The lesson is to keep enumerating the possibilities. Like this webcam based posture sensor iterating its way to success. Video after the break.
Continue reading “Swap The Laser For A Vortex Cannon And You Have… Lift?” →