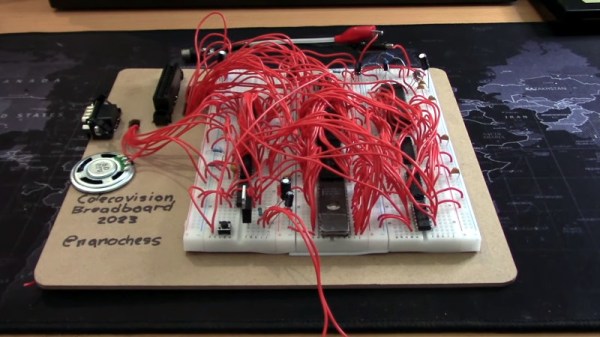
[Jason Winfield] had a nemesis: the Defender arcade machine. Having put quite a number of coins into one during his childhood, he’s since found himself as a seasoned maker, and decided to hold a rematch on his own terms. For this, he’s recreated the machine from scratch, building it around the guts of a Dell laptop, and he tells us the story what it took to build a new Defender in this day and age.
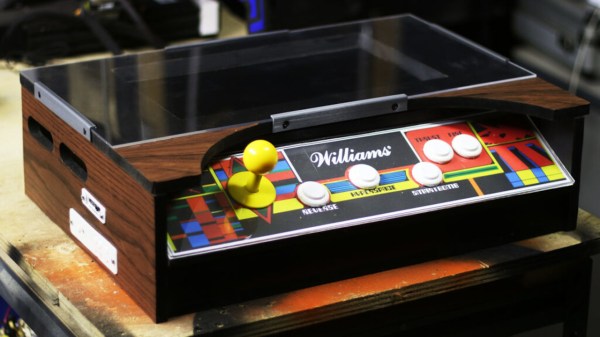
Defender was a peculiar machine — it was in cocktail table format, unlike many other arcade machines of that period. From pictures, he’s redesigned the whole thing in Fusion 360, in a way more desk-friendly format, but just as fancy looking as before.
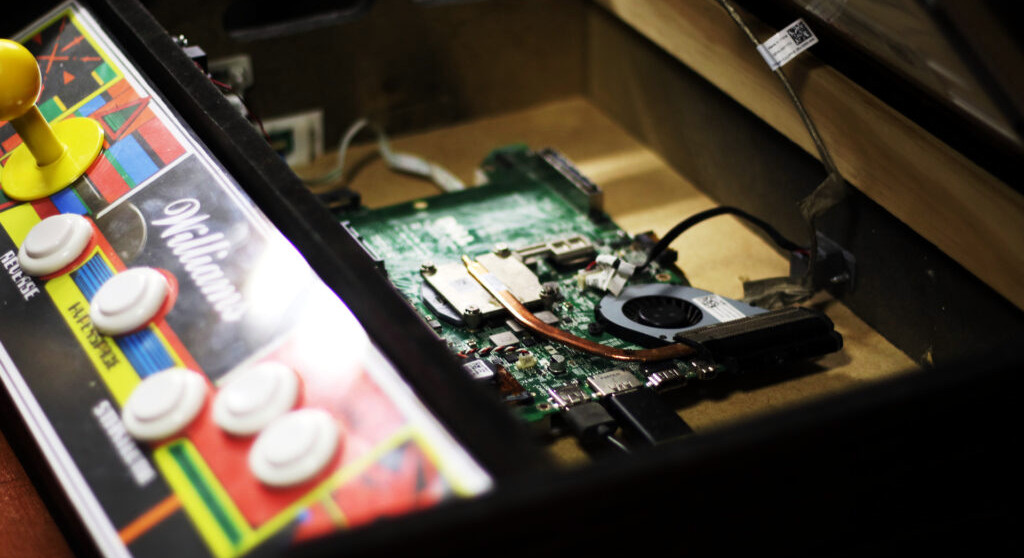 As for the laptop, gutting it for its mainboard, screen, and speakers was a surprisingly painless procedure — everything booted up first try. A few board-fitted brackets and a swap from a HDD to a USB flashdrive for the OS later, the electronics were ready. As he was redesigning the entire arcade machine anyway, the new design control panel was also trimmed down for ease of use, while preserving the original colorful look.
All in all, an impressive build from [Jason]. After all was set and done, we don’t doubt that he went on to, let’s say, settle some old scores. It’s not the first time we see a desktop-sized arcade cabinet, and you gotta admire the skills making such a machine smaller while sticking to the old-timey aesthetic! Or, perhaps, would you like a cabinet that’s more subtle?
Continue reading “Defender Arcade Rebuilt To Settle A Childhood Memory”