As the 2019 mushroom foraging season approaches it’s timely to combine my thirst for knowledge about low level machine learning (ML) with a popular pastime that we enjoy here where I live. Just for the record, I’m not an expert on ML, and I’m simply inviting readers to follow me back down some rabbit holes that I recently explored.
 But mushrooms, I do know a little bit about, so firstly, a bit about health and safety:
- The app created should be used with extreme caution and results always confirmed by a fungus expert.
- Always test the fungus by initially only eating a very small piece and waiting for several hours to check there is no ill effect.
- Always wear gloves – It’s surprisingly easy to absorb toxins through fingers.
Since this is very much an introduction to ML, there won’t be too much terminology and the emphasis will be on having fun rather than going on a deep dive. The system that I stumbled upon is called XGBoost (XGB). One of the XGB demos is for binary classification, and the data was drawn from The Audubon Society Field Guide to North American Mushrooms. Binary means that the app spits out a probability of ‘yes’ or ‘no’ and in this case it tends to give about 95% probability that a common edible mushroom (Agaricus campestris) is actually edible. 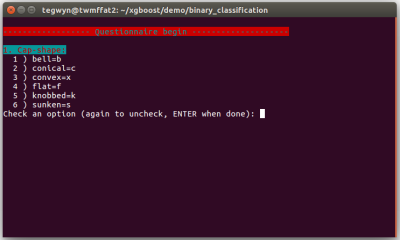
The app asks the user 22 questions about their specimen and collates the data inputted as a series of letters separated by commas. At the end of the questionnaire, this data line is written to a file called ‘fungusFile.data’ for further processing.
XGB can not accept letters as data so they have to be mapped into ‘classic LibSVM format’ which looks like this: ‘3:218’, for each letter. Next, this XGB friendly data is split into two parts for training a model and then subsequently testing that model.
Installing XGB is relatively easy compared to higher level deep learning systems and runs well on both Linux Ubuntu 16.04 and on a Raspberry Pi. I wrote the deployment app in bash so there should not be any additional software to install. Before getting any deeper into the ML side of things, I highly advise installing XGB, running the app, and having a bit of a play with it.
Training and testing is carried out by running bash runexp.sh in the terminal and it takes less than one second to process the 8124 lines of fungal data. At the end, bash spits out a set of statistics to represent the accuracy of the training and also attempts to ‘draw’ the decision tree that XGB has devised. If we have a quick look in directory ~/xgboost/demo/binary_classification, there should now be a 0002.model file in it ready for deployment with the questionnaire.
I was interested to explore the decision tree a bit further and look at the way XGB weighted different characteristics of the fungi. I eventually got some rough visualisations working on a Python based Jupyter Notebook script:


Obviously this app is not going to win any Kaggle competitions since the various parameters within the software need to be carefully tuned with the help of all the different software tools available. A good place to start is to tweak the maximum depth of the tree and the number or trees used. Depth = 4 and number = 4 seems to work well for this data. Other parameters include the feature importance type, for example: gain, weight, cover, total_gain or total_cover. These can be tuned using tools such as SHAP.
Finally, this app could easily be adapted to other questionnaire based systems such as diagnosing a particular disease, or deciding whether to buy a particular stock or share in the market place.
An even more basic introduction to ML goes into the baseline theory in a bit more detail – well worth a quick look.


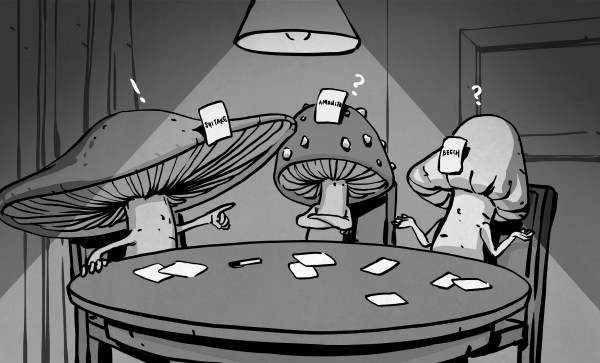
 But mushrooms, I do know a little bit about, so firstly, a bit about health and safety:



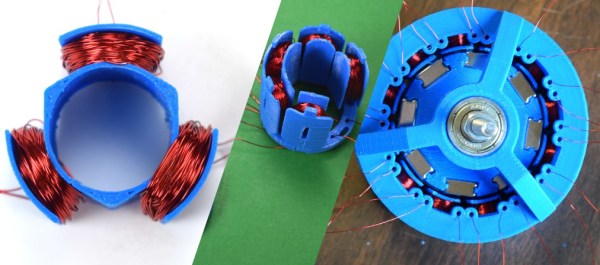
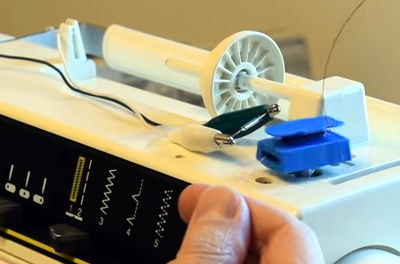 The fun of this project is copying the components found in the commercial hardware and varying the windings and coil count to see how it affects performance. If you have ever wound magnet wire around a nail to make an electromagnet, you know it is tedious work so check out their 3D printed coil holder with an embedded magnet to trigger a winding count and a socket to fit on a sewing machine bobbin winder. If you are going to make a bunch of coils, this is going to save headaches and wrist tendons.