We’re partial to musical instrument hacks around here, mainly because we find instruments to be fascinating machines. Few are more complex than the piano, and, as it turns out, few are quite so hackable. Still, we have to admit that this ragtime piano hack took us by surprise.
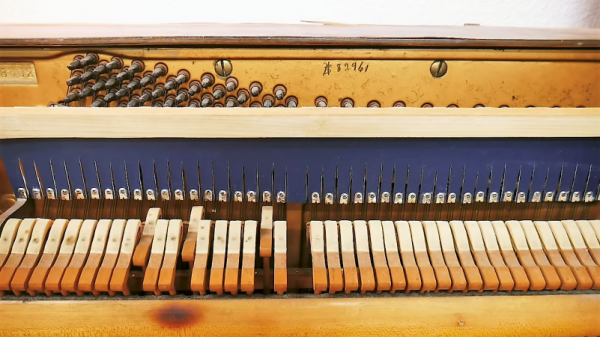
We always thought that the rich variety of tones that can be coaxed from a piano, from the tinny sound of an Old West saloon piano to the rich tones of a concert grand, were due mainly to the construction of the instrument and the way it’s played. Not so, apparently, as [Measured Workshop] demonstrated by installing a “mandolin rail” in a small upright piano. The instrument had seen better days, so step one was disassembly and cleaning. A wooden rail spanning the entire width of the string board was added, with a curtain of fabric draping down to the level of the hammers. The curtain was cut into a fringe in the same spacing as the hammers – marking the hammer locations with cornstarch was a nice trick – and metal clips were crimped to each fringe. The completed mandolin rail can be raised and lowered using a new foot pedal, completely changing the tone as the hammers hit the strings with the metal clips rather than their soft felt heads. It makes the piano sound a little like a harpsichord, or the aforementioned saloon instrument, and at the touch of a foot, it’s back to its original tone.
Most of the piano hacks we offer tend toward the electronic variety, so it’s nice to see a purely mechanical piano hack for a change. And if the hacked piano doesn’t work out as an instrument, you can always turn it into a workbench.
Continue reading “Simple Hack Completely Changes The Sound Of This Piano”