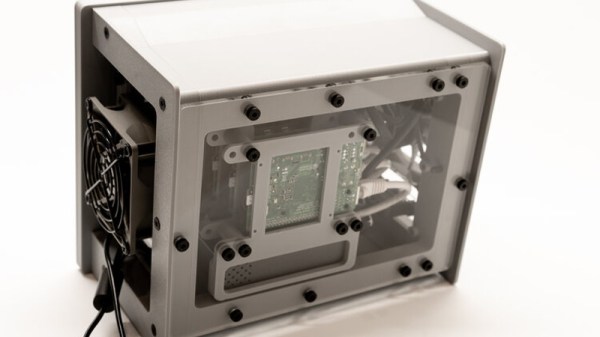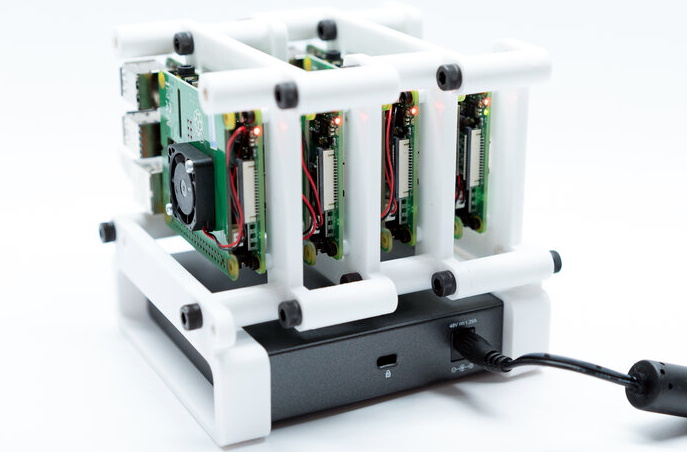
The Raspberry Pi has been with us for over eight years now, and during that time it has seen a myriad operating system ports. It seems that almost anything can be run on the little computer, but generally the offerings have seen minority uptake in the face of the officially supported Raspbian, or as it’s now called, Raspberry Pi OS.
Maybe that could change, with the arrival of an Ubuntu release for the platform. For those of you pointing out that this is nothing new, what makes the new version 20.10 release special is that it’s the first official full Ubuntu release, rather than an unofficial port.
So Raspberry Pi 4 owners can now install the same full-fat Ubuntu they have on their PCs, and with the same official Ubuntu support. What does this really do for them that Raspberry Pi OS doesn’t? Underneath they share Debian underpinnings, and they both benefit from a huge quantity of online resources should the user find themselves in trouble. Their repositories both contain almost every reasonable piece of software that could be imagined, so the average Pi user might be forgiven for a little confusion.
We don’t expect this news to take the Pi desktop world by storm then. Ubuntu is a powerful distribution, but it’s fair to say that it is not the least bloated among distributions, and that some of its quirks such as Snap applications leave many users underwhelmed. By contrast Raspberry Pi OS is relatively lightweight, and crucially it’s optimised for the Pi. Its entire support base online is specific to the Pi hardware, so the seeker of solutions need not worry about encountering some quirk in an explanation that pertains only to PC platforms.
It’s fair to say though, that this release is almost certainly not targeted at the casual desktop user. We’d expect that instead it will be in the Ubuntu portfolio for commercial and enterprise users, and in particular for the new Raspberry Pi 4 Compute Module in which it will no doubt form the underpinnings of many products without their owners ever realising it.
[via OMG Ubuntu]
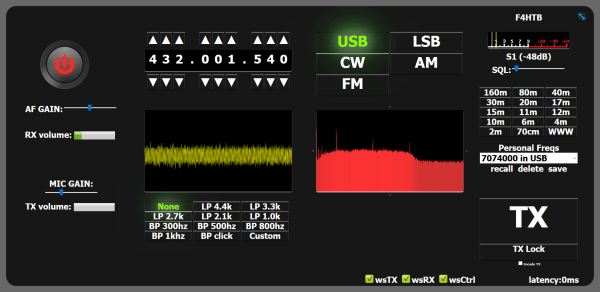
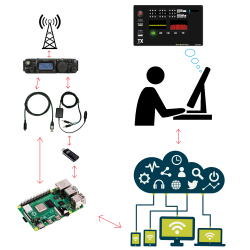 remote-controlling their rig from a laptop. As you can imagine, this essentially involves a server running on a computer hooked up to the radio, which is connected via the internet to a client running on the laptop. [Olivier/ F4HTB] saw a way to improve the process by eliminating the client software and controlling the rig from a web browser.