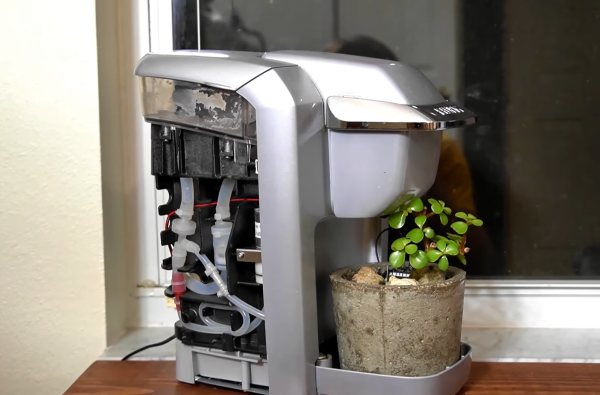
Somehow, [Jeremy S Cook]’s wife was able to keep a Keurig machine going for 10 years before it quit slinging caffeine. [Jeremy] got it going again, but decided to buy a new one when he saw how it was inside from a decade of water deposits.
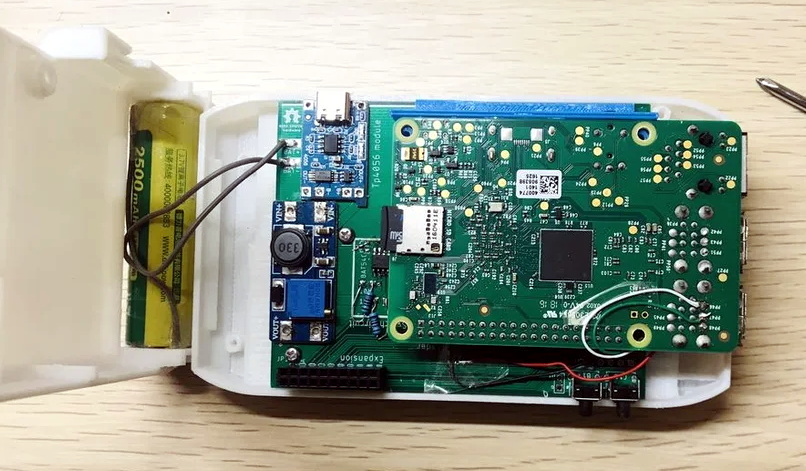
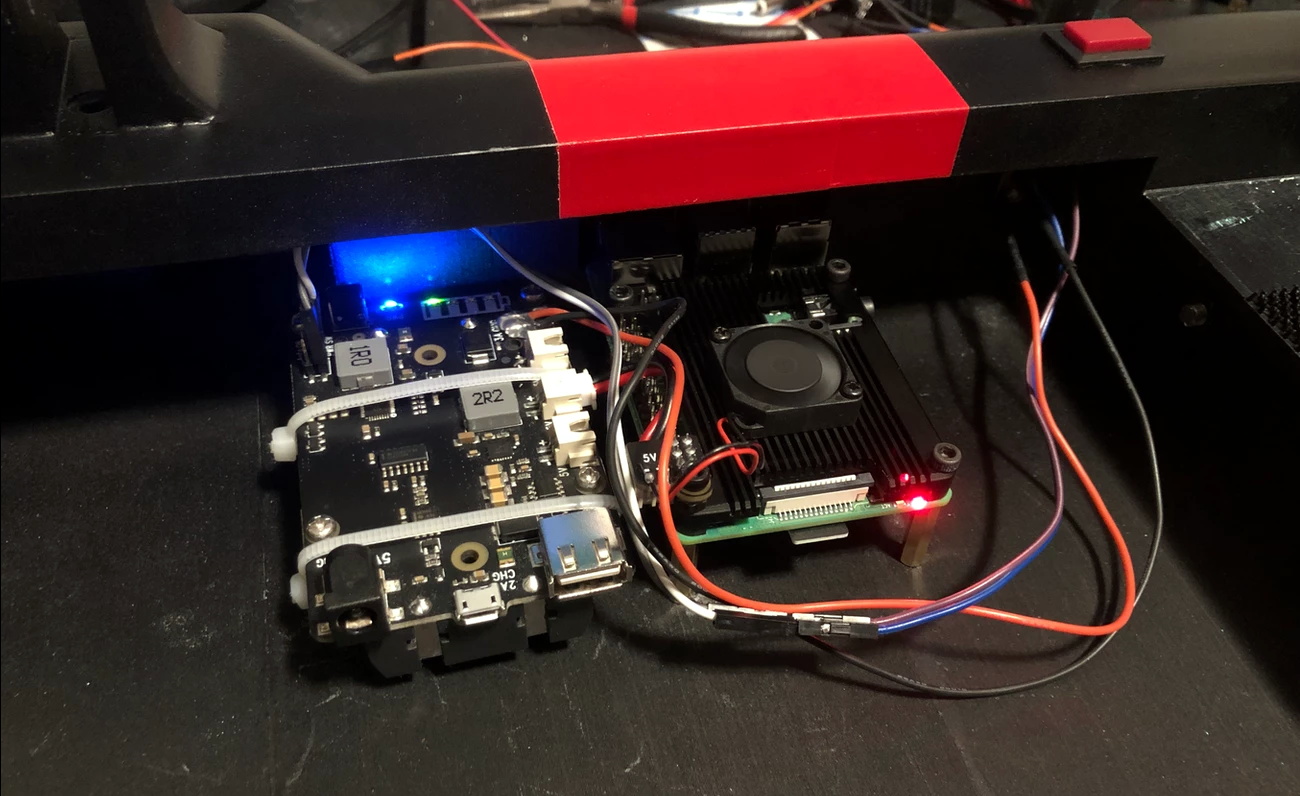
But why throw the machine out like spent coffee grinds? Since the pump is still good, he decided to turn it into an automatic plant watering machine. Now the Keurig pumps water using a Raspberry Pi Zero W and a transistor. [Jeremy] can set up watering cron jobs with PuTTY, or push water on demand during dry spells. We love that he wired up a soil moisture sensor to the red/blue LEDs around the brew button — red means the plant is thirsty, purple means water is flowing, and no light means the plant is quenched and happy.
This project is wide open, but cracking into the Keurig is up to you. Fortunately, that part of the build made it into the video, which is firmly planted after the break.
Old coffee makers really do seem suited to taking up plant care in retirement. Here’s a smart garden made from an espresso machine.
Continue reading “Coffee Maker Gives Plants An Automatic Drip”

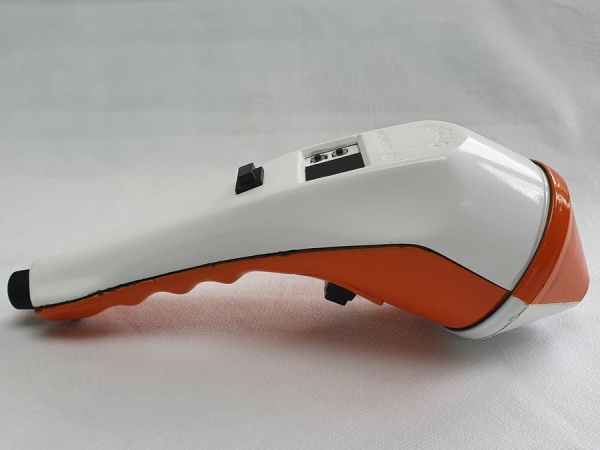
 was not exactly in mint condition. Supposedly this type of detector was used to monitor the exposure of personnel to microwave radiation in an industrial environment.