What do trail mix, astronaut ice-cream, and cryogel have in common? This may sound like the introduction to a corny riddle, but they are all things you can make in your garage with a homemade freeze dryer. [The Thought Emporium] built his own freeze dryer with minimum fuss and only a few exotic components like a vacuum pump and a high-quality pressure gauge. The video is also posted after the break which contains a list for the parts and where they can be purchased.
Freeze drying uses a process called cryodesiccation or lyophilization. Below a certain pressure, water skips the liquid phase and goes directly to a gas, so frozen items can transition from ice to dry without a soggy step. When you jump the liquid phase, objects hold their shape when they were frozen, and since no heat is used, you don’t carmelize your sugars.
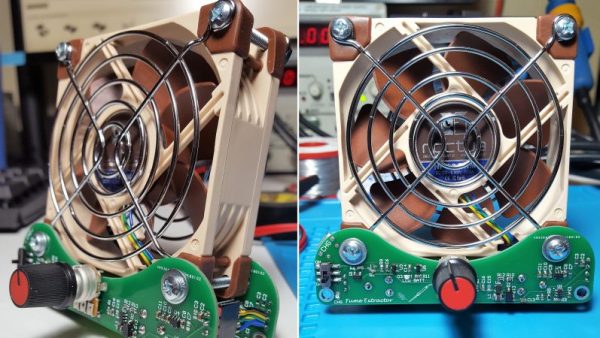
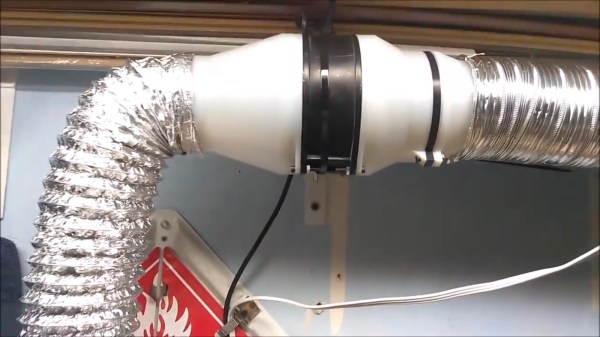
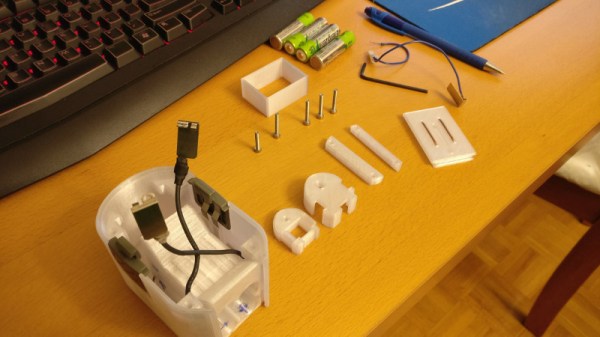
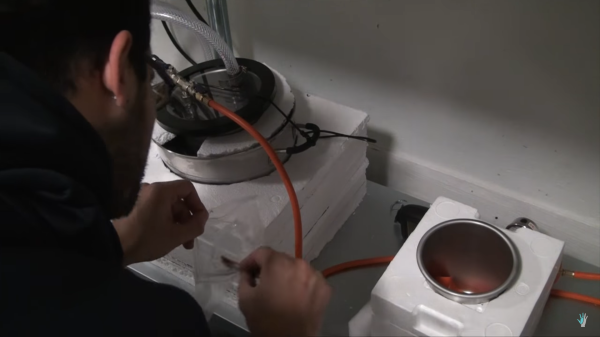
A freeze-dryer like this has three parts. The first is the pump which doesn’t need any explanation. Next to the pump there must be a water trap. This chilly compartment recondenses the water vapor, so it doesn’t get inside the pump or saturate the things you’re trying to dry. Lastly, there is the drying chamber where your items are placed to have their moisture taken out.
Astronaut ice cream has been made on Hackaday before. [The Thought Emporium] has also been seen including a piece on making your own graphene.
Continue reading “A Freeze Dryer You Can Build In Your Garage”
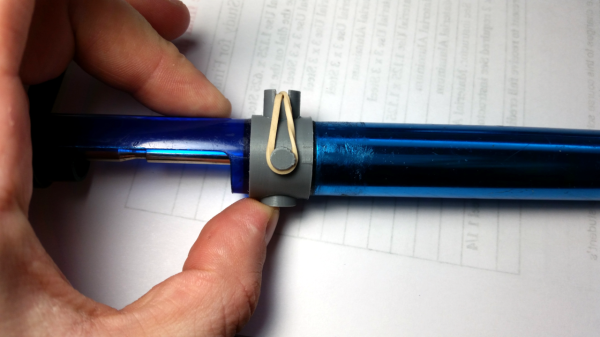
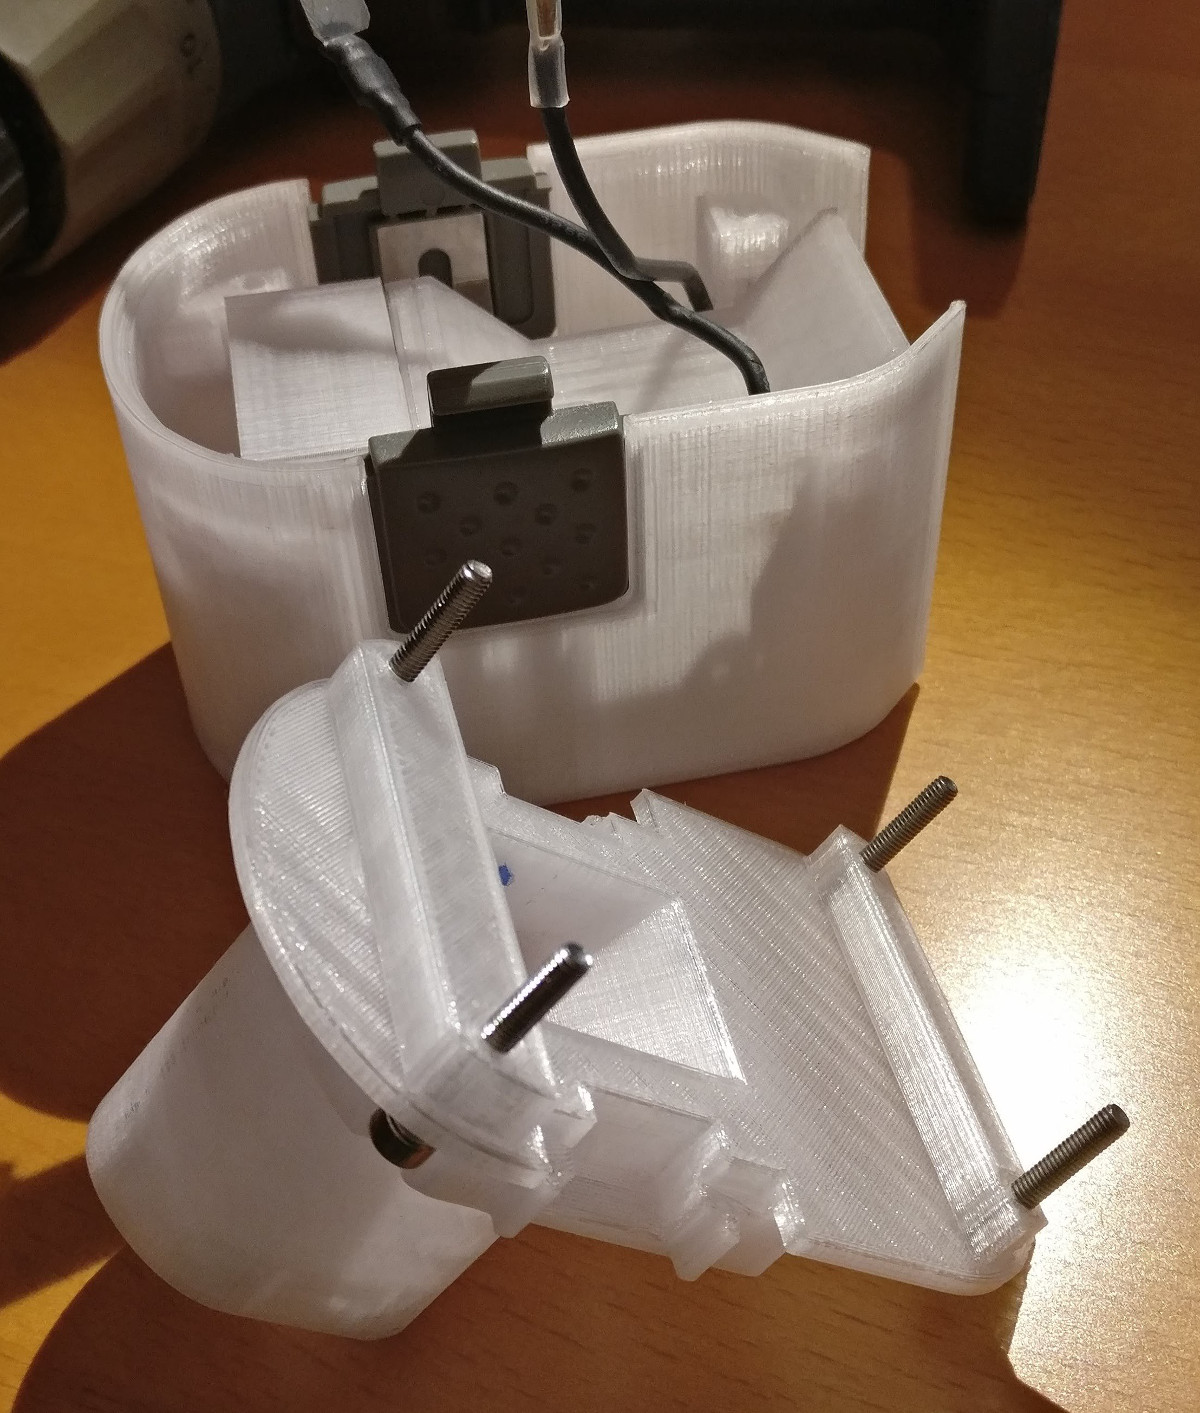
 Some solutions come from no more than looking at two dissimilar things while in the right mindset, and realizing they can be mashed together. In this case I had recently segmented a large, hollow, 3D model into smaller 3D-printer-sized pieces and printed them all out, but found myself with a problem. I now had a large number of curved, thin-walled pieces that needed to be connected flush with one another. These were essentially butt joints on all sides — the weakest kind of joint — offering very little surface for gluing. On top of it all, the curved surfaces meant clamping was impractical, and any movement of the pieces while gluing would result in other pieces not lining up.