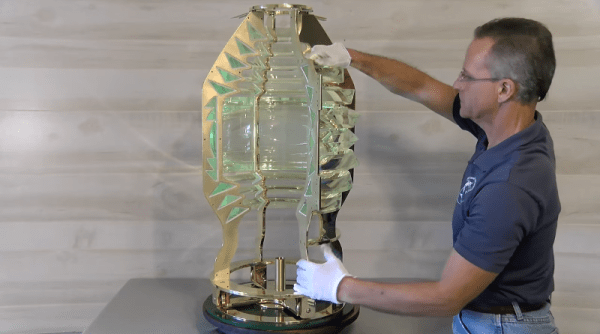
It might seem like a paradox that you want a dark field to see things with an expensive microscope. As [IMSAI Guy] explains, a dark field microscope doesn’t make the subject dark. It makes the area surrounding the subject dark. After selling his expensive microscope, he found he missed having the capability, so he decided to make one cheaply. You can see how he did it in the video, below.
Dark field microscopy gives better contrast and resolution by discarding light that shines directly through or reflects directly from a sample. The only light you see is any that scatters. If you think about a normal microscope, you can imagine a cone of light coming from the top or the bottom. The tip of the cone hits the sample and then spreads back out into another cone of light. What hits your eye –well, actually, the eyepiece — is all the light from that cone. In a dark field instrument, the illumination cone is hollow — the light is just a ring. That means any light the sample doesn’t scatter gets blocked by a stop in the objective. When there is no sample, there’s no unblocked light, so you see a “dark field.”
Light that either refracts through the sample (from below) or bounces off a feature (from the top) will wind up in the hollow area that passes through the objective and you’ll see the image. It may surprise you that you may already have a piece of dark field technology on your desk. Optical computer mice that can work on glass surfaces use this same technique. If you want to see some examples and a diagram of how it all works, we did a post on a similar lower tech mod. There’s also Wikipedia.
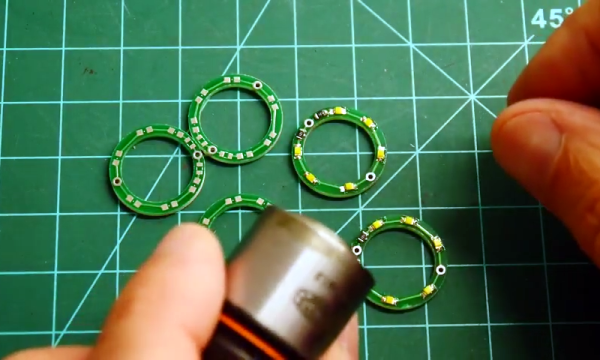
The secret to doing this cheaply was to get a used dark field objective with a little rust on the barrel and then modify them with a custom PC board to create an LED ring light. This is different from the usual illuminator which shines a light through a patch stop to block the inner light. In this case, the light is made into a ring shape by virtue of the arrangement of the LEDs.
Continue reading “Dark Field Microscopy On The Cheap With A PCB”

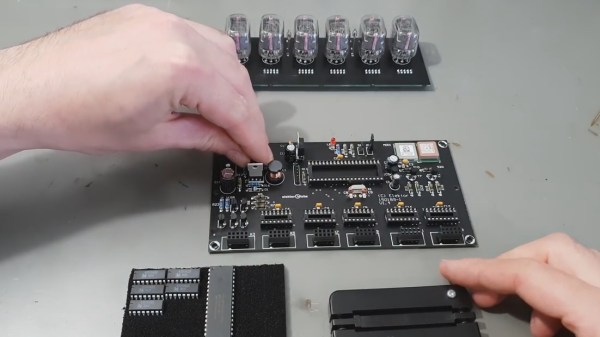
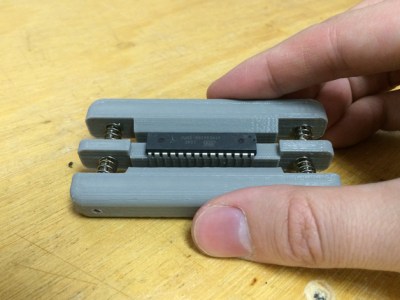 Fresh from the factory Dual Inline Package (DIP) chips come with their legs splayed every so slightly apart — enough to not fit into the carefully designed footprints on a circuit board. You may be used to imprecisely bending them by hand on the surface of the bench. [Marco] is more refined and shows off a neat little spring loaded tool that just takes a couple of squeezes to neatly bend both sides of the DIP, leaving every leg the perfect angle. Shown here is
 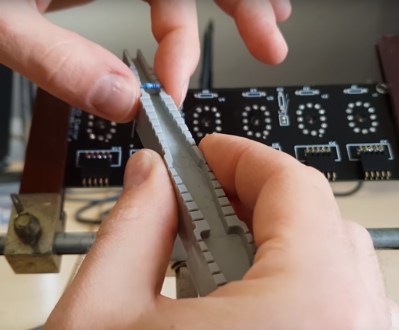 Another tool which caught our eye is the one he uses for bending the metal film resistor leads: the “Biegelehre” or lead bending tool. You can see that [Marco’s] tool has an angled trench to account for different resistor body widths, with stepped edges for standard PCB footprint spacing. We bet you frequently use the same resistor bodies so 3D printing is made easier by


