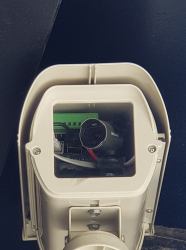
A decade ago, I was learning Linux through building projects for my own needs. One of the projects was a DIY CCTV system based on a Linux box – specifically, a user-friendly all-in-one package for someone willing to pay for it. I stumbled upon Zoneminder, and those in the know, already can tell what happened – I’ll put it this way, I spent days trying to make it work, and my Linux skills at the time were not nearly enough. Cool software like Motion was available back then, but I wasn’t up to the task of rolling an entire system around it. That said, it wouldn’t be impossible, now, would it?
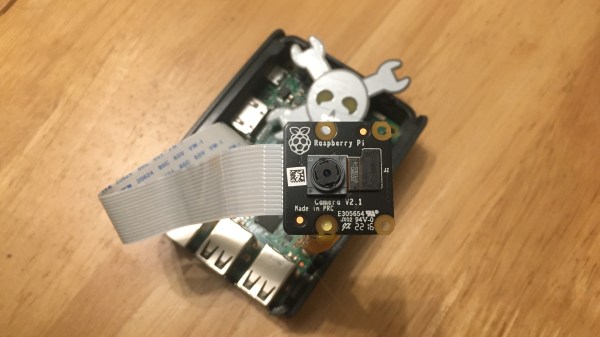
 Five years later, I joined a hackerspace, and eventually found out that its CCTV cameras, while being quite visually prominent, stopped functioning a long time ago. At that point, I was in a position to do something about it, and I built an entire CCTV network around a software package called MotionEye. There’s a lot of value in having working CCTV cameras at a hackerspace – not only does a functioning system solve the “who made the mess that nobody admits to” problem, over the years it also helped us with things like locating safety interlock keys to a lasercutter that were removed during a reorganization, with their temporary location promptly forgotten.
Being able to use MotionEye to quickly create security cameras became quite handy very soon – when I needed it, I could make a simple camera to monitor my bicycle, verify that my neighbours didn’t forget to feed my pets as promised while I was away, and in a certain situation, I could even ensure mine and others’ physical safety with its help. How do you build a useful always-recording camera network in your house, hackerspace or other property? Here’s a simple and powerful software package I’d like to show you today, and it’s called MotionEye.
Continue reading “Make Your Pi Moonlight As A Security Camera”