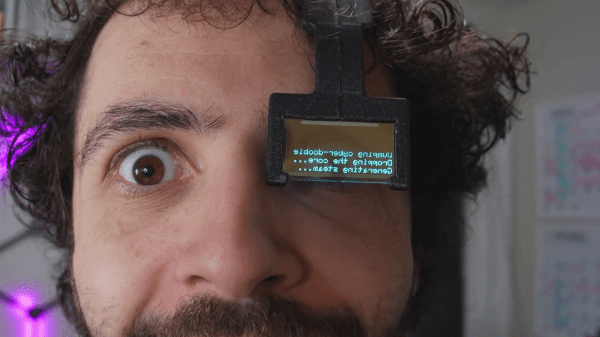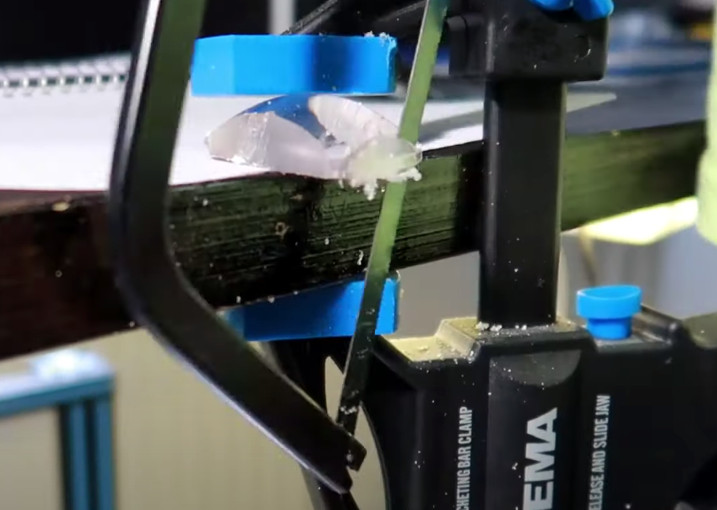
These days everyone’s excited about transparent OLED panels, but where’s the love for the classic Nokia 5110 LCD? As the prolific [Nick Bild] demonstrates in his latest creation, all you’ve got to do is peel the backing off the the late 90s era display, and you’ve got yourself a see-through cyberpunk screen for a couple bucks.
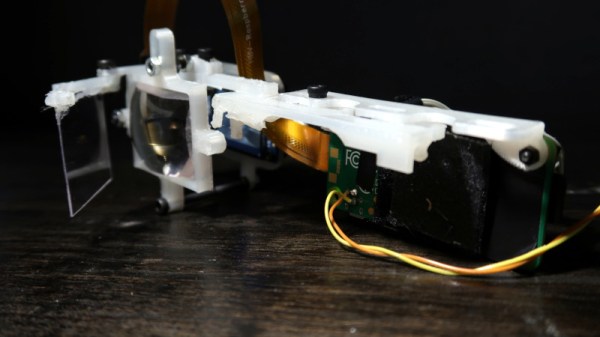
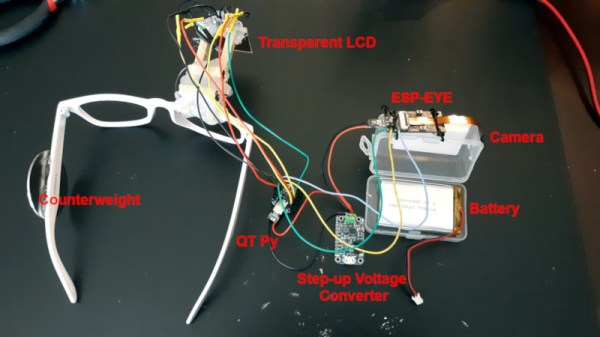
In this case, [Nick] has attached the modified display to a pair of frames, and used an Adafruit QT Py microcontroller to connect it to the ESP32 powered ESP-EYE development board and OV2640 camera module. This lets him detect QR codes within the wearer’s field of vision and run a TensorFlow Lite neural network right on the hardware. Power is provided by a 2000 mAh LiPo battery running through an Adafruit PowerBoost 500.
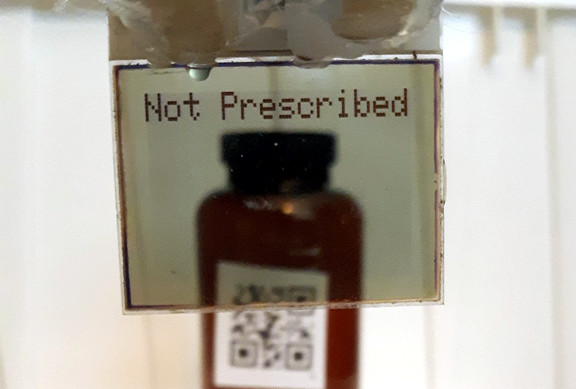
The project, intended to provide augmented reality reminders for medical professionals, uses the QR codes to look up patient and medication information. Right now the neural network is being used to detect when the wearer has washed their hands, but obviously the training model could be switched out for something different as needed. By combining these information sources, the wearable can do things like warn the physician if a patient is allergic to the medication they’re currently looking at.
Relevant information and warnings are displayed on the Nokia LCD, which has been placed far enough away from the eye that the user can actually read the text; an important design consideration that [Zach Freedman] demonstrated with his (intentionally) illegible wearable display a few weeks back. That does make the design a bit…ungainly, but at least you don’t have to worry about hand-cutting your optics