While it’s the ideal choice for mass production, injection molding is simply no good for prototyping. The molds are expensive and time-consuming make, so unless you’ve got the funding to burn tens of thousands of dollars on producing new ones each time you make a tweak to your design, they’re the kind of thing you don’t want to have made until you’re absolutely sure everything is dialed in and ready. So how do you get to that point without breaking the bank?
That’s not always an easy question, but if you’re working with silicone parts, the team at OpenAeros thinks they might have a solution for you. As demonstrated through their OpenRespirator project, the team has developed a method of 3D printing single-use molds suitable for large silicone parts that they’re calling Digital-to-Silicone (D2S).
 In the video below, [Aaron] and [Jon] explain that they started off by simply printing injection molds in the traditional style. This worked, but the molds can get quite complex, and the time and effort necessary to design and print them wasn’t a great fit for their iterative development cycle. They wanted to be able to do from design to prototype in a day, not a week.
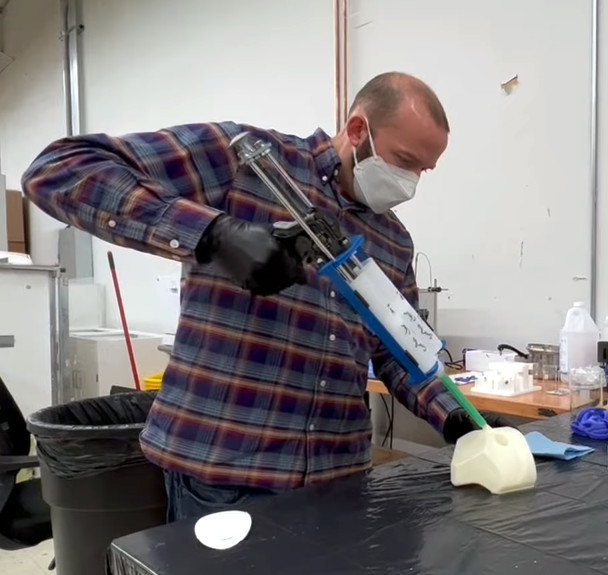
Eventually they realized that if they printed the mold out of a water-soluble filament, they could simplify its design greatly. They’ve documented the design process in detail, but the short version is that you essentially subtract the 3D model of the design you want to produce from a solid shape in your CAD package, and add a few holes for injecting the silicone. Once the silicone has cured, the mold can be dissolved away in warm water to reveal the finished part.
They then took this concept a step further. Thanks to the multi-material capabilities offered by some of the latest 3D printers, it’s possible to print structures within the mold. Once the silicone is injected, these structures can become part of the finished part. For the OpenRespirator, this lets them add PETG stiffening rings around where the filters to snap into the silicone mask body.
Continue reading “Multi-Material Printing Enables Low Cost Silicone Prototypes”