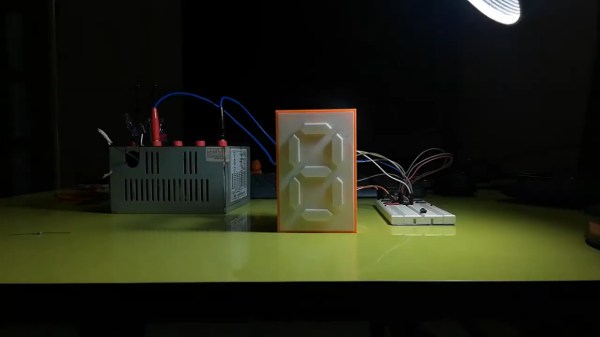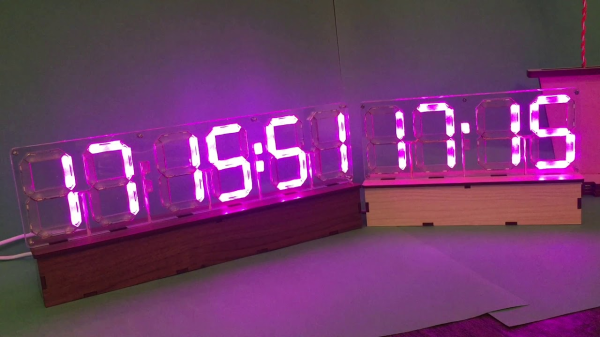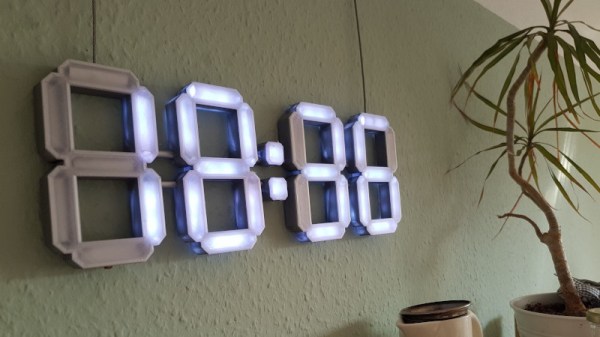
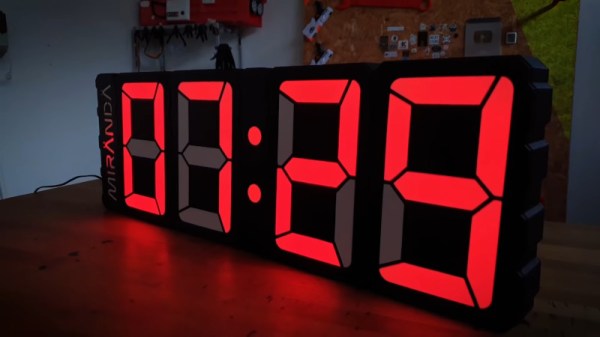
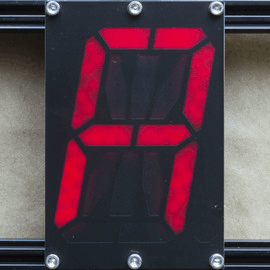
7-segment LED displays were revolutionary, finally providing a clear, readable and low-power numerical display solution. We’ve got plenty of other cheap display options now, but sometimes you just need the old nought-through-nine, and in a big, visible package, to boot. For those circumstances, consider whipping up a set of these 3D-printed seven-segment displays.
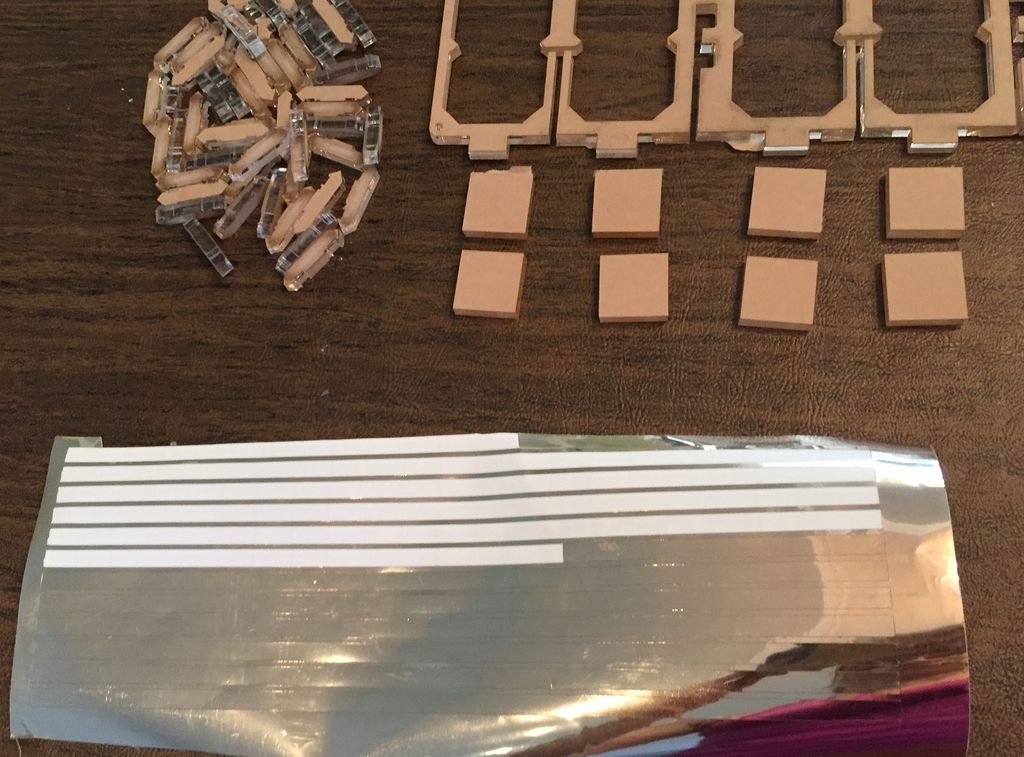
The build consists of a 3D printed frame, with each segment containing two WS2812B addressable LEDs. Each 7-segment assembly is then wired so they can be daisy chained, passing on data to the next digit in the chain. Paper is used to diffuse the LEDs for a smoother look, and a white 3D printed cover is printed for each digit to further spread the light and give a clean finish.
Being based on the WS2812Bs, it’s easy to drive such displays with just about any microcontroller or GPIO-equipped Linux board out there. We love big, beautiful displays – and the more artistic, the better. Video after the break.


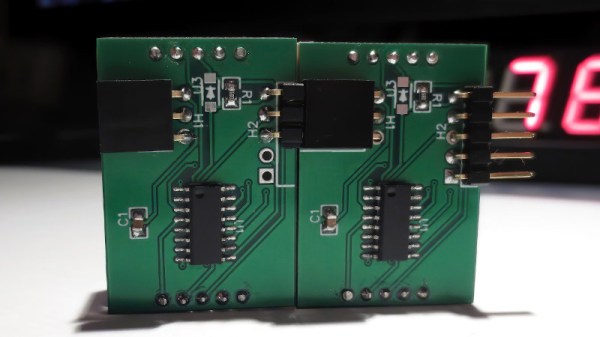
 Each module is composed a very boring PCBA base layer which should be inexpensive from the usual sources, even when ordering one