Getting a perfect workshop together, with all the right tools, is a dream for many. A lot of us cobble together what we can with a dremel tool, a soldering iron, and whatever work surface happens to be available in the kitchen or spare bedroom. But even when we finally get a permanent garage or shop to work in, there are still some challenges to overcome with our workspaces. [Workshop From Scratch] was having issues with his drill press, and solved them with this custom build.
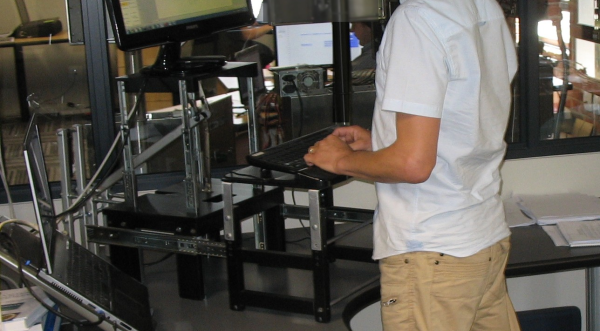
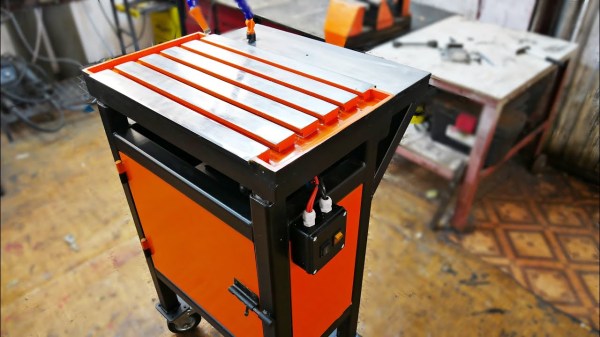
Rather than modify an existing press, he first welded a table together from scratch using square tube. From there he set about solving those issues. The first was having to make a large number of adjustments up and down when working on larger pieces. For that he added an electrically adjustable worktop which keeps him from having to make constant adjustments of the press itself. The second improvement over the standard press workspace was adding a cooling system for the cutting tools, saving himself money in bits and allowing quicker drilling.
The finished product looks professional thanks to a quality paint job and, of course, having all the right tools in the workshop in the first place to put something like this together. We all have an idea in our heads about the perfect workshop for our own needs, but don’t forget to think outside the box when it comes to building one yourself.
Continue reading “Custom Drill Press Table Eliminates Hassles”