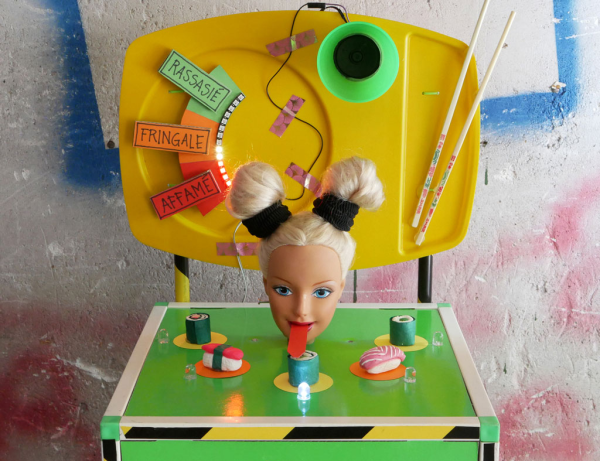
The view from America has long seen French women as synonymous with thin and/or beautiful. France is well-known for culinary skill and delights, and yet many of its female inhabitants seem to view eating heartily as passé. At a recent workshop devoted to creating DIY amusements, [Niklas Roy] and [Kati Hyyppä] built an electro-mechanical sushi-eating game starring Barbie, American icon of the feminine ideal. The goal of the game is to feed her well and inspire a happy relationship with food.
Built in just three days, J’ai faim! (translation: I’m hungry!) lets the player satiate Barbie one randomly lit piece of sushi at a time. Each piece has a companion LED mounted beneath the surface that’s connected in series to the one on the game board. Qualifying sushi are determined by a photocell strapped to the underside of Barbie’s tongue, which detects light from the hidden LED. Players must race against the clock to eat each piece, taking Barbie up the satisfaction meter from ‘starving’ to ‘well-fed’. Gobble an unlit piece, and the score goes down.
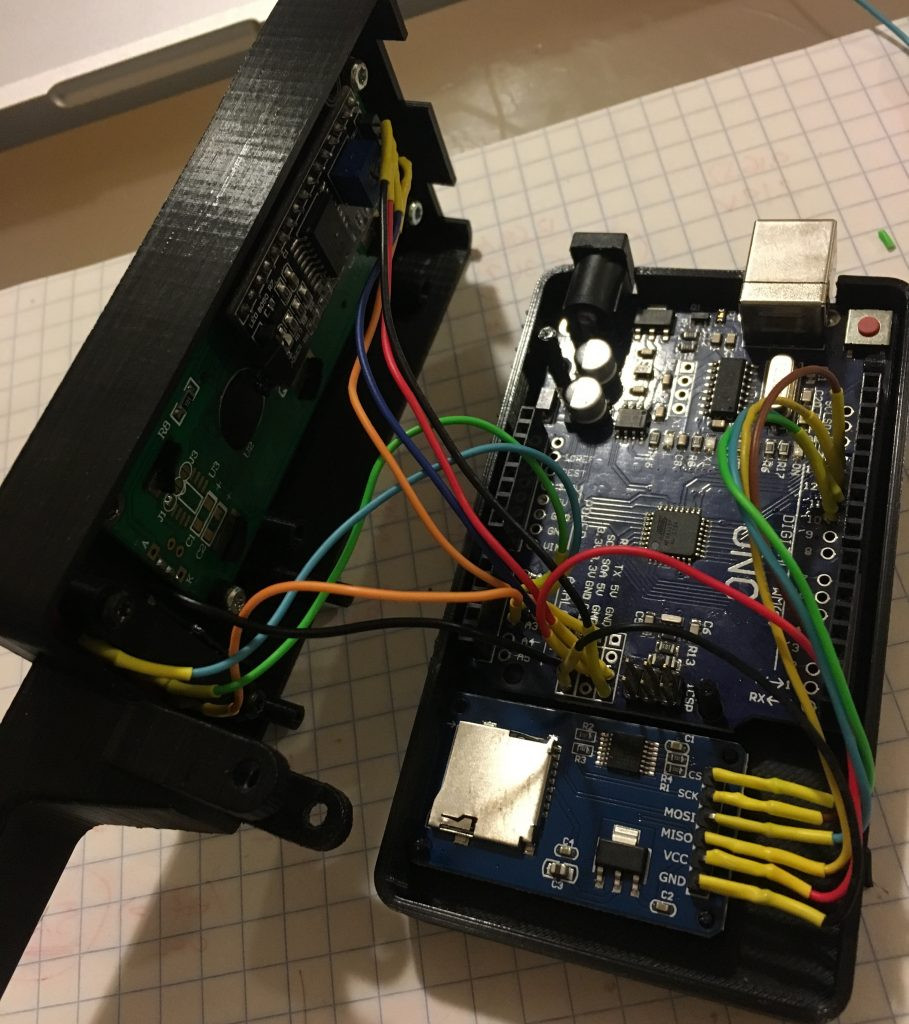
The game is controlled with a lovely pink lollipop of a joystick, which was the main inspiration for the game. Players move her head with left and right, and pull down to engage the solenoid that pushes her comically long tongue out of her button-nosed face. Barbie’s brain is an Arduino Uno, which also controls the stepper motor that moves her head.
[Niklas] and [Kati] wound up using cardboard end stops inside the box instead of trying to count the rapidly changing steps as she swivels around. The first motor they used was too weak to move her head. The second one worked, but the game’s popularity combined with the end stops did a number on the gears after a day or so. Click past the break to sink your teeth into the demo video.
Barbie can do more than teach young girls healthy eating habits. She can also teach them about cryptography.
Continue reading “Sushi-Snarfing Barbie Uses Solenoid To Swallow”