When it comes to audio, the number of speakers you want is usually governed by the number of tracks or channels your signal has. One for mono, two for stereo, four for quadrophonic, five or more for surround sound and so on. But all of those speakers are essentially playing different tracks from a “single” audio signal. What if you wanted a single audio device to play eight different songs simultaneously, with each song being piped to its own speaker? That’s the job [Devon Bray] was tasked with by interdisciplinary artist [Sara Dittrich] for one of her “Giant Talking Ear” installation project. He built a device to play multiple sound files on multiple output devices using off the shelf hardware and software.
But maybe a hack like this could be useful in many applications other than just art installations. It could be used in an Escape room, where you may want the various audio streams to start in synchronicity at the same time, or as part of a DJ console, sending one stream to the speakers and another to the head phones, or a game where you have to run around a room full of speakers in the right sequence and speed to listen to a full sentence for clues.
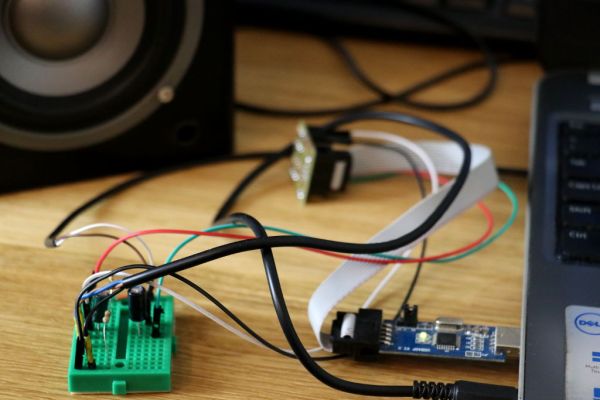
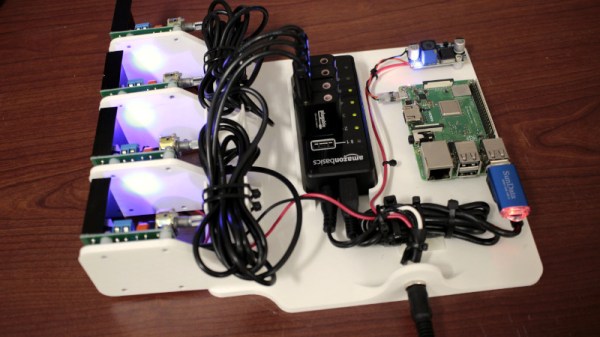
His blog post lists links for the various pieces of hardware required, although all of it is pretty generic, and the github repository hosts the code. At the heart of the project is the Sounddevice library for python. The documentation for the library is sparse, so [Bray]’s instructions are handy. His code lets you “take a directory with .wav files named in numeric order and play them over USB sound devices attached to the host computer over and over forever, looping all files once the longest one finishes”. As a bonus, he shows how to load and play sound files automatically from an attached USB drive. This lets you swap out your playlist on the Raspberry Pi without having a use a keyboard/mouse, SSH or RDP.
Check the video after the break for a quick roundup of the project.
Continue reading “Python Script Sends Each Speaker Its Own Sound File”