Custom weather stations are a common enough project these days, especially based around the ESP8266. Wire a sensor up to the MCU, power it up with an old phone charger, and you’re half way there. But if you want something that’s going to operate remotely on the long term, you’ve got to put a little more thought into it.
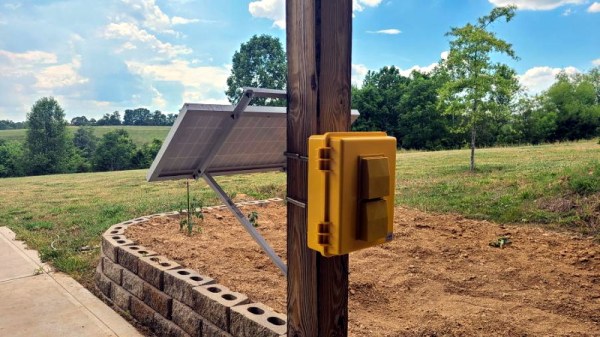
 Which is exactly what [BuckarewBanzai] did for his solar powered Raspberry Pi weather station. With an industrial NEMA-rated enclosure, a beefy 35 watt photovoltaic panel, and enough lead-acid battery capacity to keep the show going for days, this build is certainly more robust than most. Some might call it overkill, but we think anyone who’s ever deployed hardware outdoors for more than a few days knows you can never be too careful when Mother Nature is involved.
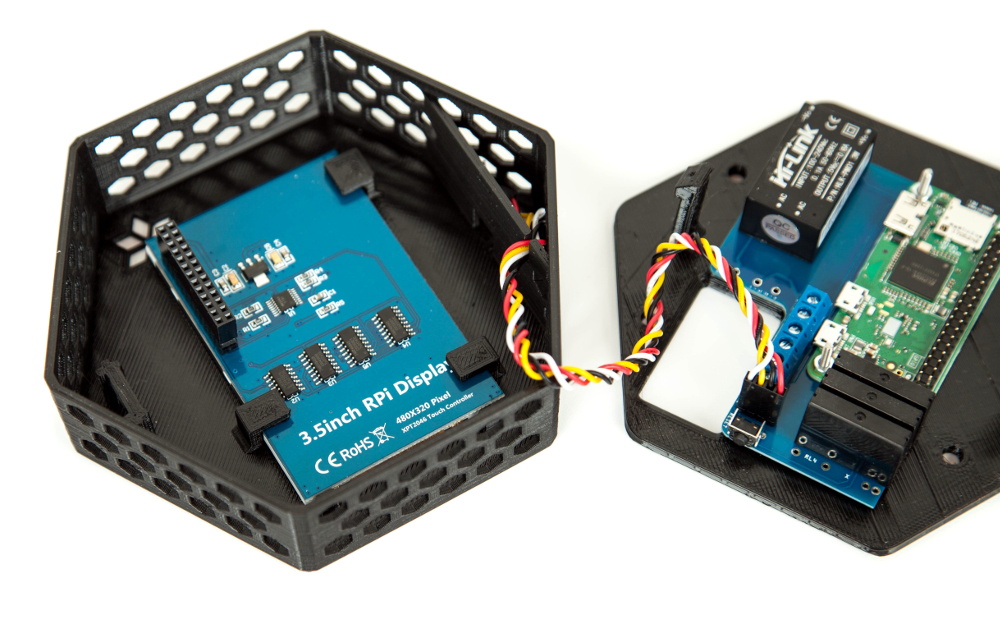
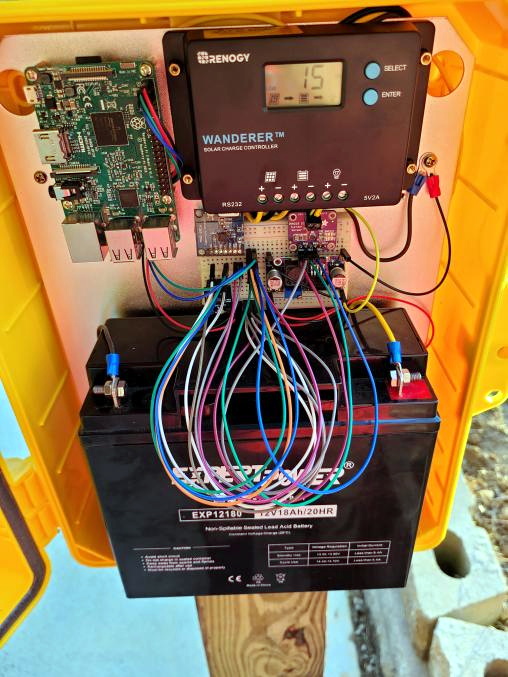
To keep the 18 Ah battery topped off, [BuckarewBanzai] is using a 10 amp Wanderer charge controller. It sounds as though he burned through a few lesser models before settling on this one; something to consider for your own off-grid projects. An LM2596 regulator is then used to provide a stable 5 V for the Raspberry Pi.
In addition to the BME280 environmental sensor that picks up on temperature, humidity, and pressure, there’s also a AS3935 lightning sensor onboard which [BuckarewBanzai] says can pick up strikes up to 40 kilometers away. All of this environmental data is collected and stored in a local SQLite database, and gets pushed offsite every five minutes with a REST API so it can be visualized with Grafana.
Critics in the audience will no doubt pick up on the solderless breadboard located in the center of the weather station, but [BuckarewBanzai] says he’s already on the case. He’s working on a custom PCB that will accept the various modular components. Not only should this make the station more reliable, but he says it will cut down on the “spaghetti” wiring. Though for the record, this is hardly the worst offender we’ve seen in that department.