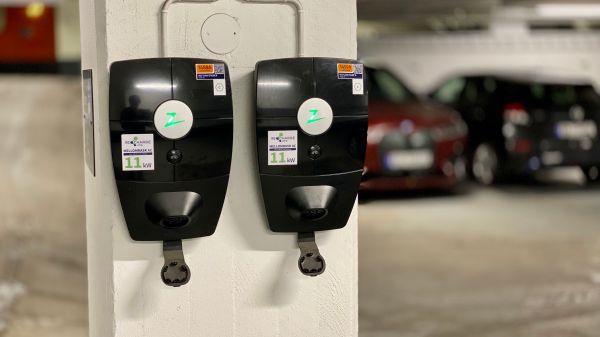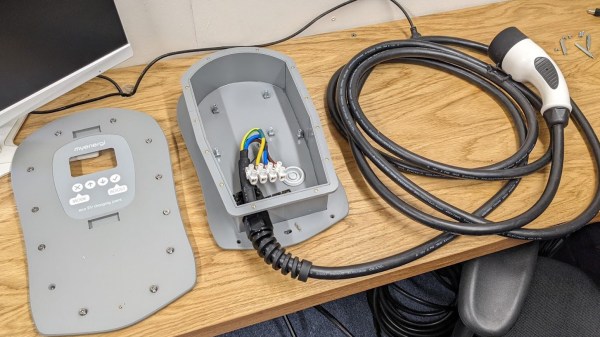
There are plenty of reasons to install solar panels on one’s home. Reducing electric bills, reducing carbon footprint, or simply being in a location without electric service are all fairly common. While some of those might be true for [Dominic], he had another motivating factor. He wanted to install a charger for his electric vehicles but upgrading the electric service at his house would have been prohibitively expensive. So rather than dig up a bunch of his neighbors’ gardens to run a new service wire in he built this off-grid setup instead.
Hooking up solar panels to a battery and charge controller is usually not too hard, but getting enough energy to charge an EV out of a system all at once is more challenging. The system is based on several 550W solar modules which all charge a lithium iron phosphate battery. The battery can output 100 A DC at 48 V which gives more than enough power to charge an EV. However there were some problems getting this much power through an inverter. His first choice let out the magic smoke when it was connected, and it wasn’t until he settled on a Growatt inverter capable of outputting 3.5 kW that the system really started to take shape.
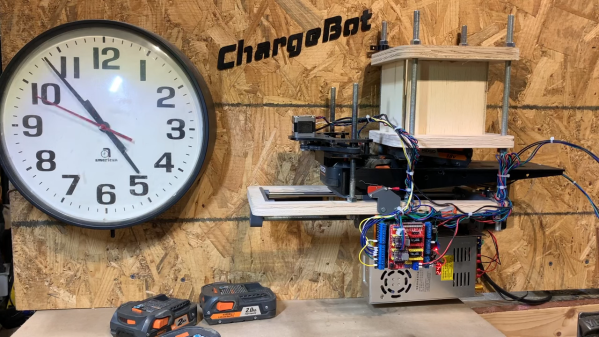
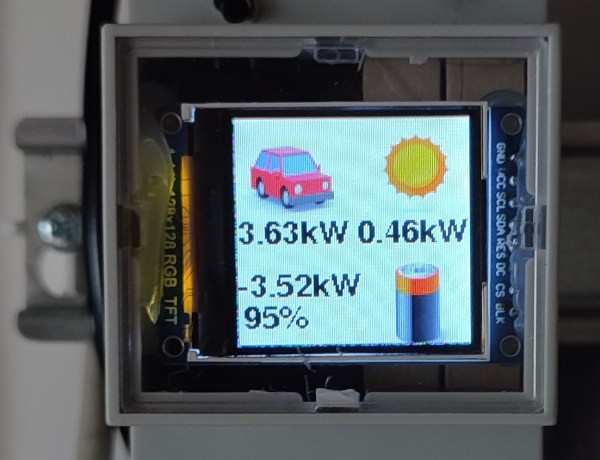
All of this is fairly straightforward, but there’s an extra touch here that makes this project noteworthy. [Dominic] wanted to balance incoming power from the photovoltaic system to the current demands from the EVs to put less strain on the battery. An ESP32 was programmed to only send as much power to the EVs as the solar system is producing at any given time, and also includes some extra logic to make sure the battery doesn’t drain itself from the idle power requirements of the inverter. Right now the system works well but the true test will be when it goes through its first winter. Even though solar panels are more efficient at colder temperatures, if the amount of sunlight or the angle of the panels aren’t ideal there is generally much less production.