By today’s standards, the necessities for running a Linux-based operating system are surprisingly meagre in terms of RAM and processor power. Back in the day we ran earlier Linux versions on Intel 386 and 486 machines with tiny quantities of memory compared to the multi-gigabyte many-core powerhouses we do today.
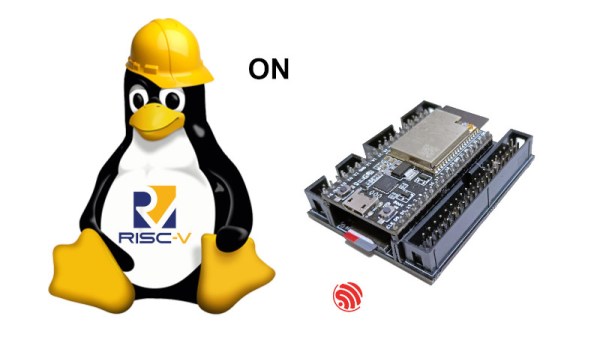
So it stands to reason that many of the more powerful microcontrollers should also run Linux, but of course they are often unable because the lack a memory management unit. The original ESP32 is just such a candidate, plenty of power but unable to run Linux. Not so fast, because [Dror Gluska] has managed to boot a Linux kernel on Espressif’s dual-core chip. How on earth? By emulating a RISC-V processor on it and booting a RISC-V version of the kernel.
The emulator in question is [Fabrice Belard]’s TinyEMU, a piece of software that brings both RISC-V and x86 to limited-spec platforms, and the write-up describes the extensive optimization and tracing of ESP32 bottlenecks which was finally able to get a Linux kernel booting in 1 minute and 35 seconds. Of course it’s simply an exercise to prove it can be done and we won’t be seeing Linux-based ESP projects any time soon, but it’s still an impressive piece of work.
This isn’t the lowest-spec microcontroller we’ve seen run Linux, back in 2012 we saw it on emulated ARM running on an 8-bit AVR.