The idea of the so-called “smart bulb” sounds good; who wouldn’t want to be able to verify the porch light is on if you’re out of town for the night, or check to see if you left the bathroom lights on in your rush out the door in the morning? But in practice, it can be a nightmare. Each brand wants to push their own protocol. Even worse, it seems you can’t get anything done without signing up for three different services, each with its own application that needs to be installed on your phone. It’s a frustrating and often expensive mire to find yourself in.
 [Dom Gregori] liked the Hue bulbs offered by Philips, but didn’t want to buy into the whole ecosystem of phone apps and hardware hubs they require. So he decided to create his own open source version that would do everything he wanted, without any of the seemingly unavoidable baggage of the commercial offerings. The final result is a professional looking ESP8266 controlled RGB bulb that hooks into Home Assistant via MQTT.
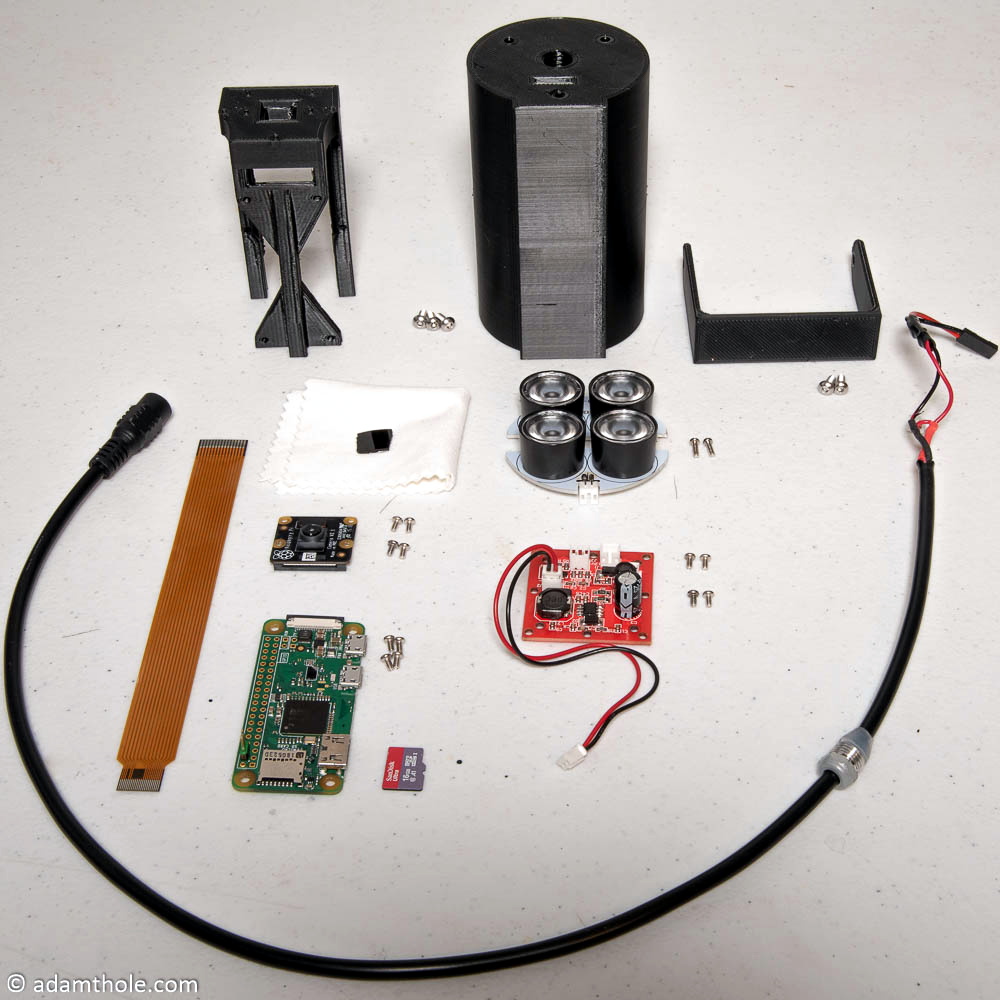
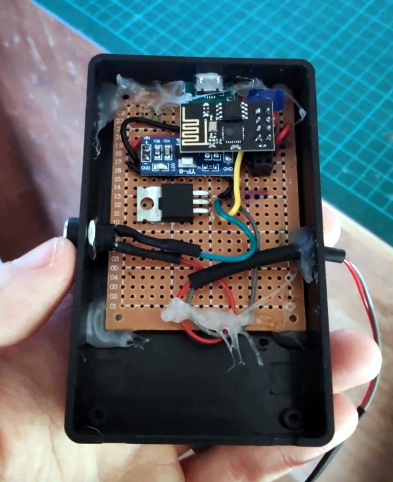
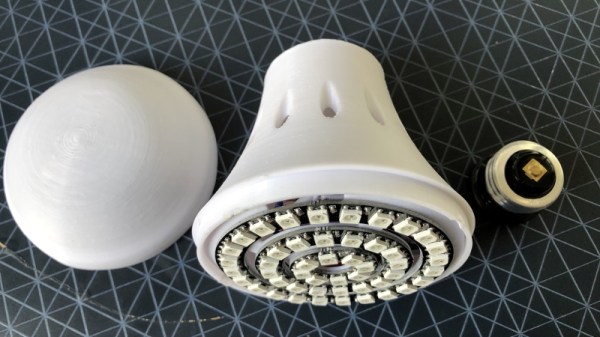
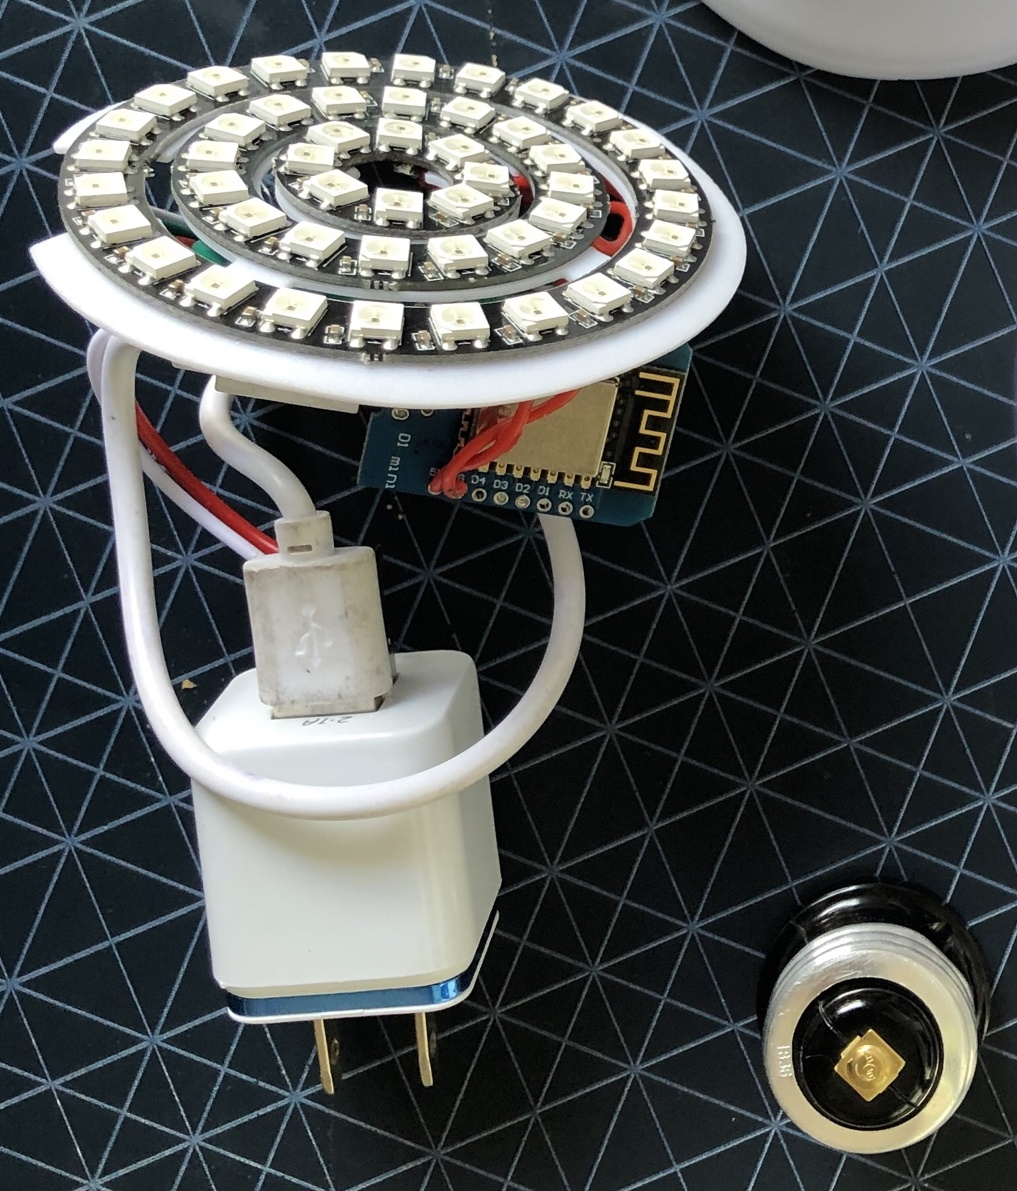
Looking at his Bill of Materials, it’s actually pretty amazing to see how little it really takes to pull a project like this off. Outside of the Wemos D1 Mini board, [Dom] just needed a few concentric WS2812 rings, and a USB charger small enough to fit into the base of his 3D printed enclosure.
We especially like how he handled the socket-side of the bulb, as that’s the part that would have left us scratching our heads. Rather than trying to salvage the base from an existing bulb, or come up with his own printed piece to stick in the socket, he just used a cheap and readily available light socket adapter. The solution might be a little bulky, but we like how he’s deftly avoided having to handle any AC voltages in this project.
Over the last couple years, we’ve seen more and more smart bulb related content come our way. From the ever popular teardown of a new entry into the market to the sobering realization that your light bulbs might provide the key attackers need to access your network, it’s been fascinating to see the transformation of these once simple pieces of hardware into something far more complex.