Usually, when we are talking about homebrew around here, we mean building your own equipment. However, most other people probably mean brewing beer, something that’s become increasingly popular as one goes from microbreweries to home kitchen breweries. People have been making beer for centuries so you can imagine it doesn’t take sophisticated equipment, but a little automation can go a long way to making it easier. When [LeapingLamb] made a batch using only a cooler, a stock pot, and a propane burner, he knew he had to do something better. That’s how Brew|LOGIC was born.
There are many ways to make beer, but Brew|LOGIC focuses on a single vessel process and [LeapingLamb] mentions that the system is akin to a sous vide cooker, keeping the contents of the pot at a specific temperature.
Honestly, though, we think he’s selling himself a bit short. The system has a remote application for control and is well-constructed. This isn’t just a temperature controller thrown into a pot. There’s also a pump for recirculation.
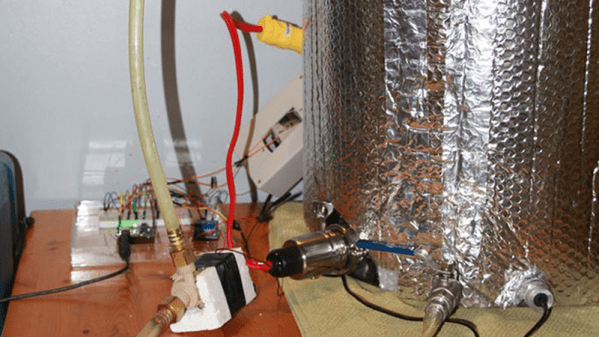
The common stock pot gets some serious modifications to hold the heating element and temperature probe. It also gets some spring-loaded clamps to hold the lid down. Expect to do a lot of drilling.
The electronics uses an Arduino, a Bluetooth board, and some relays (including a solid state relay). The finished system can brew between 5 and 15 gallons of beer at a time. While the system seems pretty good to us, he did list some ideas he has for future expansion, including valves, sensors for water level and specific gravity, and some software changes.
After reading that the system was similar to a sous vide cooker, we wondered if you could use a standard one. Turns out, you can. If you want to make better beer without electronic hacking, there’s always the genetic kind.