Induction cook tops are among the most efficient ways of cooking in the home that are commercially available to the average person. Since the cook surface uses magnetic fields to generate heat in the cookware itself, there is essentially no heat wasted. There are some other perks too, such as faster cooking times and more fine control, not to mention that it’s possible to build your own induction stove. All you need is some iron, wire, and a power source, and you can have something like this homemade induction cooker.
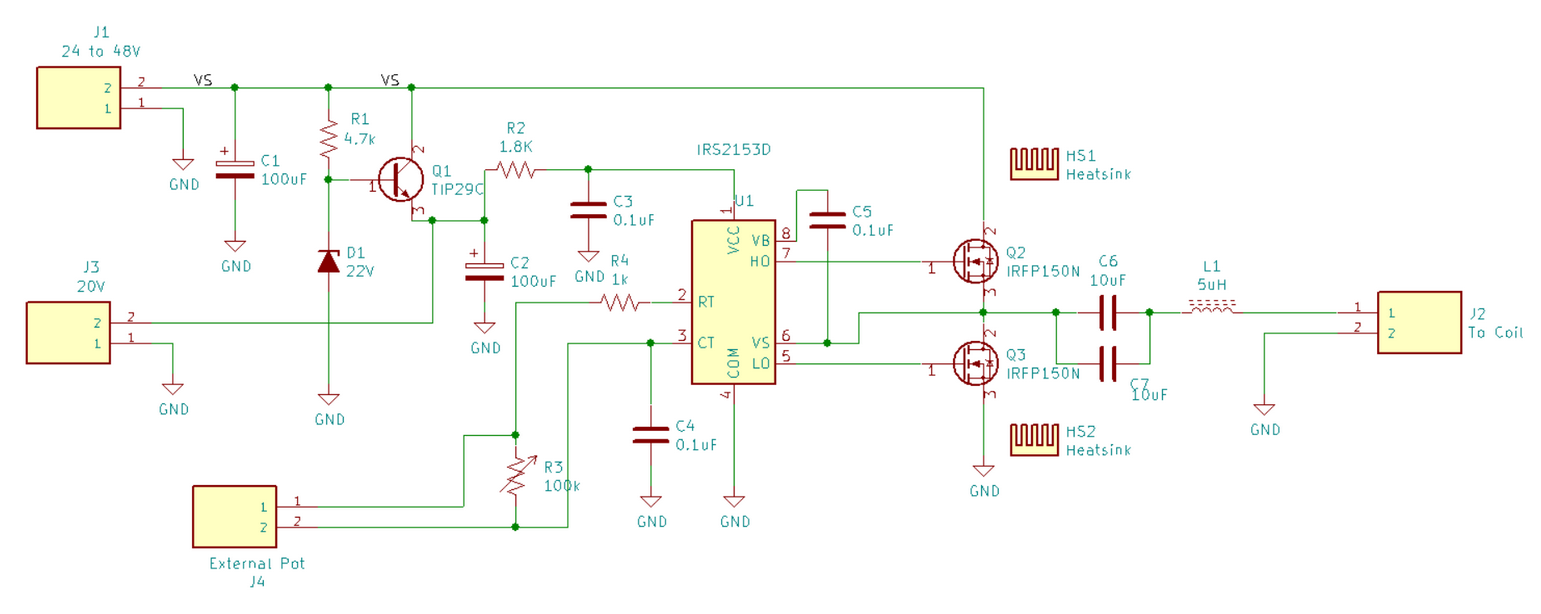
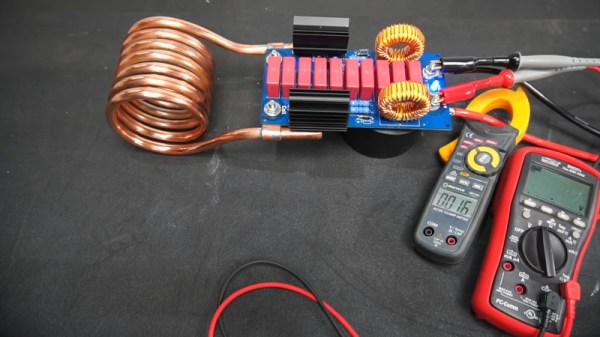
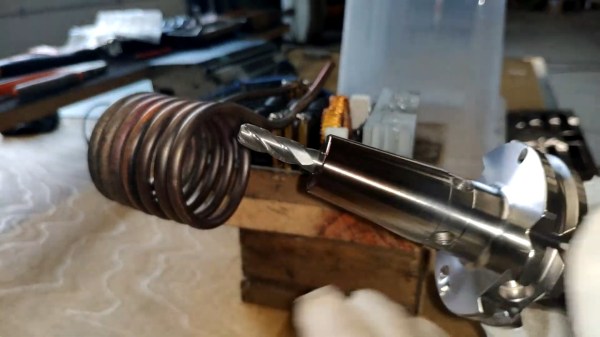
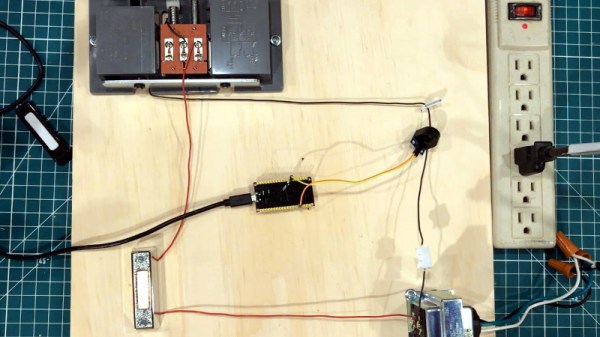
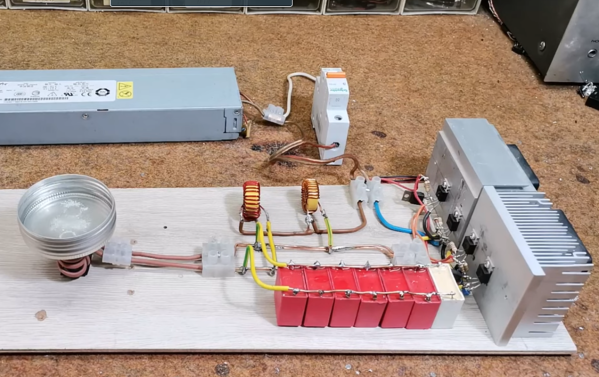
This induction heater has a trick up its sleeve, too. Instead of using an air coil to generate heat in the cookware, this one uses an iron core instead. The project’s creator [mircemk] built an air core induction stove in the past, and this new one is nearly identical with the exception of the addition of the iron core. This allows for the use of less wire, and uses a driver circuit called a Mazzilli ZVS driver running through some power MOSFETs to power the device. A couple inductors limit the current to 20A, but it appears to work just as well as the previous stove.
This build puts a homemade induction stove well within reach of anyone with an appropriate power supply and enough wire and inductors to build the coils. [mircemk] has made somewhat of a name for himself involving project that use various coils of wire, too, like this project we featured recently which uses two overlapping air-core coils to build an effective metal detector.