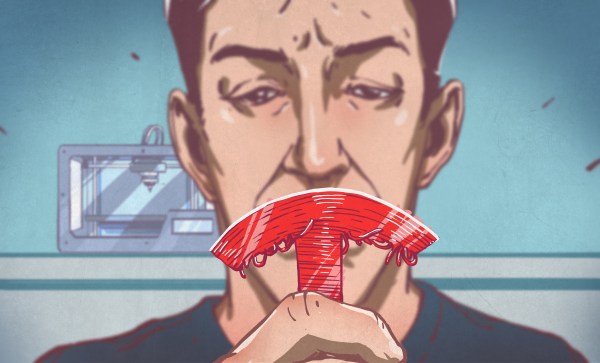
Hope you weren’t looking forward to a night of sleep untroubled by nightmares. Doing his part to make sure Lovecraftian mechanized horrors have lease in your subconscious, [Paul-Louis Ageneau] has recently unleashed the horror that is Eyepot upon an unsuspecting world. This Cycloptic four legged robotic teapot takes inspiration from an enemy in the game Alice: Madness Returns, and seems to exist for no reason other than to creep people out.
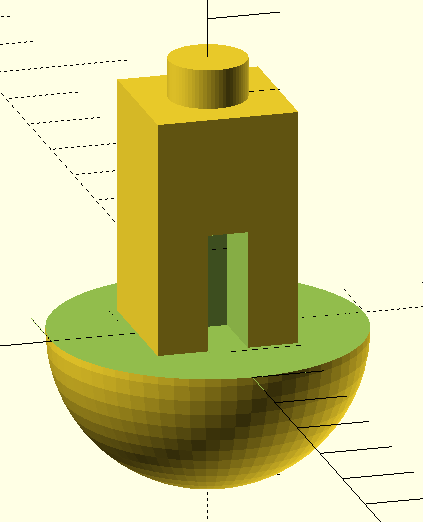
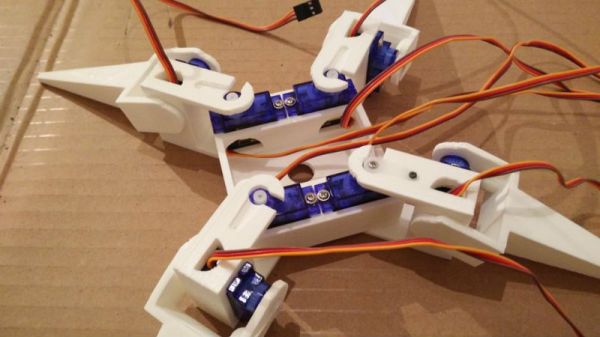
 Even if you aren’t physically manifesting nightmares, there’s plenty to learn from this project. [Paul-Louis Ageneau] has done a fantastic job of documenting the build, from the OpenSCAD-designed 3D printed components to the Raspberry Pi Zero and Arduino Pro Mini combo that control the eight servos in the legs. If you want to play along at home all the information and code is here, though feel free to skip the whole teapot with an eyeball thing.
A second post explains how the code is written for both the Arduino and Pi, making for some very illuminating reading. A Python script on the Pi breaks down the kinematics and passes on the appropriate servo angles to the Arduino over a serial link. Combined with a web interface for control and a stream from the teapot’s Raspberry Pi Camera module, and you’ve got the makings of the world’s creepiest telepresence robot. We’d love to see this one stomping up and down a boardroom table.
Seems we are on a roll recently with creepy robot pals. Seeing a collaboration between Eyepot and JARVIS might be too much for us to handle. Though we have a pretty good idea how we’d want to control them.