We’ve heard it said that no one invented the old mechanical Teletype. One fell from the sky near Skokie, Illinois and people just duplicated them. It is true these old machines were similar to a modern terminal. They sent and received serial data using a printer instead of a screen. But inside, they were mechanical Rube Goldbergs, not full of the electronic circuits you’d think of today.
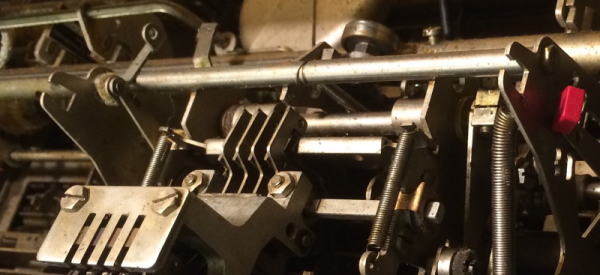
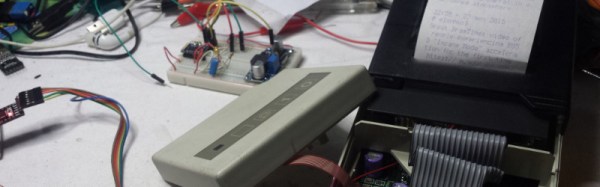
Teletype was the best-known name, but there were other mechanical monster terminals out there. [Carsten] recently took some pictures of his 99 pound Olivetti mechanical terminal. According to him, there’s only one electronic component within: a bistable solenoid that reads the data. Everything else is mechanical and driven with a motor that keeps everything at the right baud rate (110 baud).
Like the Teletype, it is a miracle these things were able to work as well as they did. Lacking a microcontroller, the terminals could respond to an identity request by spinning a little wheel that had teeth removed to indicate which letters to send (TeleType used a similar scheme). Things that are simple using today’s electronics (like preventing two keys pressed at once from being a problem) turned out to be massive design challenges for these old metal monsters.
Turns out that when [Carsten] last fired the terminal up, a capacitor finally gave up its magic smoke. He plans to fix it, though, and as long as it isn’t a mechanical problem, we bet he will.
We’ve talked about Teletypes a few times in the past, including using them for text messaging and even Twitter.

 While we’re not sure that we have the patience to paint our walls this way, it’s a cool effect. But even more, we love the idea of using the cellphone camera for location sensing. Many robotics applications do just this with an overhead camera.
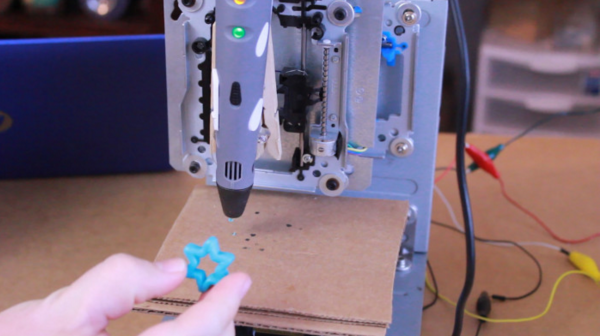
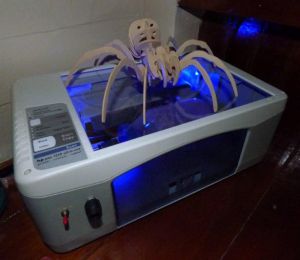 Don’t throw out that old printer! Not that you would, but even if you’ve already scavenged it for parts, you can


