As you read this, there are still people chatting away on Bulletin Board Systems all over the world. Running on newly written software and without the need to actually use a dial-up modem, these (slightly) more modern takes on the BBSs of yore can be compelling diversion for those who might want to decompress a bit from contemporary social networks.
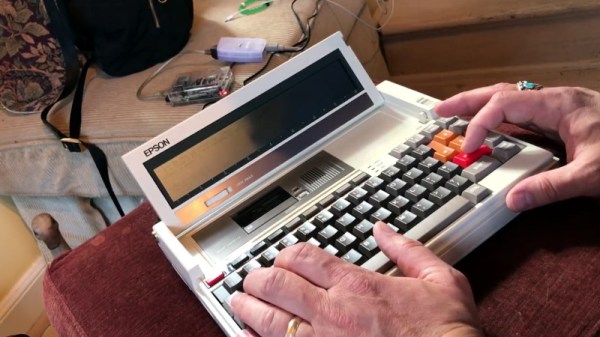
[Blake Patterson] is one of these people, and he writes in to tell us about his recent experiments with using a particularly gorgeous example the Epson PX-8 “Geneva” laptop on modernized BBSs. The form factor of the device makes it a fairly convenient client for chatting, despite the somewhat unusual screen. Luckily, modern BBS software is able to cope with the PX-8’s 80 character by 8 line LCD display, it’s just a matter of getting the thing online.
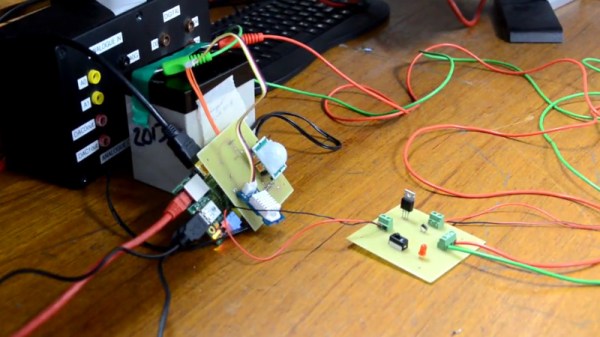
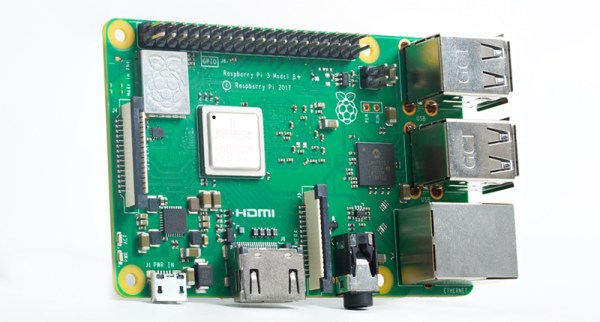
The trick is tethering the PX-8 to a Linux machine as a serial terminal. [Blake] had to build a serial cable for the laptop, and then used a basic USB-to-serial converter to get it connected to a Raspberry Pi. Once you’ve logged in over serial, you can simply fire off a telnet command to connect to the BBS of your choice. In the video after the break, he demonstrates what it’s like browsing and chatting on a BBS using the PX-8. The screen certainly takes a bit of getting used to, but actually works fairly well given the nature of the BBS interface.
[Blake] recently gave us a look at a Wi-Fi “modem” for retro computers based on the ESP8266, if you’d rather cruise your favorite BBS without a dangling Pi.
Continue reading “Browsing Modern Day BBS On The Epson PX-8 Laptop”

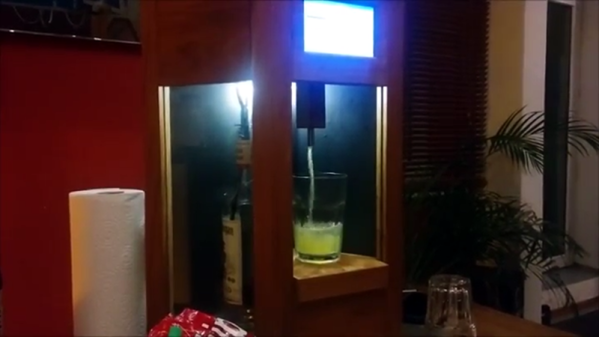
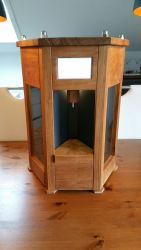 Instead of a sliding wall panel, [HighwingZ] has built a hexagonal container. Five of the six sides contain bottles to fill the drink with, the last panel contains the spigot and a spot for the glass. The machine works by weighing the liquid that gets poured into the glass using a load cell connected to a HX711 load cell amplifier. An aquarium pump is used to push air into whichever bottle has been selected via some magnetic valves which forces the liquid up its tube and into the glass. A simple touch screen UI is used so the user can select which drink and how much of it gets poured. All of this is connected to a Raspberry Pi to control it all.