A Pocket Retro Computer Anyone Can Build

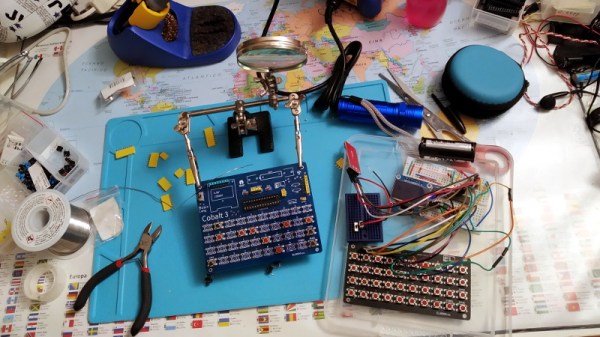
Not satisfied with any of the DIY retro computer kits on the market, [Leonardo Leoni] decided to make his own. Built using only the finest through-hole technology and powered by the ATmega328 microcontroller, his diminutive 8-bit computer is easy to build and even easier to develop for. Whether you’re looking to hone your BASIC skills or play some Zork on the bus, this little computer looks like a great project for anyone who has a soft spot for computing’s simpler days.

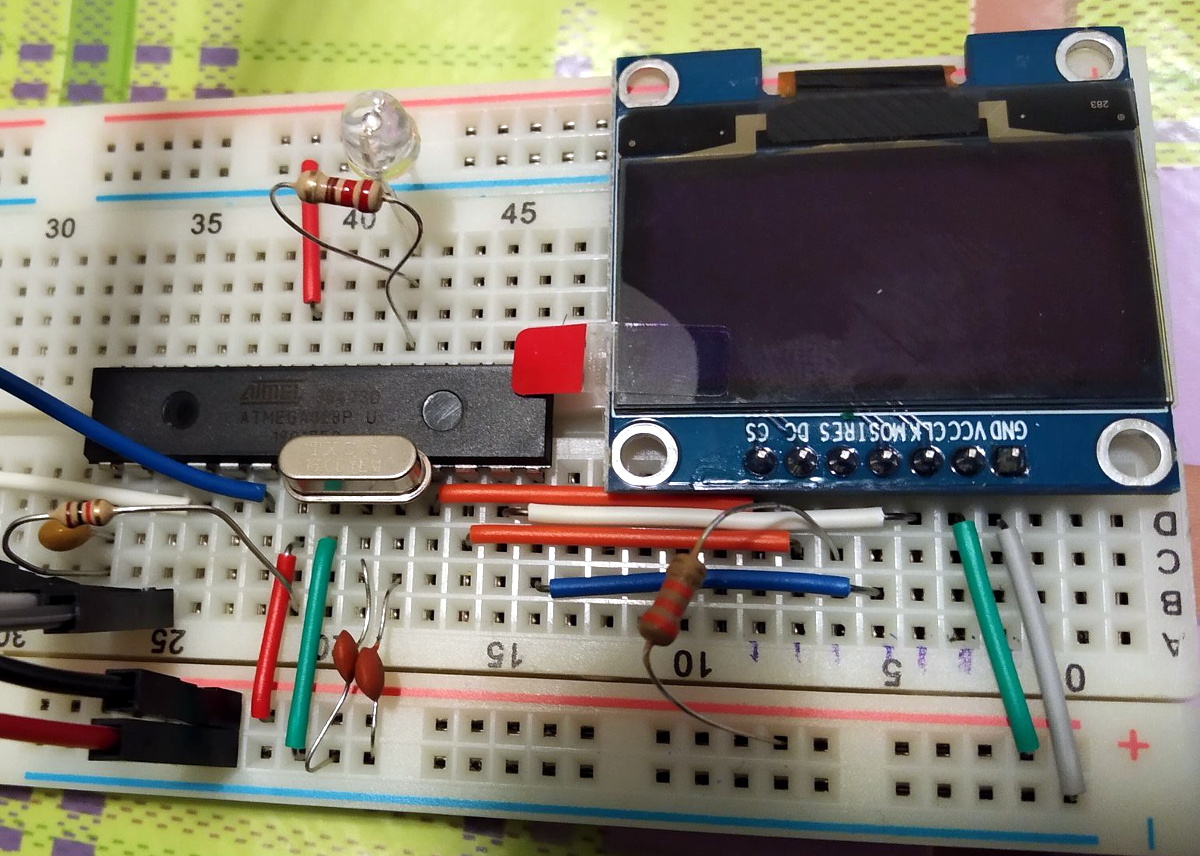
All things considered, using this tiny machine looks like it would be relatively pleasant. [Leonardo] is using a common SH1106 OLED display, and there’s a full QWERTY keyboard (with number row) done up with tactile momentary buttons. There’s very few passive components involved in the build, which is sure to be appealing to new players; especially after they’ve finished soldering all those switches to the board.

On the software side, [Leonardo] says he leaned heavily on open source projects to get his machine up and running. Beyond the hardware drivers for things like the display, he specifically calls out the Tiny Basic and Tiny Lisp Computer projects for their code. If small-scale programming isn’t your style, the machine is compatible with the Arduino IDE so you can easily throw something else on it. If you’ve ever dreamed of a QWERTY Arduboy, this might be your chance.

From the way [Leonardo] describes the computer, which he calls the Cobalt 3, we get the impression a commercial kit might be in the cards. We hope the community shows enough interest to make it happen. After all, not everyone was able to make it to Hackaday Belgrade 2018 to get their own pocket retro computer.

The Descendants Of Ancient Computers

Building computers from discrete components is a fairly common hobby project, but it used to be the only way to build a computer until integrated circuits came on the scene. If you’re living in the modern times, however, you can get a computer like this running easily enough, but if you want to dive deep into high performance you’ll need to understand how those components work on a fundamental level.

[Tim] and [Yann] have been working on replicating circuitry found in the CDC6600, the first Cray supercomputer built in the 1960s. Part of what made this computer remarkable was its insane (for the time) clock speed of 10 MHz. This was achieved by using bipolar junction transistors (BJTs) that were capable of switching much more quickly than typical transistors, and by making sure that the support circuitry of resistors and capacitors were tuned to get everything working as efficiently as possible.

The duo found that not only are the BJTs used in the original Cray supercomputer long out of production, but the successors to those transistors are also out of production. Luckily they were able to find one that meets their needs, but it doesn’t seem like there is much demand for a BJT with these characteristics anymore.

[Tim] also posted an interesting discussion about some other methods of speeding up circuitry like this, namely by using reach-through capacitors and Baker clamps. It’s worth a read in its own right, but if you want to see some highlights be sure to check out this 16-bit computer built from individual transistors.

Jumbo LED Matrix Brings Classic Sprites To Life

Despite all the incredible advancements made in video game technology over the last few decades, the 8-bit classics never seem to go out of style. Even if you weren’t old enough to experience these games when they were new, it’s impossible not to be impressed by what the early video game pioneers were able to do with such meager hardware. They’re a reminder of what can be accomplished with dedication and technical mastery.

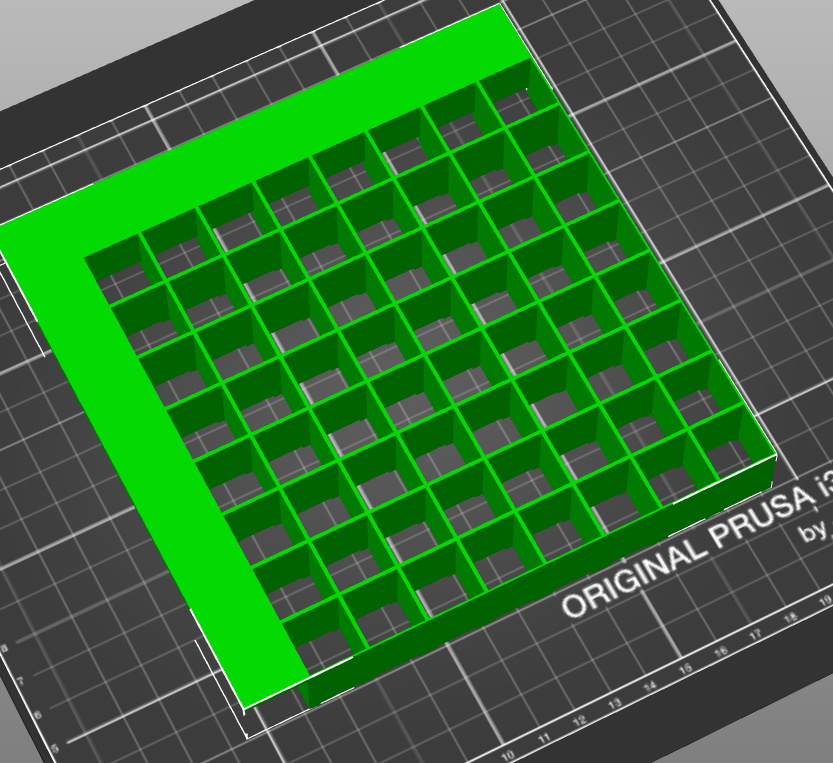
The grid has been split up for easier printing.

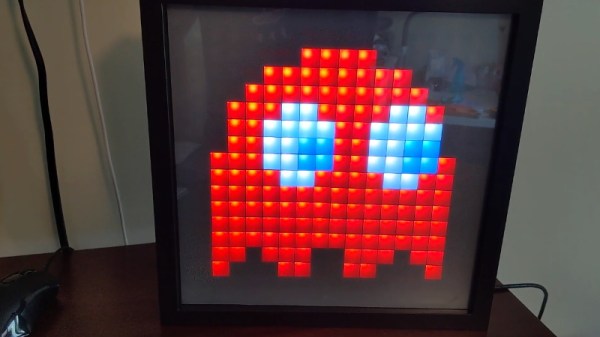
If you’d like to put a little retro inspiration on your desk, take a look at this fantastic 16 x 16 LED matrix put together by [Josh Gerdes]. While it’s obviously not the only thing you could use it for, the display certainly seems particularly adept at showing old school video game sprites in all their pixelated glory. There’s something about the internal 3D printed grid that gives the sprites a three dimensional look, while the diffused glow reminds us of nights spent hunched over a flickering CRT.

The best part might be how easy it is to put one of these together for yourself. You’ve probably got most of what you need in the parts bin; essentially it’s just a WS2812B strip long enough to liberate 256 LEDs from and a microcontroller to drive them. [Josh] used an Arduino Nano, but anything compatible with the FastLED library would be a drop-in replacement. You’ll also need a 3D printer to run off the grid, and something to put the whole thing into. The 12×12 shadowbox used here looks great, but we imagine clever folks such as yourselves could make do with whatever might be laying around if you can’t nip off to the arts and crafts store right now.

Beyond looking great, this project is a fantastic reminder of how incredibly handy WS2812 LEDs really are. Whether you’re recreating iconic game sprites or fashioning your own light-up sunglasses, it’s hard to imagine how we managed before these little wonders hit the scene.

Continue reading “Jumbo LED Matrix Brings Classic Sprites To Life”

Nixies Adorn A Cold War Relic To Make A Geiger Clock

Say what you will about the centrally planned economies of the Soviet bloc during the Cold War, but their designs had a brutal style all their own. When one comes across an artifact from that time, like a defunct Polish Geiger counter from 1971, one celebrates that style the only way possible: by sticking Nixies tubes on it and making it into a Geiger clock.

Right off the hop, we’ve got to say that we’re in love with the look of [Tom Sparrow]’s build. And we’ll further stipulate that most of the charm comes from the attractive Bakelite case of the original Geiger counter. This looks like the real deal, with the marbleized look presumably caused by different color resins mixing in the mold. [Tom] did an admirable job bringing back the original shine with some polish and elbow grease; no doubt the decades had taken their toll on the original shine. The meter was gutted to make room for the clockworks, which is an off-the-shelf Nixie module. The tubes stick through holes drilled in the top; a pair of LEDs adorn the front panel and an incandescent bulb provides a warm glow behind the original meter. Combined with the original rotary switch and labels, the whole thing has a great look that’s perfect for a desk.

We’ve featured a lot of retro-classic Nixie builds, from digitizing a 1940s radio to a 1970s multimeter turned into a dice-roller. As for Nixie clocks, we’re just glad to take a break from the Nixie steampunk trend for a bit.

[via Dangerous Prototypes]

Relive The Glory Days Of Cable TV With This Retro Weather Feed

This may surprise younger readers, but there was once a time when the reality programming on The Weather Channel was simply, you know, weather. It used to be no more than a ten-minute wait to “Local on the Eights”, with simple text crawls of local conditions and forecasts that looked like they were taken straight from the National Weather Service feed. Those were the days, and sadly they seem to be gone forever.

Or perhaps not, if this retro weather channel feed has anything to say about it. It’s the product of [probnot] and consists of a simple Python program that runs on a Raspberry Pi. Being from Winnipeg, [probnot] is tapping into Environment Canada for local weather data, but it should be easy enough to modify to use your local weather provider’s API. The screen is full of retro goodness, from the simple color scheme to the blocky white text; the digital clock and local news crawl at the bottom complete the old school experience. It doesn’t appear that the code supports the period-correct smooth jazz saxophone, but that too should be a simple modification.

All jibing aside, this would be a welcome addition to the morning routine. And for the full retro ride, why not consider putting it in an old TV case?

Continue reading “Relive The Glory Days Of Cable TV With This Retro Weather Feed”

Simplify Your Life With This Pocket Rotary Cellphone

With its constant siren song of distraction and endless opportunity for dopamine hits, a smartphone can cause more problems than it solves. The simple solution would be a no-nonsense flip phone, but that offers zero points for style. So why not build your own rotary dial pocket cellphone?

Of course, what style points accrue to [Justine Haupt] take a hit in terms of practicality, but that was never really the point of this build. And even then, the phone appears to be surprisingly useful. It’s based on the rotary dial from a Trimline phone, which itself was an epic hack back in 1965 when it was introduced. The 3D-printed case contains an ATmega2560V microcontroller and an Adafruit FONA 3G cell module, while a flexible mono eInk display adorns the outside. Some buttons, a folding SMA antenna, and some LEDs for signal strength and battery level complete the build, which easily slips into a pocket. The dial can be used not only to dial the phone but to control the speaker volume; in practice, [Justine] mainly uses the speed dial buttons to make calls, though.

We’ve seen rotary phones converted to cell before, but this one is a next-level integration of the retro and the modern. It’s simple, intuitive, and distraction-free, and best of all, it’s a great excuse not to return a text.

Thanks to [J. Peterson] for the tip.