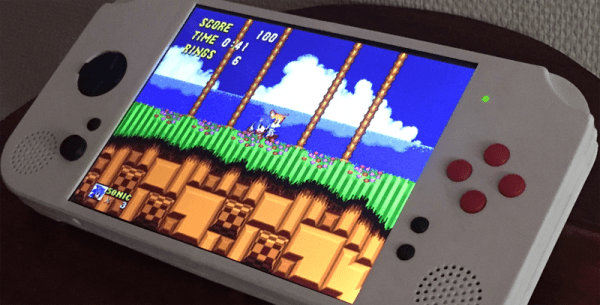
A retro game console is a fun all-arounder project. You’ve got electronics, mechanical design, and software considerations. For this year’s Hackaday Prize, is going all in. The Portable Retro Game Console with 7.9-inch Display is a work of art, and everything that a retro console could be.
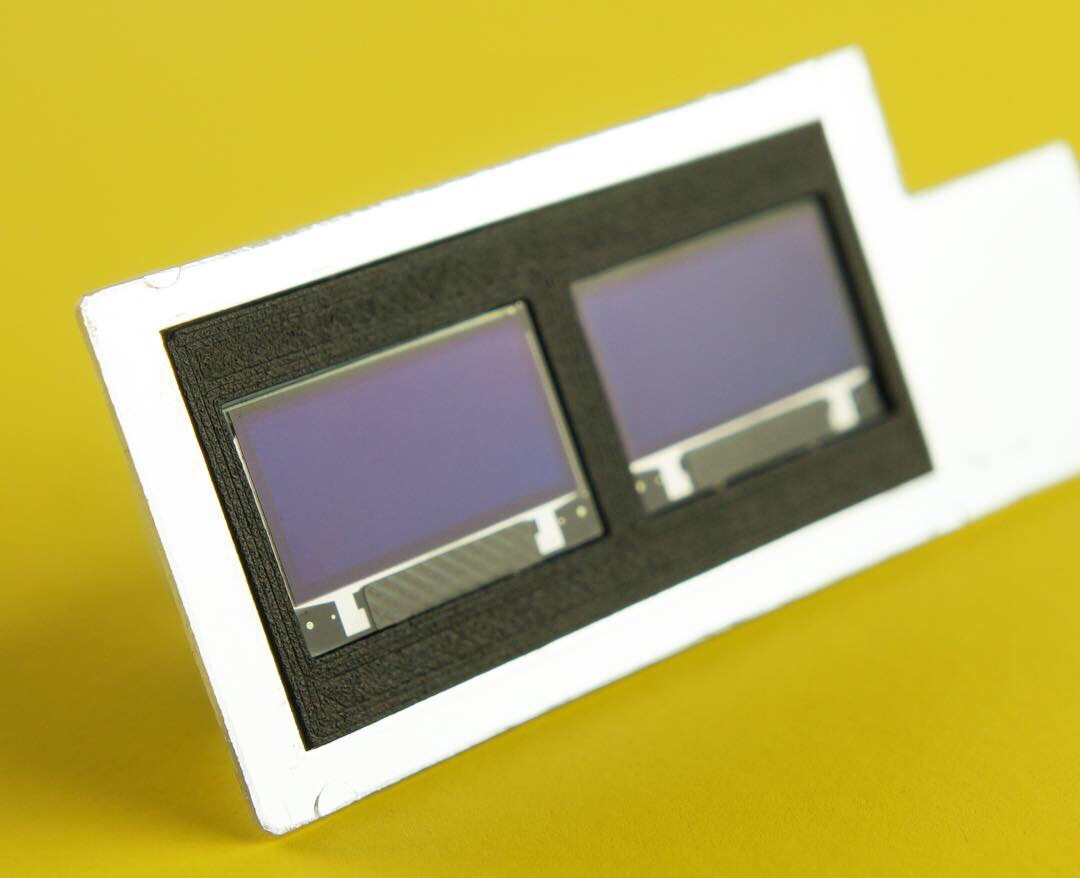
This build is based on the Raspberry Pi 3 A+ instead of the B model for space-saving considerations. The screen is a beautiful 7.9 inch IPS panel with 2048 x 1536 resolution. Stereo 3 W speakers pump out the tunes, and an 8000 mAh provides somewhere between 3 and 6 hours of play time.
While using a Raspberry Pi 3 for retro gaming is fun, there’s a world of oppurtunity for emulating bigger and badder consoles thanks to more powerful single board computers. The Nvidia Jetson Nano is far more powerful than the Raspberry Pi 3, and could conceivably emulate N64 and PlayStation games. The Atomic Pi, the fantastic computer that totally isn’t industrial surplus repackaged as an educational computer, already is proven to emulate N64 games. Imagine taking a portable console out of your backpack and playing Conker’s Bad Fur Day on the bus. Oh, that’s cheeky, but it is possible thanks to the amazing work of hardware creators.