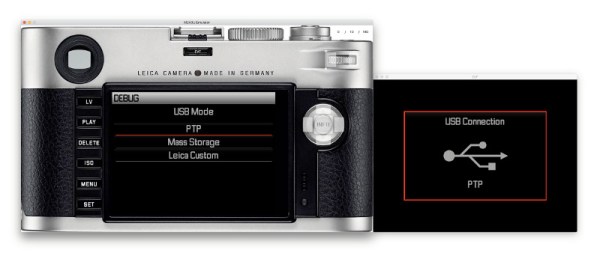
There’s nothing quite like waiting for something you’ve ordered online to arrive. In [Alex]’s case, he’d ordered a new Leica camera, only to find out there was a six month backlog in shipping. Wanting to whet his thirst regardless, he decided to investigate the Leica website, and reverse engineered a whole heap of camera firmware. As you do.
[Alex] didn’t stop at just one camera, instead spreading his interest across whatever firmware Leica happened to have online at the time. This approach led to improved effectiveness, as there were similarities in the firmware used between different cameras that made it easier to understand what was going on.
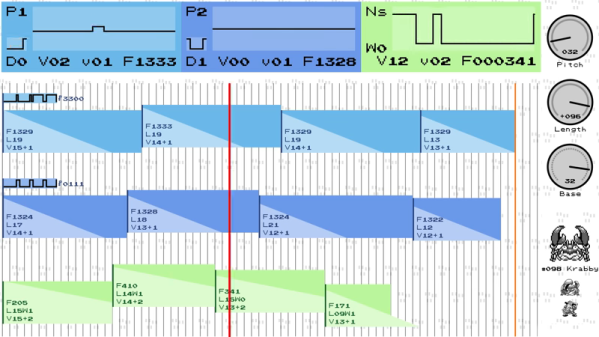
There are plenty of surprise quirks – from firmwares using the Doom WAD data format, to compression methods used by iD software in old game releases. [Alex]’s work runs the gamut from plotting out GUI icons on graph paper, to building custom tools to tease apart the operation of the code. Sample components were even sourced from connector manufacturers to reverse engineer various accessories, too.
[Alex]’s methodical approach and perseverance pays off, and it’s always interesting to get a look under the hood of the software underpinning consumer devices. We’ve even seen similar work done to decode the mysteries of Pokemon cries.
[Thanks to JRD for the tip!]