Infusion pumps and other medical devices are not your typical everyday, off-the-shelf embedded system. Best case scenario, you will rarely, if ever, come across one in your life. So for wide-spread exploitation, chances are that they simply seem too exotic for anyone to bother exploring their weaknesses. Yet their impact on a person’s well-being makes potential security holes tremendously more severe in case someone decides to bother one day after all.
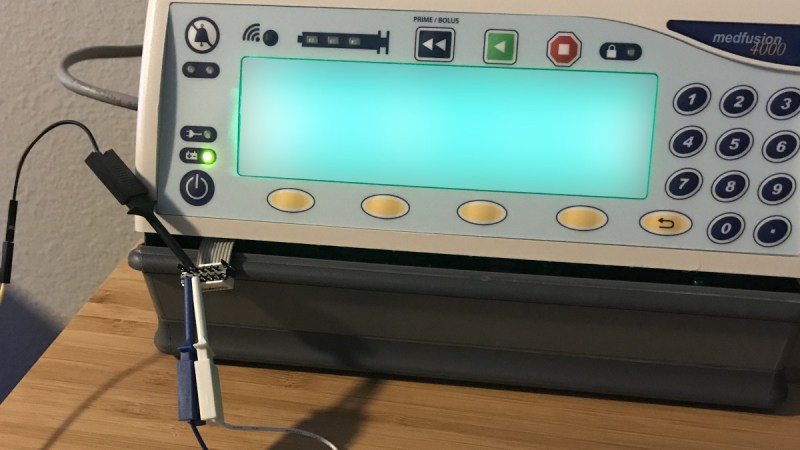
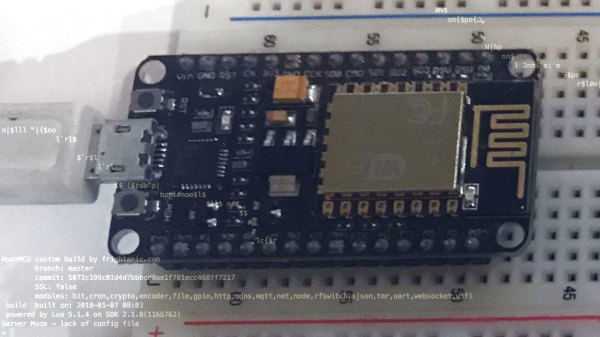
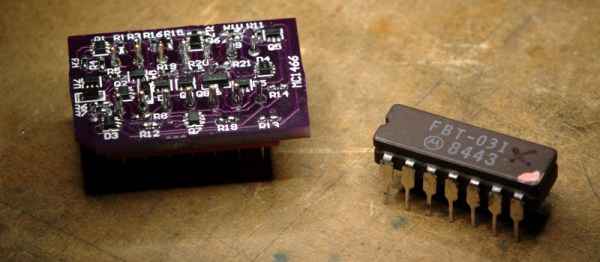
[Scott Gayou] is one of those someones, and he didn’t shy away from spending hundreds of hours of his free time inspecting the Smiths Medical Medfusion 4000 infusion pump for any possible security vulnerabilities. Looking at different angles for his threat model, he started with the physical handling of the device’s user interface. This allowed him to enable the external communication protocols settings, which in turn opened to the device’s FTP and Telnet ports. Not to give too much away, but he manages to gain access to both the file system content and — as a result of that — to the system’s login credentials. This alone can be clearly considered a success, but for [Scott], it merely opened a door that eventually resulted in desoldering the memory chips to reverse engineer the bootloader and firmware, and ultimately executing his own code on the device.
Understanding the implications of his discoveries, [Scott] waited long enough to publish his research so the manufacturer could address and handle these security issues. So kudos to him for fighting the good fight. And just in case the thought of someone gaining control over a machine that is crucial to your vitality doesn’t scare you enough yet, go ahead and imagine that device was actually implanted in your body.


 Data begin sent between the Fitbit and the phone can be encrypted, but there is a live mode that sends the data as plain text. The implementation seemed to be security by obscurity as a new Bluetooth handle is used for this mode. This technique prevents the need to send every encrypted packet to the server for decryption (which would be for every heartbeat packet). So far the fix for this has been the ability to disable live mode. If you have your own Fitbit to play with, sniffing live mode would be a fun place to start.


