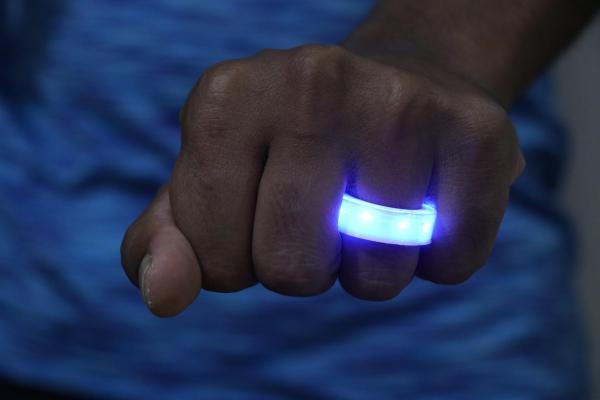
[Sophia Dai] brings us a project you will definitely like if you’re tired of traditional peripherals like a typical keyboard and mouse combo. This is ErgO, a smart ring you can build out of a few commonly available breakouts, and it keeps a large number of features within a finger’s reach. The project has got an IMU, a Pimoroni trackball, and a good few buttons to perform actions or switch modes, and it’s powered by a tiny Bluetooth-enabled devboard so it can seamlessly perform HID device duty.
While the hardware itself appears to be in a relatively early state, there’s no shortage of features, and the whole experience looks quite polished. Want to lay back in your chair yet keep scrolling the web, clicking through links as you go? This ring lets you do that, no need to hold your mouse anymore, and you can even use it while exercising. Want to do some quick text editing on the fly? That’s also available; the ErgO is designed to be used for day to day tasks, and the UX is thought out well. Want to use it with more than just your computer? There is a device switching feature. The build instructions are quite respectable, too – you can absolutely build one like this yourself, just get a few breakouts, a small battery, some 3D printed parts, and find an evening to solder them all together. All code is on GitHub, just like you would expect from a hack well done.
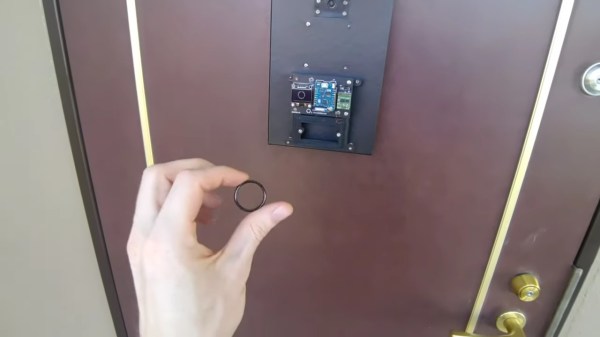
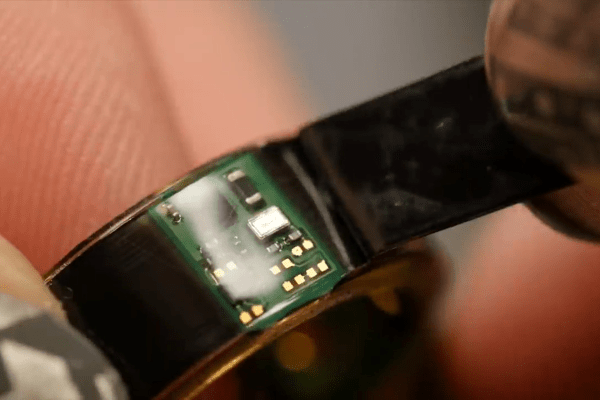
Looking for a different sort of ring? We’ve recently featured a hackable cheap smart ring usable for fitness tracking – this one is a product that’s still being reverse-engineered, but it’s alright if you’re okay with only having an accelerometer and a few optical sensors.
Continue reading “The ErgO Ring Makes Computer Interactions Comfortable”