While putting together a retro computer is a great project and can teach a lot about the inner workings of electronics, hooking that 70s- or 80s-era machine up to a modern 144 Hz 1440p display tends to be a little bit anticlimactic. To really recreate the true 8-bit experience it’s important to get a CRT display of some sort, but those are in short supply now as most are in a landfill somewhere now. [Tony] decided to create a hybrid solution of sorts by 3D printing his own Commodore replica monitor for that true nostalgia feel.
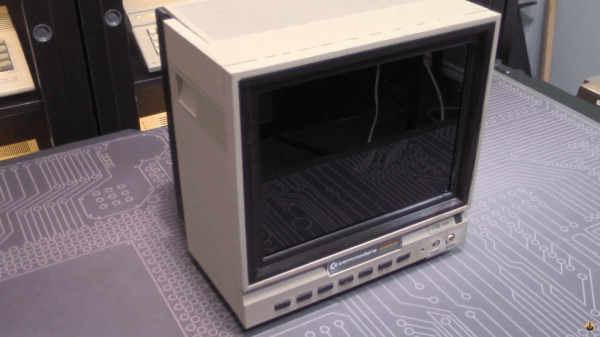
This build is a matching mini scale replica of the Commodore 1702 monitor, a color monitor produced by Commodore specifically for their machines. At the time it was top-of-the-line and even included an early predecessor of the S-Video method of video signalling. This monitor was modeled in Fusion 360 and then sent to the 3D printer for assembly, then populated with a screen with a period-correct 4:3 aspect ratio, required electronics for handling the Commodore’s video signal, and even includes an upgrade over the original monitor: stereo speakers instead of the single-channel speaker that was featured in the 80s.
While this monitor doesn’t use a CRT, it’s an impressive replica nonetheless, right down to the Commodore serial number sticker on the back. If you need a Commodore 64 to go along with it, there are plenty of possibilities available to consider like this emulated C64 on a Raspberry Pi or these refurbished OEM Commodores.
Continue reading “Commodore 64 Mini Man Makes Matching Mini Monitor”