Twenty years ago, if you wanted an LCD for a project, you’d probably end up with something salvaged from a mobile phone or an HD44780 character display. These days, little OLEDs can be had for a few bucks and they’ve taken the maker world by storm. [Anders Nielsen] has recently been experimenting with driving these displays from the vintage 6502 CPU, and he’s even got scrolling operation down pat.
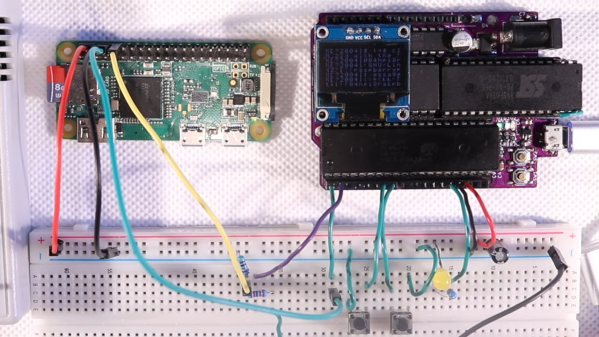
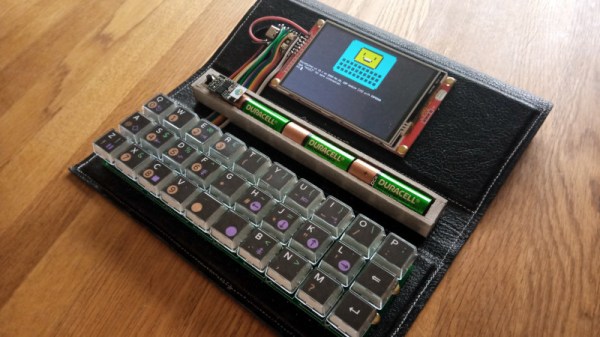
The best part is that [Nielsen] is doing all this on a single-board computer running his own assembly code. That’s right – there’s no compilers here. It’s bare metal coding at it’s best. The build uses a 6507 chip running at 1 MHz, paired with a 6532 RIOT and just 128 bytes of RAM—a similar setup to the Atari 2600.
The video explains how the code stacks up and drives the display, achieving the scrolling effect. It makes a huge difference to usability, especially compared to chunking pages at a time to the postage stamp-sized screen. He demonstrates a legitimate usage case too, using the setup as a serial terminal for a Raspberry Pi.
The 6502 architecture still looms large in the collective consciousness; we’ve been talking about programming it in assembly for years. Video after the break.
Continue reading “Driving An OLED Screen With A 6502 Single-Board Computer”
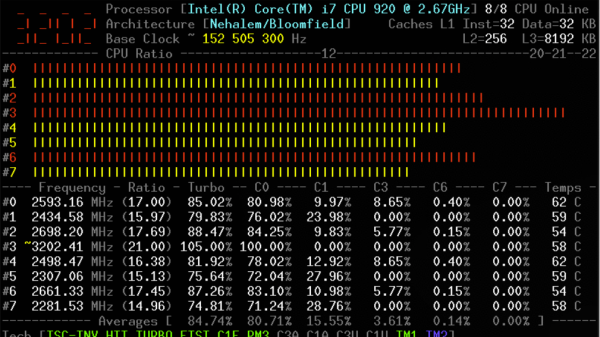
 The tool relies on a kernel module, and is coded primarily in C, with some assembly code used to measure performance as accurately as possible. It’s capable of reporting everything from core frequencies to details on hyper-threading and turbo boost operation. Other performance reports include information on instructions per cycle or instructions per second, and of course, all the thermal monitoring data you could ask for. It all runs in the terminal, which helps keep overheads low.


