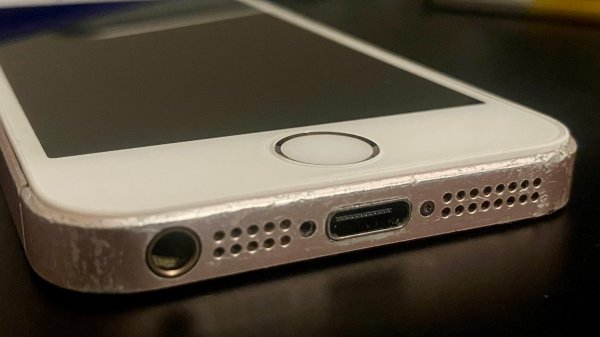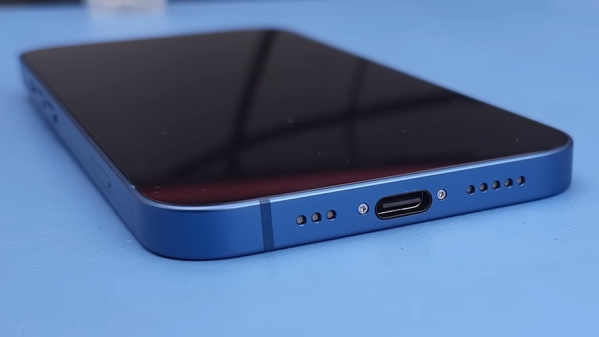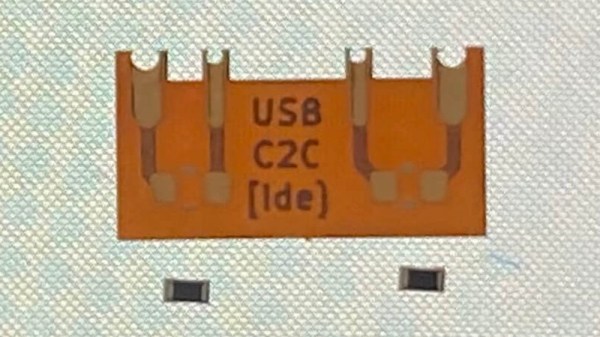
By now we’re well under way with the consolidation of low-voltage power supplies under the USB-C standard, and the small reversible connector has become the de facto way to squirt some volts into our projects. But for all this standardization there are still a few places where the harmony of a unified connector breaks down, and things don’t work quite the way they are supposed to. One such case has occupied [James Ide] — devices which will accept power from a USB-A to USB-C cable, but not from a USB-C to USB-C one. His solution? A small flexible PCB upgrade.
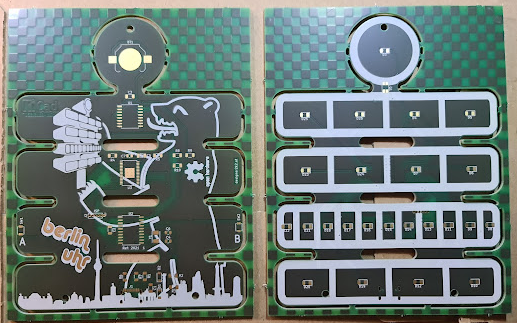
The problem lies with how different power supplies and peripherals identify each other, and quite likely in device manufacturers skimping on a few components here and there. A compliant USB-C power supply expects to see pull-down resistors on the data lines, and will thus refuse to serve power to devices that don’t possess them. Meanwhile the USB-A supply will quite happily serve juice without such checks, which is what the manufacturer is relying on. The solution is a tiny flexible PCB with the resistors, designed to be retrofitted behind a USB-C socket. On one hand it’s probably one of the simplest circuits we’ve ever shown you, and on the other it’s a cleverly designed solution to the issue at hand.
If the nitty-gritty of USB-C interests you, then we’ve taken a much closer look in the past.
Thanks to [Andrea] for the tip.