For those of us who remember old ball mice, they were a lot like modern optical mice except that they needed to be cleaned constantly. Having optical mice as a standard way of interacting with a computer is a major improvement over previous eras in computing. With extinction of the ball mouse, there are an uncountable number of cheap optical mice around now which are easy pickings for modern hacking, and this latest project from [Vipul] shows off some of the ways that optical mice can be repurposed by building a digital ruler.
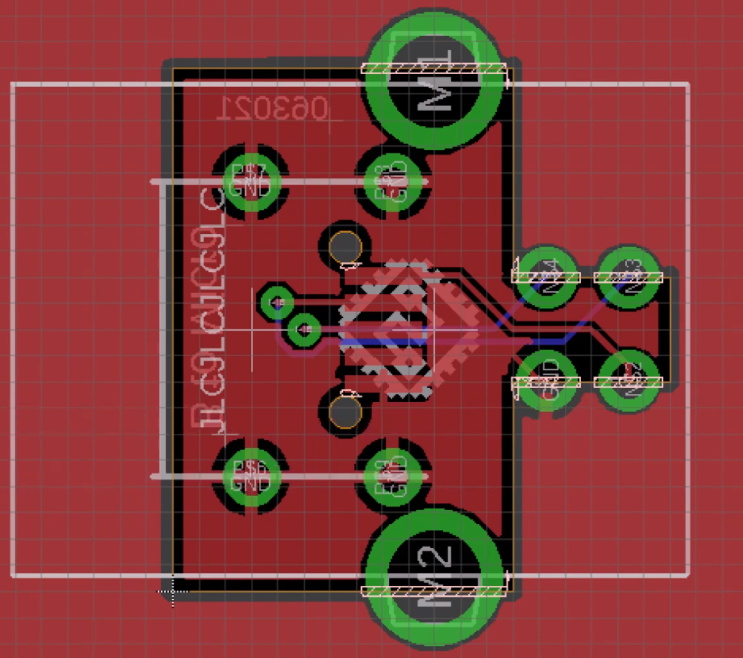
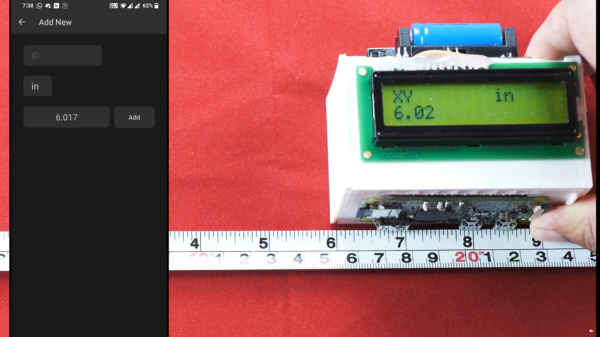
The build seems straightforward on the surface. As the ruler is passed over a surface the device keeps track of exactly how far it has moved, making it an effective and very accurate ruler. To built it, the optical component of a mouse was scavenged and mated directly to a Raspberry Pi Zero W over USB. Originally he intended to use an ESP32 but could not get the USB interface to work. [Vipul] was then able to write some software which can read the information from the mouse’s PCB directly and translate it into human-readable form where it is displayed on a small screen. The entire device is housed in a custom 3D-printed enclosure to wrap everything up, but the build doesn’t stop there though. [Vipul] also leveraged the Bluetooth functionality of the Pi and wrote a smartphone app which can be used to control the ruler as well.
While the device does have some limitations in that it has to make contact with the object being measured across its entire length, there are some situations where we can imagine something like this being extremely useful especially when measuring things that aren’t a straight line. [Vipul] has also made all of the code for this project publicly available for those of us who might have other uses in mind for something like this. We’ve seen optical mice repurposed for all kinds of things in the past, too, including measuring travel distances in autonomous vehicles.