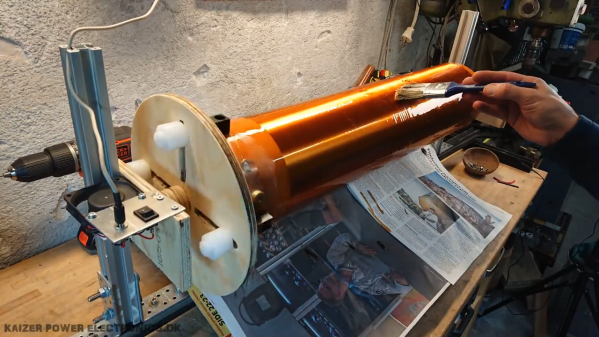
Sometimes, you find yourself in need of a coil. You could sit around winding thousands of turns of copper wire yourself, but that would be remarkably tedious. Thus, instead, you might follow the example of [OJengineering] and choose to get a machine to do it for you.
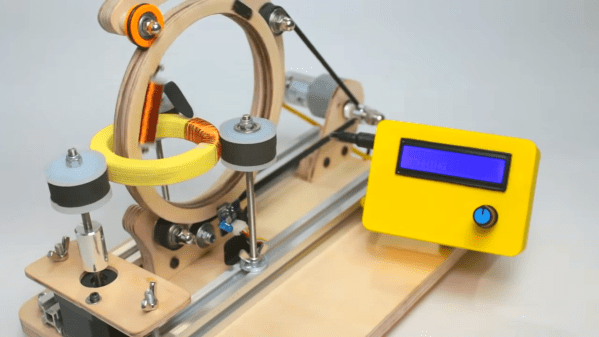
This build first popped up on on Reddit, with [OJengineering] explaining that they had repurposed an Ender 3 Pro 3D printer to wind a stator for them. The reasoning was sound—a replacement stator for their motorcycle cost $1000 in their local area, so rewinding their own would be much cheaper. The idea was straightforward enough—the 3D printer was a capable motion control platform that really just needed to be retooled to drag wire around instead of squirting hot plastic. In a later update, they explained that they had created a Python program that spits out appropriate stator winding G-code from user-entered parameters. This G-code commands the 3D printer’s head to make rectangle winds around the stator core while moving up and down to appropriately distribute the wire. The device can be seen in action in a video on YouTube.
It’s a hacky build, but one that does nevertheless get the winding done. That’s the thing about 3D printers—they’re really just simple motion systems that can do whatever you tell them. You just need a way to generate the right G-code to do the job.
We’ve featured some other nifty coil winders before, too. Video after the break.
Continue reading “Ender 3 Pro Gets A Second Job As A Stator Winder”