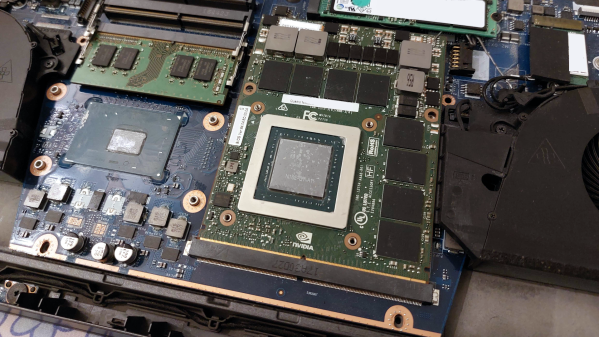
Today, we’ll look into yet another standard in the embedded space: MXM. It stands for “Mobile PCI Express Module”, and is basically intended as a GPU interface for laptops with PCIe, but there’s way more to it – it can work for any high-power high-throughput PCIe device, with a fair few DisplayPort links if you need them!
You will see MXM sockets in older generations of laptops, barebones desktop PCs, servers, and even automotive computers – certain generations of Tesla cars used to ship with MXM-socketed Nvidia GPUs! Given that GPUs are in vogue today, it pays to know how you can get one in low-profile form-factor and avoid putting a giant desktop GPU inside your device.
I only had a passing knowledge of the MXM standard until a bit ago, but my friend, [WifiCable], has been playing with it for a fair bit now. On a long Discord call, she guided me through all the cool things we should know about the MXM standard, its history, compatibility woes, and hackability potential. I’ve summed all of it up into this article – let’s take a look!
This article has been written based on info that [WifiCable] has given me, and, it’s also certainly not the last one where I interview a hacker and condense their knowledge into a writeup. If you are interested, let’s chat!



 To get the pack’s nominal voltage, you multiply X (number of stages) by 3.7 V, because this is where your pack will spend most of its time. For example, a 3s pack will have 11.1 V nominal voltage. Check your cell’s datasheet – it tends to have all sorts of nice graphs, so you can calculate the nominal voltage more exactly for the kind of current you’d expect to draw. For instance, the specific cells I use in a device of mine, will spend most of their time at 3.5 V, so I need to adjust my voltage expectations to 10.5 V accordingly if I’m to stack a few of them together.