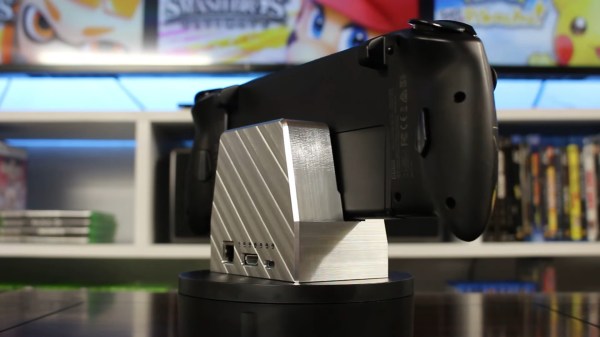
Despite the seat of honor it enjoys in literally millions of households, the official Nintendo Switch Dock is certainly far from perfect. For one, it’s not milled out of a hefty block of aluminum. A less apparent but no less important issue is that the ports are positioned kind of awkward – [Kevin] from Modified believes that the USB ports should be facing the front side, while the HDMI, Ethernet, and charging inputs should be on the backside — a reasonable position. He set out to fix both of these problems at the same time, and tells us the CNC-heavy rebuild story in a short but captivating video.
The original dock consists of two PCBs, and these two boards are the only thing [Kevin] didn’t redesign from scratch. As they’re connected with a flexible cable, he could freely rotate and thus completely reposition the ports-equipped board without soldering. He added some standoffs to secure this board to the case, and after 3D printing a few iterations for test-fitting, the milling went on for all of us to marvel at.
The resulting dock is pretty, functional, and even has some extra features — for instance, the “i” in the embossed Nintendo logo lights up when the dock is in use. In no small part due to the Nintendo logo, we don’t expect this one to grace store shelves, but we hope that it provides inspiration to other makers to do their builds. If you like this rebuild and crave more, whether you’re looking for inspiration, CNC work insights, or pretty milling videos, [Kevin]’s milled Xbox case project is an excellent “Watch next” choice.
Continue reading “Nintendo Switch Stock Dock Imperfect? Mill Your Own!”
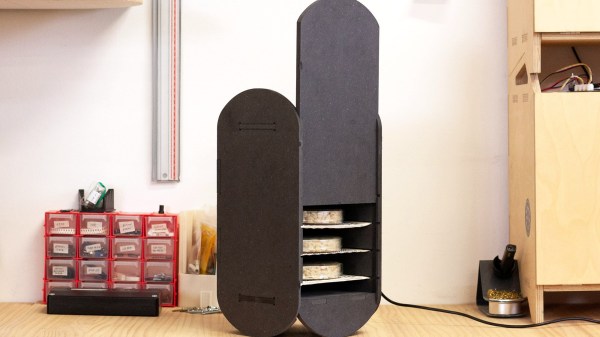
 This fermenter’s controller drives a heating element, which adheres to a pre-programmed fermentation cycle. It also has a fan for airflow and keeping the heat uniform.