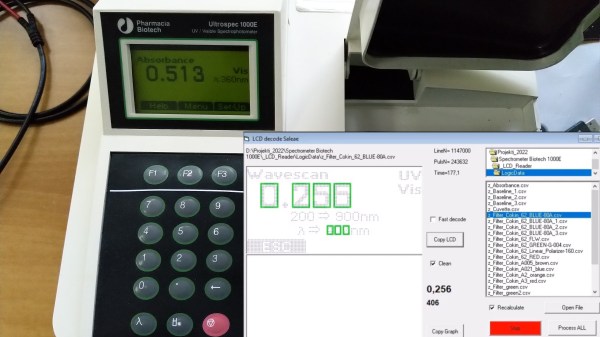
Photo of the spectrophotometer in question, with a screenshot of the decoding software on the right

Exporting Data From Old Gear Through LCD Sniffing

[Jure Spiler] was at a flea market and got himself a spectrophotometer — a device that measures absorbance and transmittance of light at different wavelengths. This particular model seems to be about 25 years old, and it’s controlled by a built-in keyboard and uses a graphical LCD to display collected data. That might have been acceptable when it was made, but it wasn’t enough for [Jure]. Since he wanted to plot the spectrophotometry data and be able to save it into a CSV file, hacking ensued.

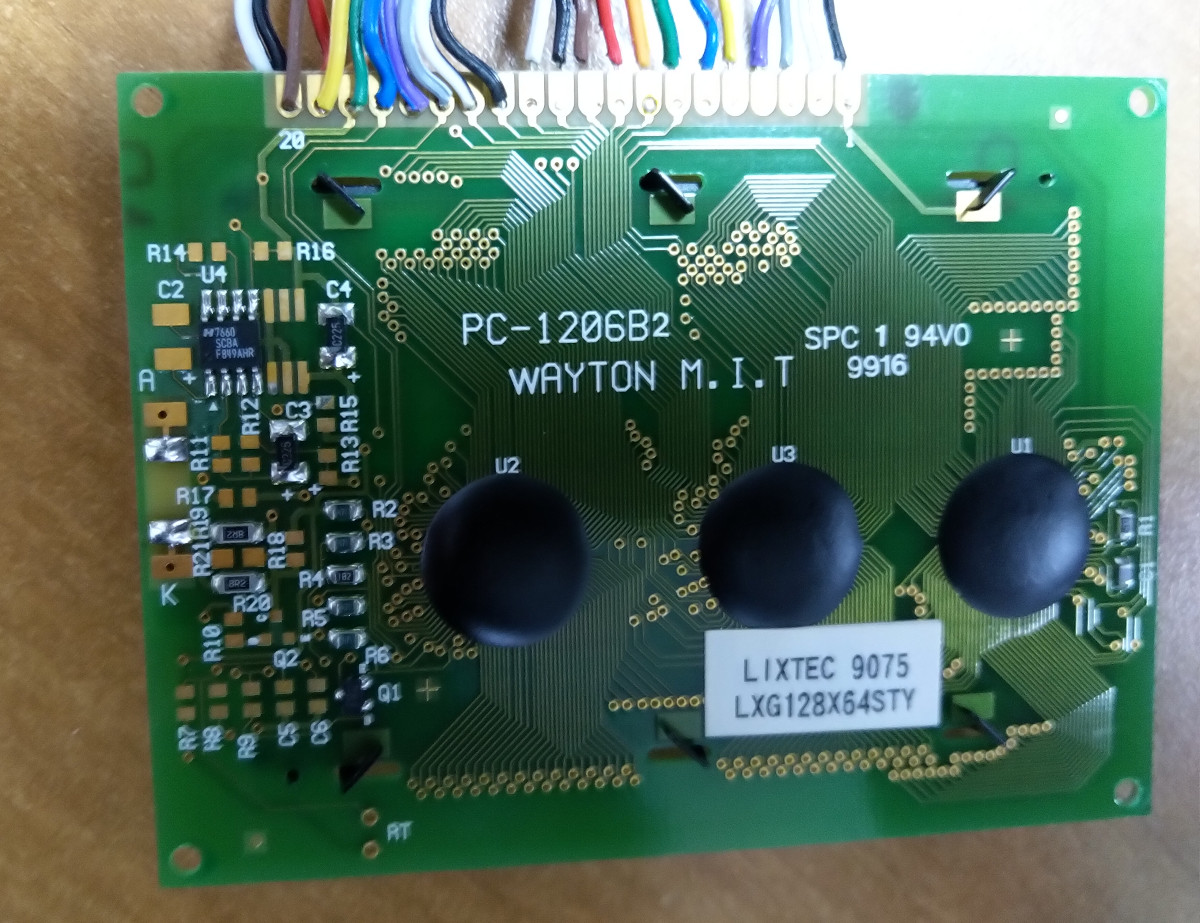
He decided to tap into the the display communication lines. This 128×64 graphical display, PC-1206B, uses a 8-bit interface, so with a 16-channel logic analyzer, he could see the data being sent to the display. He even wrote decoder software – taking CSV files from the logic analyzer and using primitive optical recognition on the decoded pixels to determine the digits being shown, and drawing a nice wavelength to absorbance graph. From there, he set out to make a standalone device sniffing the data bus and creating a stream of data he could send to a computer for storage and processing.
[Jure] stumbled into a roadblock, however, when he tried to use an Arduino for this task. Even using a sped-up GPIO library (as opposed to notoriously inefficient digitalRead), he couldn’t get a readout frequency higher than 80 KHz – with the required IO readout rate deemed as 1 MHz, something else would be called for. We do wonder if something like RP2040 with its PIO machinery would be better for making such captures.

At that point, however, he found out that there’s undocumented serial output on one of the pins of the spectrophotometer’s expansion port, and is currently investigating that, having shelved the LCD sniffing direction. Nevertheless, this serves as yet another example for us, for those times when an LCD connection is all that we can make use of.

We’ve seen hackers sniff LCD interfaces to get data from reflow ovens, take screenshots from Game Boys and even equip them with HDMI and VGA ports afterwards. With a skill like this, you can even give a new life to a vintage calculator with a decayed display! Got an LCD-equipped device but unsure about which specific controller it uses? We’ve talked about that!

Continue reading “Exporting Data From Old Gear Through LCD Sniffing” →
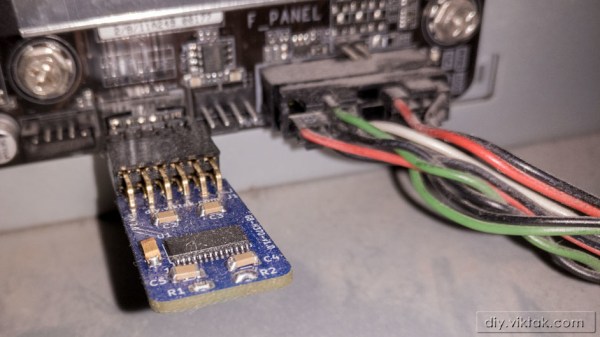
The TPM module that Viktor designed, inserted into the motherboard

TPM Module Too Expensive? DIY Your Own Easily!

Since Windows 11 has announced its TPM module requirement, the prices for previously abundant and underappreciated TPM add-on boards for PC motherboards have skyrocketed. We’ve been getting chips and soldering them onto boards of our own design, instead – and [viktor]’s project is one more example of that. [Viktor] has checked online marketplace listings for a TPM module for his Gigabyte AORUS GAMING 3 motherboard, and found out they started at around 150EUR – which is almost as much as the motherboard itself costs. So, as any self-respecting hacker, he went the DIY way, and it went with hardly a hitch.

Following the schematic from the datasheet, he quickly made a simple KiCad layout, matching it to the pinout from his motherboard’s user manual, then ordered the boards from PCBWay and SLB9665 chips from eBay. After both arrived, [viktor] assembled the boards, and found one small mistake – he designed a module for 2.54mm pin headers, but his motherboard had 2.0mm headers. He wired up a small adapter to make his assembled V1.0 boards work, and Windows 11 installed without any TPM complaints. He shows that he’s designed a new, V1.1 version with an updated connector, too, and published its (untested but should work) design files for us on GitHub. These modules can vary, by manufacturer and motherboard series, but with each module published, a bunch of hackers can save money – and get a weekend project virtually guaranteed to work out.

Regardless of whether the goal of running Windows 11 is ultimately worthwhile, it has been achieved. With scalpers preying on people who just want to use their hardware with a new OS, rolling your own TPM PCB is a very attractive solution! Last time we covered a DIY TPM module for ASrock server motherboards, we had a vivid discussion in the comments, and if you’re looking to create your own TPM board, you could do worse than checking them out for advice and insights!

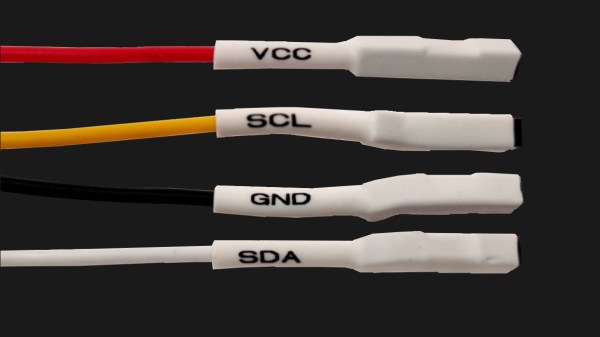
Four jumper wires with white heatshrink on them, labelled VCC, SCL, SDA and GND

The Connector Zoo: I2C Ecosystems

I2C is a wonderful interface. With four wires and only two GPIOs, you can connect a whole lot of sensors and devices – in parallel, at that! You will see I2C used basically everywhere, in every phone, laptop, desktop, and any device with more than a few ICs inside of it – and most microcontrollers have I2C support baked into their hardware. As a result, there’s a myriad of interesting and useful devices you can use I2C with. Occasionally, maker-facing companies create plug-and-play interfaces for the I2C device breakouts they produce, with standardized pinouts and connectors.

Following a standard pinout is way better than inventing your own, and your experience with inconsistent pin header pinouts on generic I2C modules from China will surely reflect that. Wouldn’t it be wonderful if you could just plug a single I2C-carrying connector into an MPU9050, MLX90614 or HMC5883L breakout you bought for a few dollars, as opposed to the usual hurdle of looking at the module’s silkscreen, soldering pin headers onto it and carefully arranging female headers onto the correct pins?

As with any standard, when it comes to I2C-on-a-connector conventions, you would correctly guess that there’s more than one, and they all have their pros and cons. There aren’t quite fifteen, but there’s definitely six-and-a-half! They’re mostly inter-compatible, and making use of them means that you can access some pretty powerful peripherals easily. Let’s start with the two ecosystems that only have minor differences, and that you’ll encounter the most! Continue reading “The Connector Zoo: I2C Ecosystems” →

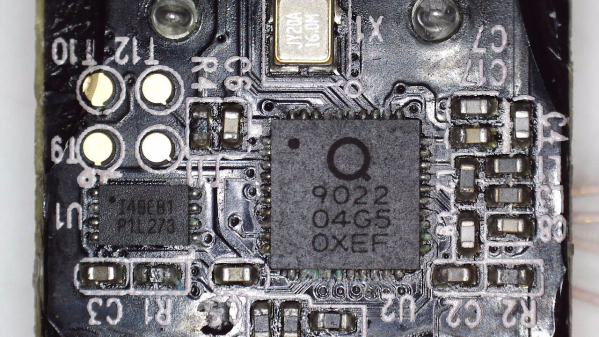
The microcontroller described in the article, on the PCB taken out of the kettle

Dumping Encrypted-At-Rest Firmware Of Xiaomi Smart Kettle

[aleaksah] got himself a Mi Smart Kettle Pro, a kettle with Bluetooth connectivity, and a smartphone app to go with it. Despite all the smarts, it couldn’t be turned on remotely. Energized with his vision of an ideal smart home where he can turn the kettle on in the morning right as he wakes up, he set out to right this injustice. (Russian, translated) First, he tore the kettle down, intending to dump the firmware, modify it, and flash it back. Sounds simple enough — where’s the catch?

This kettle is built around the QN9022 controller, from the fairly open QN902X family of chips. QN9022 requires an external SPI flash chip for code, as opposed to its siblings QN9020 and QN9021 which have internal flash akin to ESP8285. You’d think dumping the firmware would just be a matter of reading that flash, but the firmware is encrypted at rest, with a key unique to each MCU and stored internally. As microcontroller reads the flash chip contents, they’re decrypted transparently before being executed. So, some other way had to be found, involving the MCU itself as the only entity with access to the decryption key.

Continue reading “Dumping Encrypted-At-Rest Firmware Of Xiaomi Smart Kettle” →

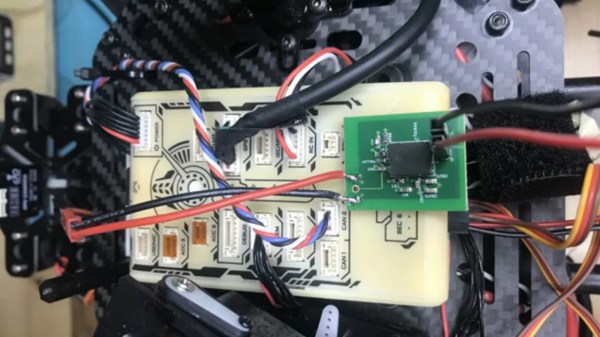
The module on a green PCB, connected to the Pixhawk controller, powering the servo rail

Anxieties Of Hardware Bringup During Parts Shortage

[Dirksavage88] tells us a story about developing a simple BEC in times of chip shortage. He needed a small 5V/3A regulator board for a servo rail on his drone, and decided to use one of the new integrated-inductor modules from Texas Instruments. Hardly requiring any external parts, such modules are exceptionally nice to use for all your power rail needs, albeit at a slightly increased cost – the downside is that, as the parts shortage hit, most of them have been out of stock. Originally priced at about $7 USD, the asking price for these specific modules, LMZM33603, has climbed as high as $800. Somehow, he obtained a few of these modules nevertheless, and went on designing a board.

It can be daunting to test your very first PCBs when the silicon you’re putting on it is effectively irreplaceable for your purposes. TI is known for their wacky footprints, and this module is no exception – the solder paste application took a bit of time, and seeing small solder balls around the module after reflow didn’t exactly reassure him. Thankfully, when he powered it all up, the module worked wonders, and took its rightfully earned spot in his drone’s servo turret. He says we can expect the next revision of his design in 2024, or whenever it is that the reported 100 week lead time is due. In case some of us could use them, Eagle files are available on GitHub!

Quite a few of us are lucky enough to have enough crucial parts for what we need, but most of us got a good few projects shelved until better times – take this WiFi-enabled wall charger project, for instance. Even bigger projects are suffering, from SmoothieBoard to Raspberry Pi. Just a year ago, we had our readers share their chip shortage stories.

Continue reading “Anxieties Of Hardware Bringup During Parts Shortage” →

The LED tree itself , filmed in the dark - a myriad of small orbs glowing mictures of green, blue and warm white

Kaleidoscope – Feelings Turned Into LED Tree

In 2020, [Eddie] found himself with a few hundred RGB LEDs left after a pandemic-interrupted project, and a slew of emotions he wanted to express – so he turned to the language of hardware, and started sculpting his feelings into an art project. He set out to build an LED tree around a piece of wood he picked for its cool shape, and trying out a long-shelved idea of his, while at it – using different resistors to mix colors of the RGB LEDs. The end result, pictured above, has earned “The Most Important Device” spot in our recent Sci-Fi contest, fair and square.

Initially, he wanted to use ATTiny microcontrollers and PWM all the lights in parallel. Having built an intermediate prototype, a small LED flower, he scrapped the idea due to technical problems, and then simplified it by hard-wiring RGB LEDs with randomly selected colors instead. As for the glowing orbs themselves, he made these just by pouring hot glue into silicon orb molds, a simple technique any of us could repeat. After 90 hours of work between him and an assistant he hired, the LEDs were wired up, each with random resistors connected to green and blue LED colors, and some warm white LEDs added into the mix.

He wanted to mostly use blue and green colors, as symbols of a world revived and revitalized – something we can’t help but keep our fingers crossed for. Before putting it all together, they wouldn’t know which colors each of the LEDs would power up in – part of the charm for this art piece, and no doubt a pleasant surprise. In the end, it turned out to be a futuristic decoration that we’re glad a camera could capture properly! If you like what you see, the build logs linked above have a bit more insights into how it all came together.

LED-adorned plants are fun projects that bring joy for a long time after you’ve finished them. You can easily make a LED tree out of what you have on hand, and if you get real fancy, you can create an intricate bonsai, too. And, if you’re ever interested to experiment with castellations, you can design yourself some PCB cube flowers!

This project was an entry into the 2022 Sci-Fi Contest. Check out all of the winning entries here.

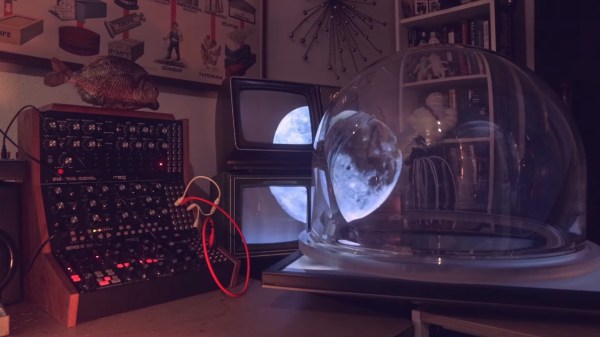
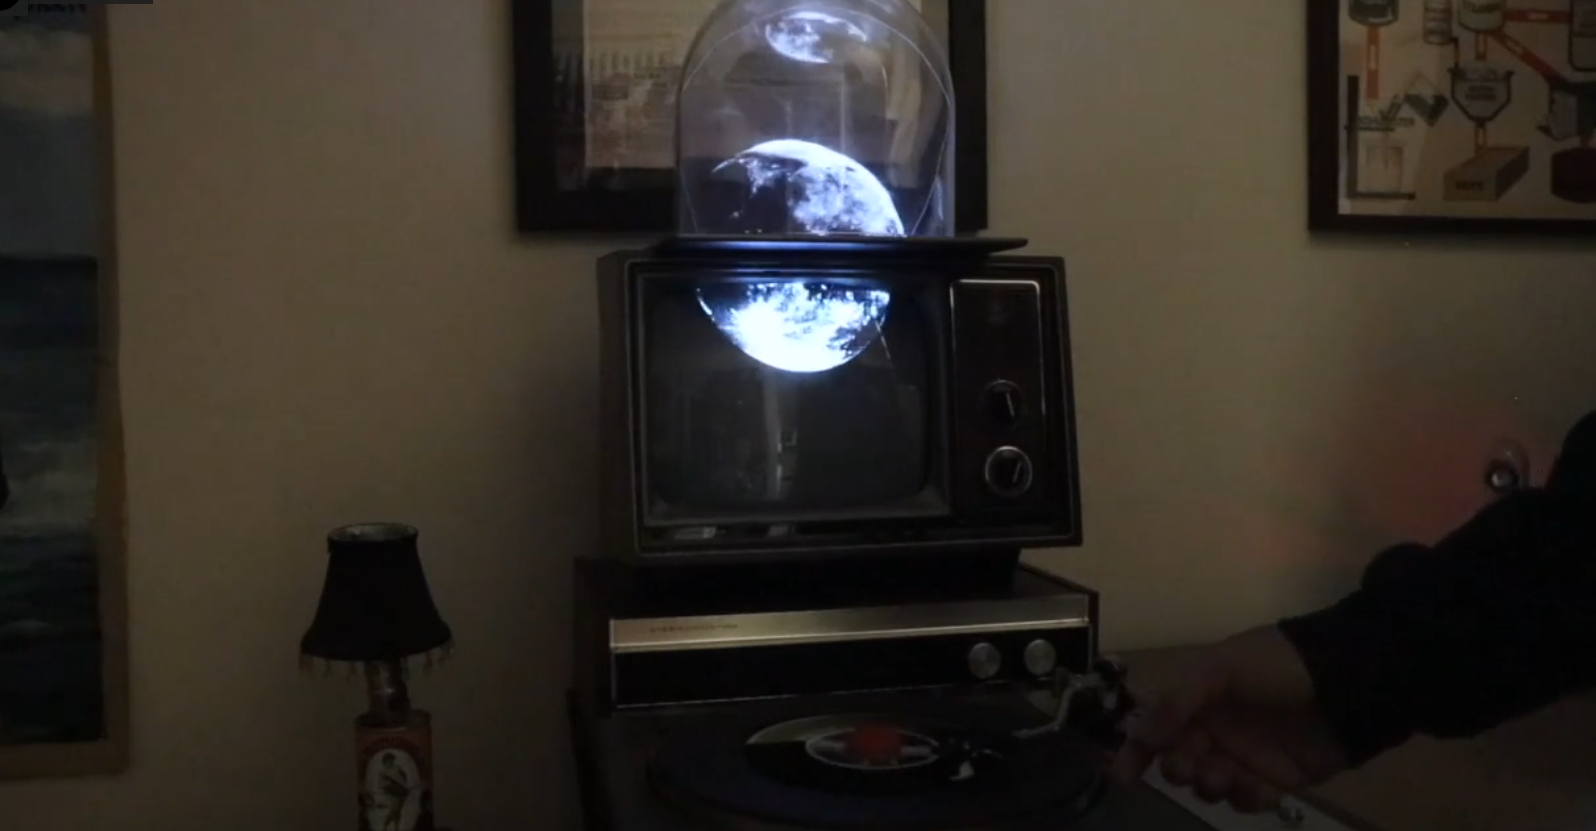
Moon moving from inside a large glass sphere into screens of two vintage television sets

Blending Pepper’s Ghost, Synths, And Vintage TVs

We were recently tipped off to the work of [Joshua Ellingson], and digging in, we found an extensive collection of art and ongoing experiments, with synthesizers deforming and driving old black-and-white clips played on vintage television sets, objects jumping from screens into the real world and back, and cathode ray tube oscilloscopes drawing graphics in the air (loud sound!) (nitter). It’s recommended that you check out the short showcase videos we embedded below before you continue reading, because transcribing these visuals into words won’t do them justice.

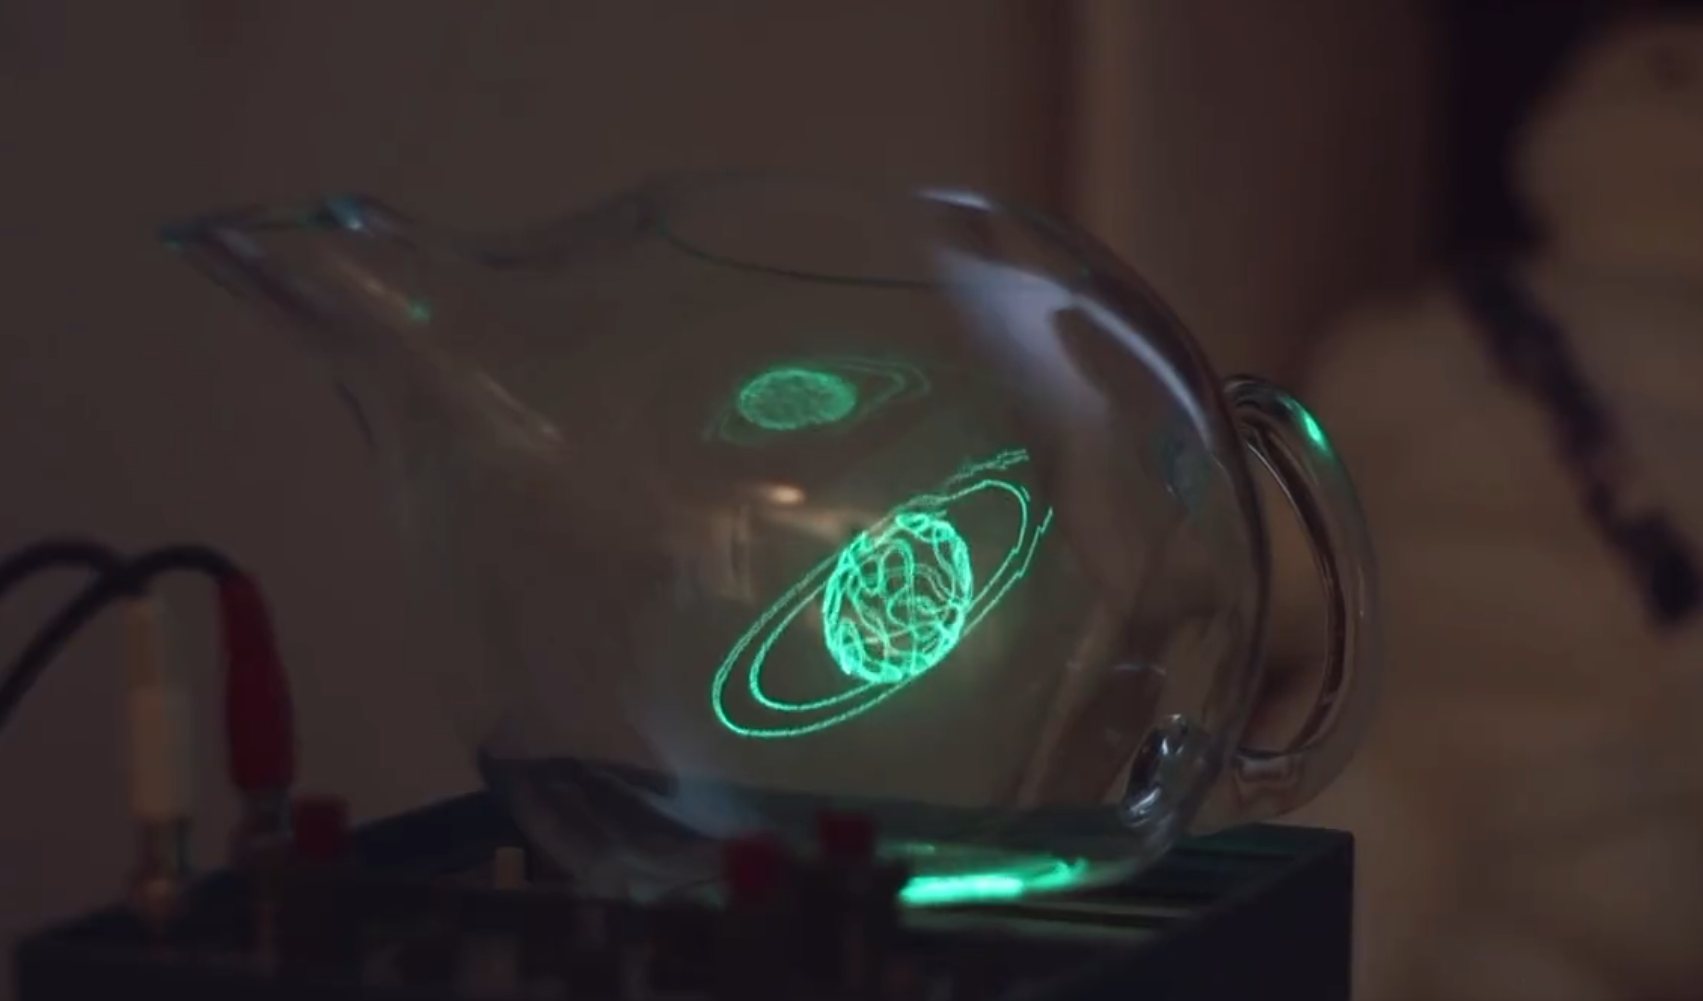
In case you’re not up for a video, however, we shall try transcribing them anyway. Animals, shapes and figures appear in the real world, bound by glass spheres and containers, using the technique known as Pepper’s Ghost. A variety of screens used for creating that illusion – sometimes it’s a tablet, and sometimes it’s an old television set rested upside down on top of a glass aquarium. Vintage television sets are involved quite often in [Ellingson]’s experiments, typically found playing movie scenes and clips from their appropriate eras, or even used as one of the locations that a Pepper’s Ghost-enchanted object could move into — firmly a part of the same imaginary world turned real.

It’s not always that things move from a TV screen into their glass boundary, gaining an extra dimension in the process, but when it happens, the synchronization is impeccable. All of that is backed by — and usually controlled by — Moog synthesizer sounds, knob turns driving video distortions or aspects of an object movement. Not all of his clips have synthesizers, old TVs, or Pepper’s Ghost illusion in them, but every experiment of his contains at least two out of these three, working in unison to create impressions. And as much as the art value is undeniable, [Ellingson] also adds a whole lot of hacker value for us to take away!

[Ellingson] understands what goes into building optical illusions like Pepper’s Ghost — using a variety of different glassware, from Erlenmeyer flasks to teapots, producing a consistent and ongoing stream of new ideas with unique spins on them. His aim is to share and create beyond what his art can achieve, which is why he encourages us to try it out ourselves — with this one minute video of a quick Pepper’s Ghost build, using nothing but a generic tablet, an emptied-out plastic snow globe and a piece of cheap transparency film used for school projectors. If you want to go beyond, he’s made an extensive tutorial on illusions of the kind he does, their simplicities and complexities, and all the different ways you can build one.

We all benefit when an artist finds a technology and starts playing with it, closing the divide between technology and art – and by extension, the divide between technology and nature. Sometimes, it’s flowing light art installations where you are a boulder in route of plankton’s movement, other times, it’s through-hole component-packed printed circuit birds that sing not unlike the non-printed-circuit ones, or manipulation of CRT displays with function generator-driven coils to offset the beam and turn the image into a pattern of lines.

Continue reading “Blending Pepper’s Ghost, Synths, And Vintage TVs” →