[Josh Starnes] had a dream. A dream of a device that could easily and naturally be activated to generate power in an emergency, or just for the heck of it. That device takes in urea, which is present in urine, and uses it to generate a useful electrical charge. [Josh] has, of course, named this device the P Cell.
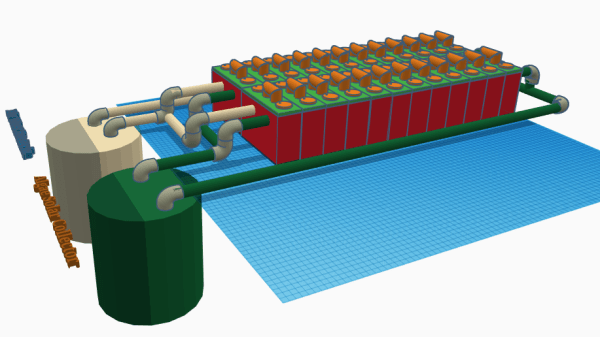
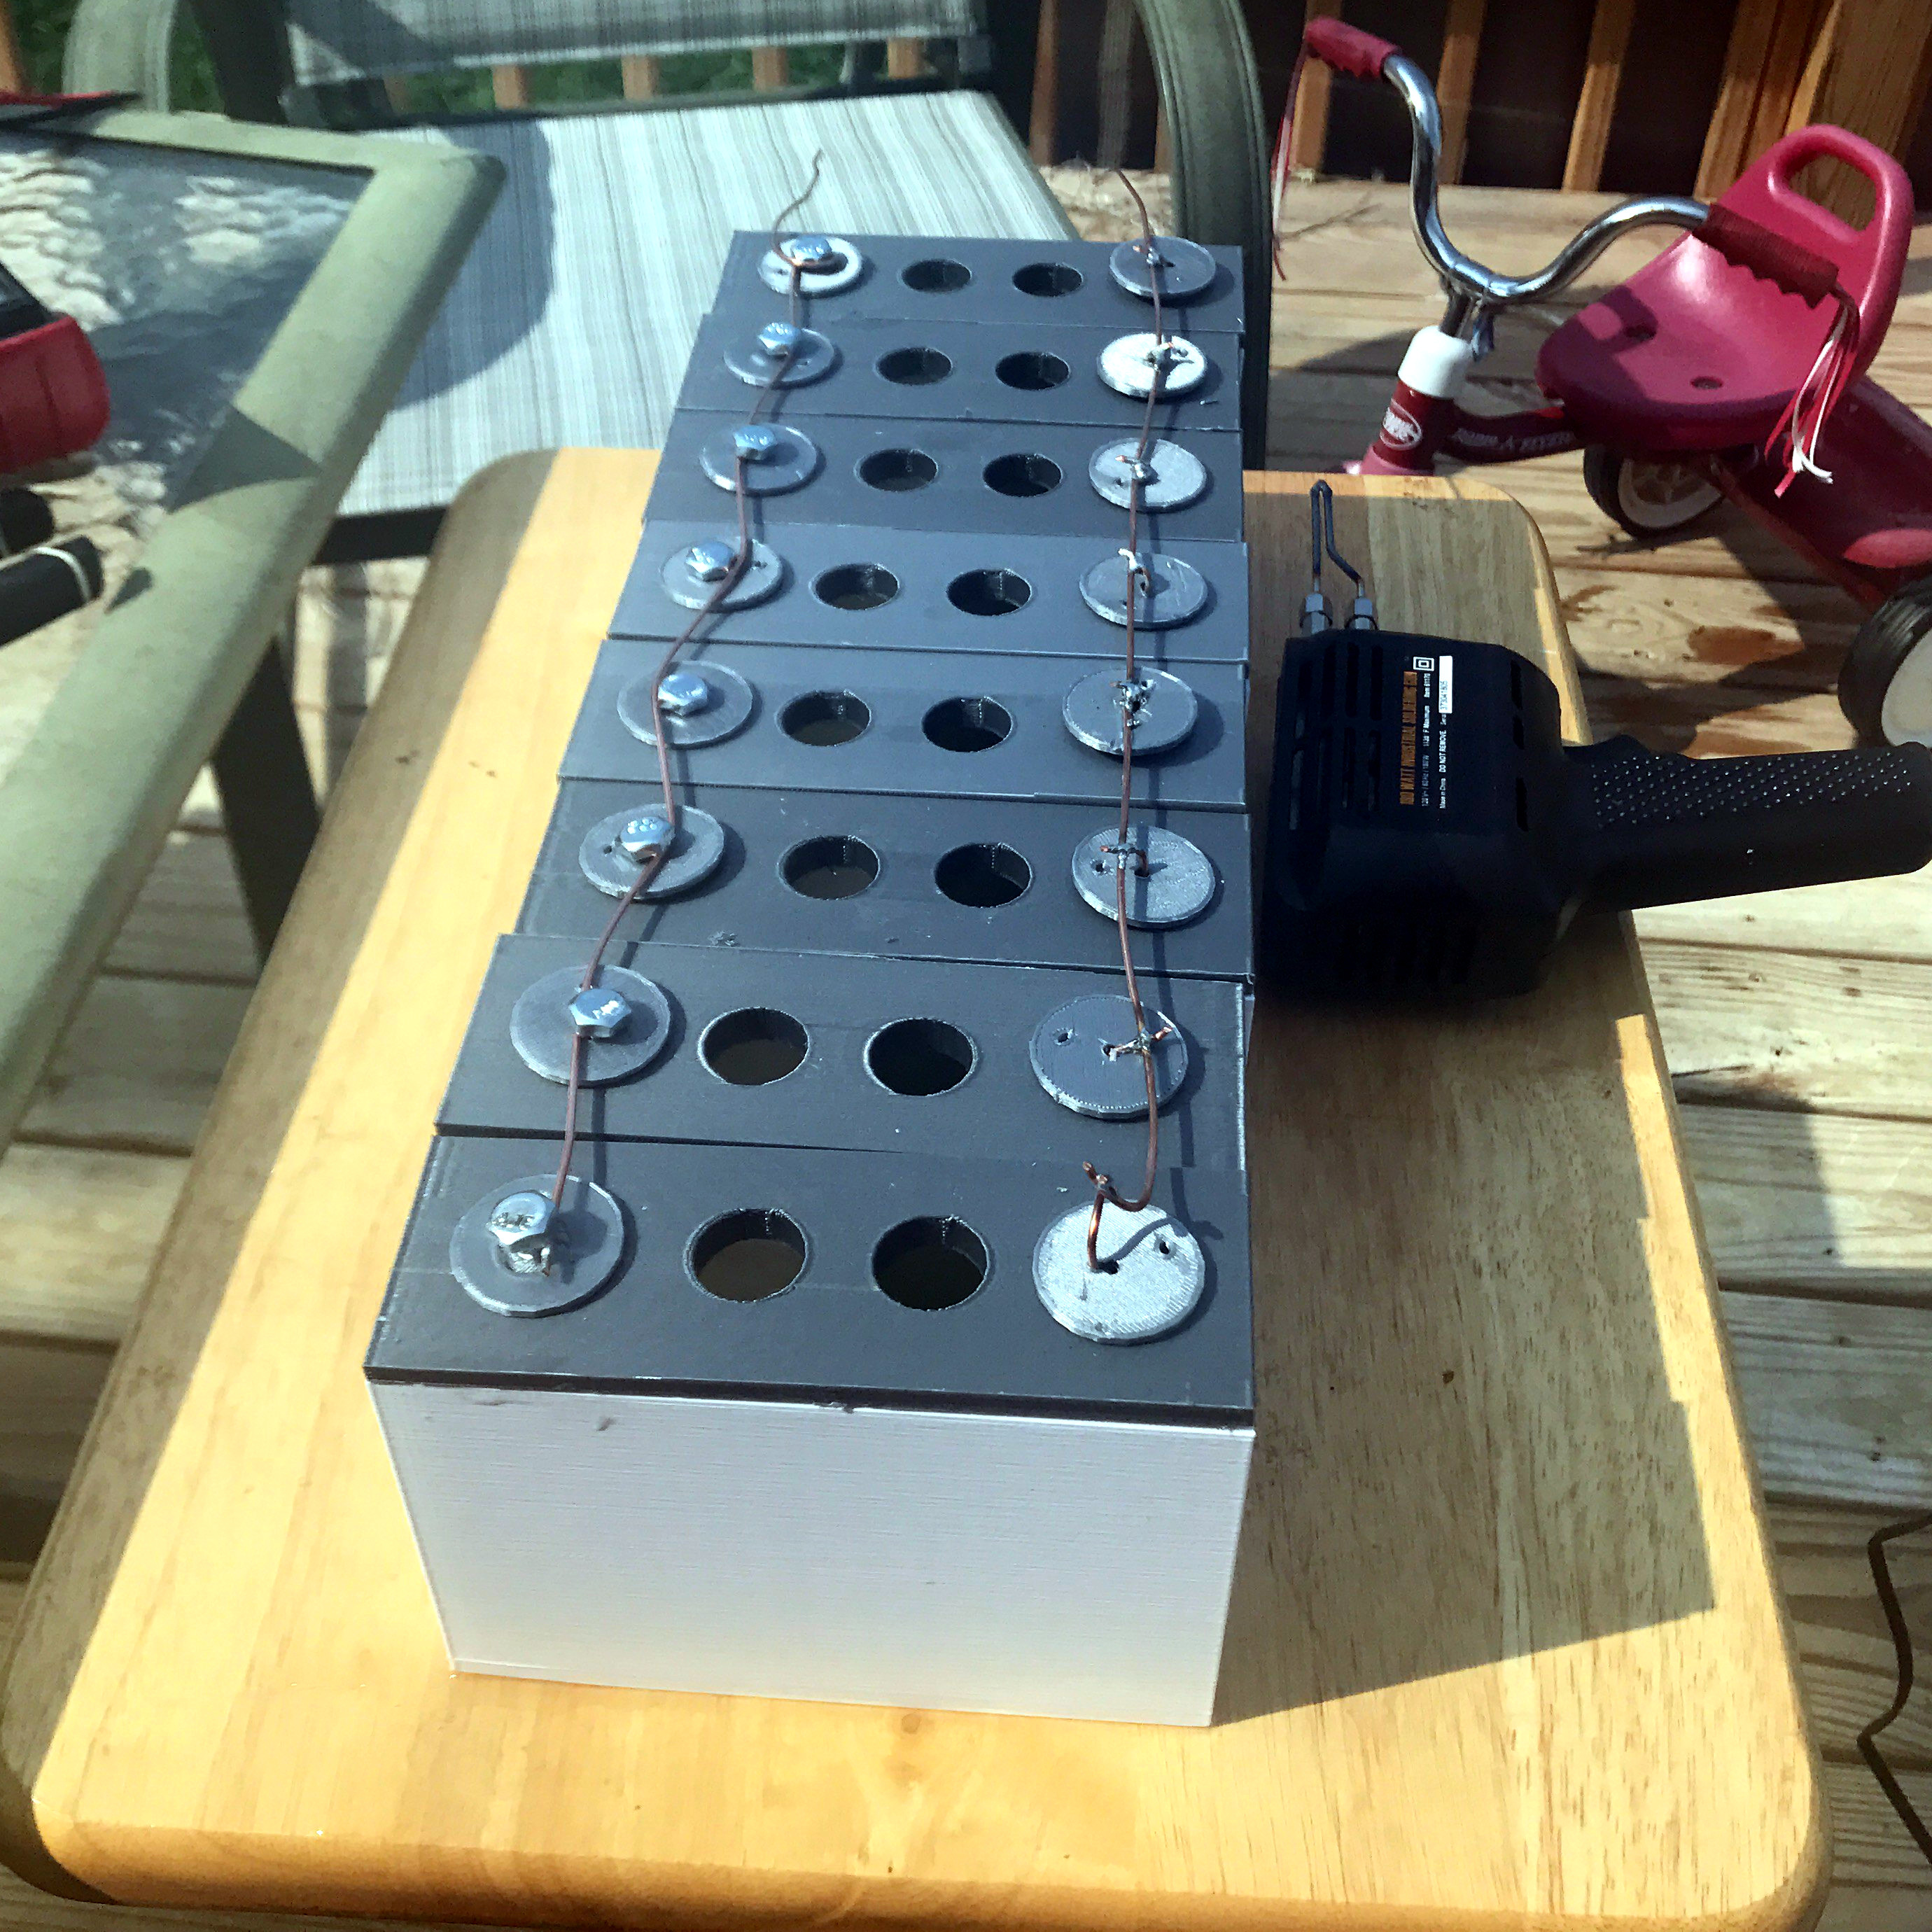
An early proof of concept uses urine to create a basic galvanic cell with zinc and copper electrodes, but [Josh] has other ideas for creating a useful amount of electricity with such a readily-available substance. For example, the urea could be used to feed bacteria or micro algae in a more elegantly organized system. Right now the P Cell isn’t much more than a basic design, but the possibilities are more than just high-minded concepts. After all, [Josh] has already prototyped a Hybrid Microbial Fuel Cell which uses a harmonious arrangement of bacteria and phytoplankton to generate power.
[Josh]’s entries were certainly among some of the more intriguing ones we saw in the Power Harvesting Challenge portion of The Hackaday Prize, and we’re delighted that his ideas will be in the running for the Grand Prize of $50,000.