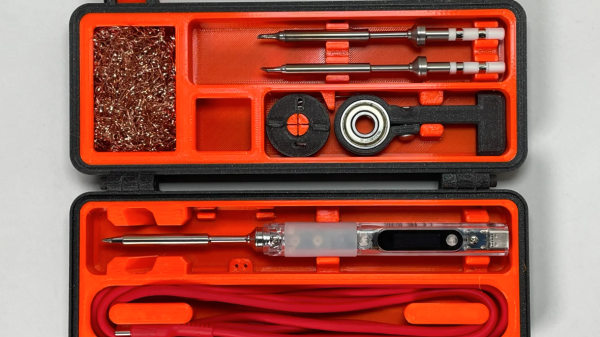
[PjotrStrog]’s rugged Pinecil / TS100 storage case is the perfect printable accessory to go with a hacker’s choice of either the Pine64 Pinecil, or the Miniware TS100 soldering irons. There are some thoughtful features beyond just storing the iron, too!
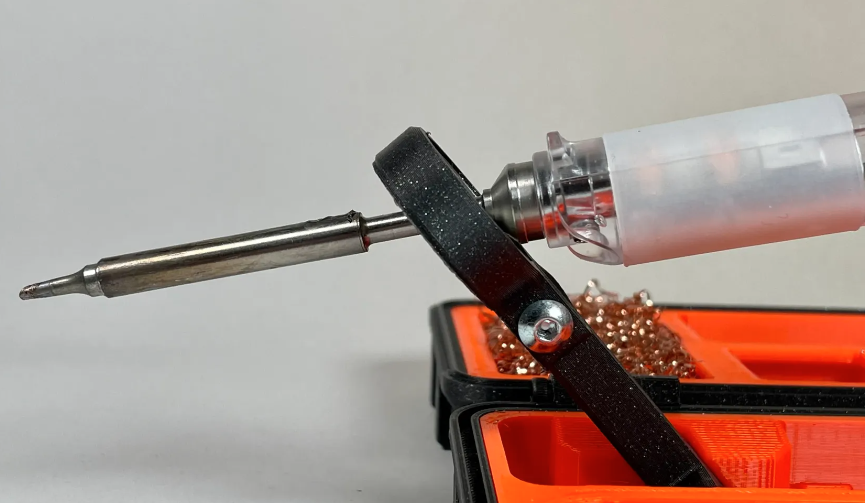
Some of you may have spotted a 608 bearing in the image above, and might be wondering what it is for. In proud hacker tradition of using things for something other than their intended purpose, the bearing makes a heat-resistant stand to hold the iron while in use.
This design has a pretty deep history that illustrates the value of sharing one’s designs and allowing others to remix and refine ideas. [PjotrStrog]’s work makes use of the earlier and highly thoughtful TS100, Pinecil, TS80 & TS80p cases with options by [Termiman], which themselves are based on bearing-equipped TS100 case by [Olvin] that we covered back in 2020.
We loved the Pine64 Pinecil soldering iron, and this looks like a fantastic printable storage and carry option. There are a few pieces of hardware needed to put the rugged version together, but [PjotrStrog] also offers a less rugged design with fewer hardware needs, so check that out as well.