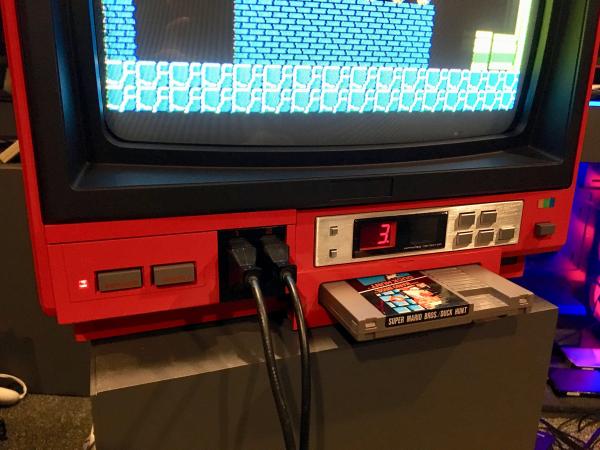
Take it from us, insomnia is no joke. But the wee hours can have a great effect on creativity, and if you’ve got a project in mind, doing that is way better than just sitting around, zoning out to infomercials and wishing for sleep. Over recent nights, [insomniacfactory] has been working on a Sharp C1 Famicon-inspired NES TV, and the result is simply fabulous.
 The Sharp C1 Famicom was CRT television with a Famicom (precursor to the NES) built in. It allegedly had better picture quality than either a Famicom or NES with a separate television, and this was because it had direct internal display connection. The picture quality was so good that video game magazines at the time used it for screenshots.
Starting with a couple of TVs and a plan, [insomniacfactory] got to work, using the guts from a newer donor TV and a 1985 NES main board with the region-free mod and the RF module removed.
[insomniacfactory] also added also added a wiring harness and a side loader connector from a broken Game Genie to the NES main board. After some careful Dremeling out of the 1981 AKAI TV, they had room for the clone console’s cartridge slot and controller plugs.
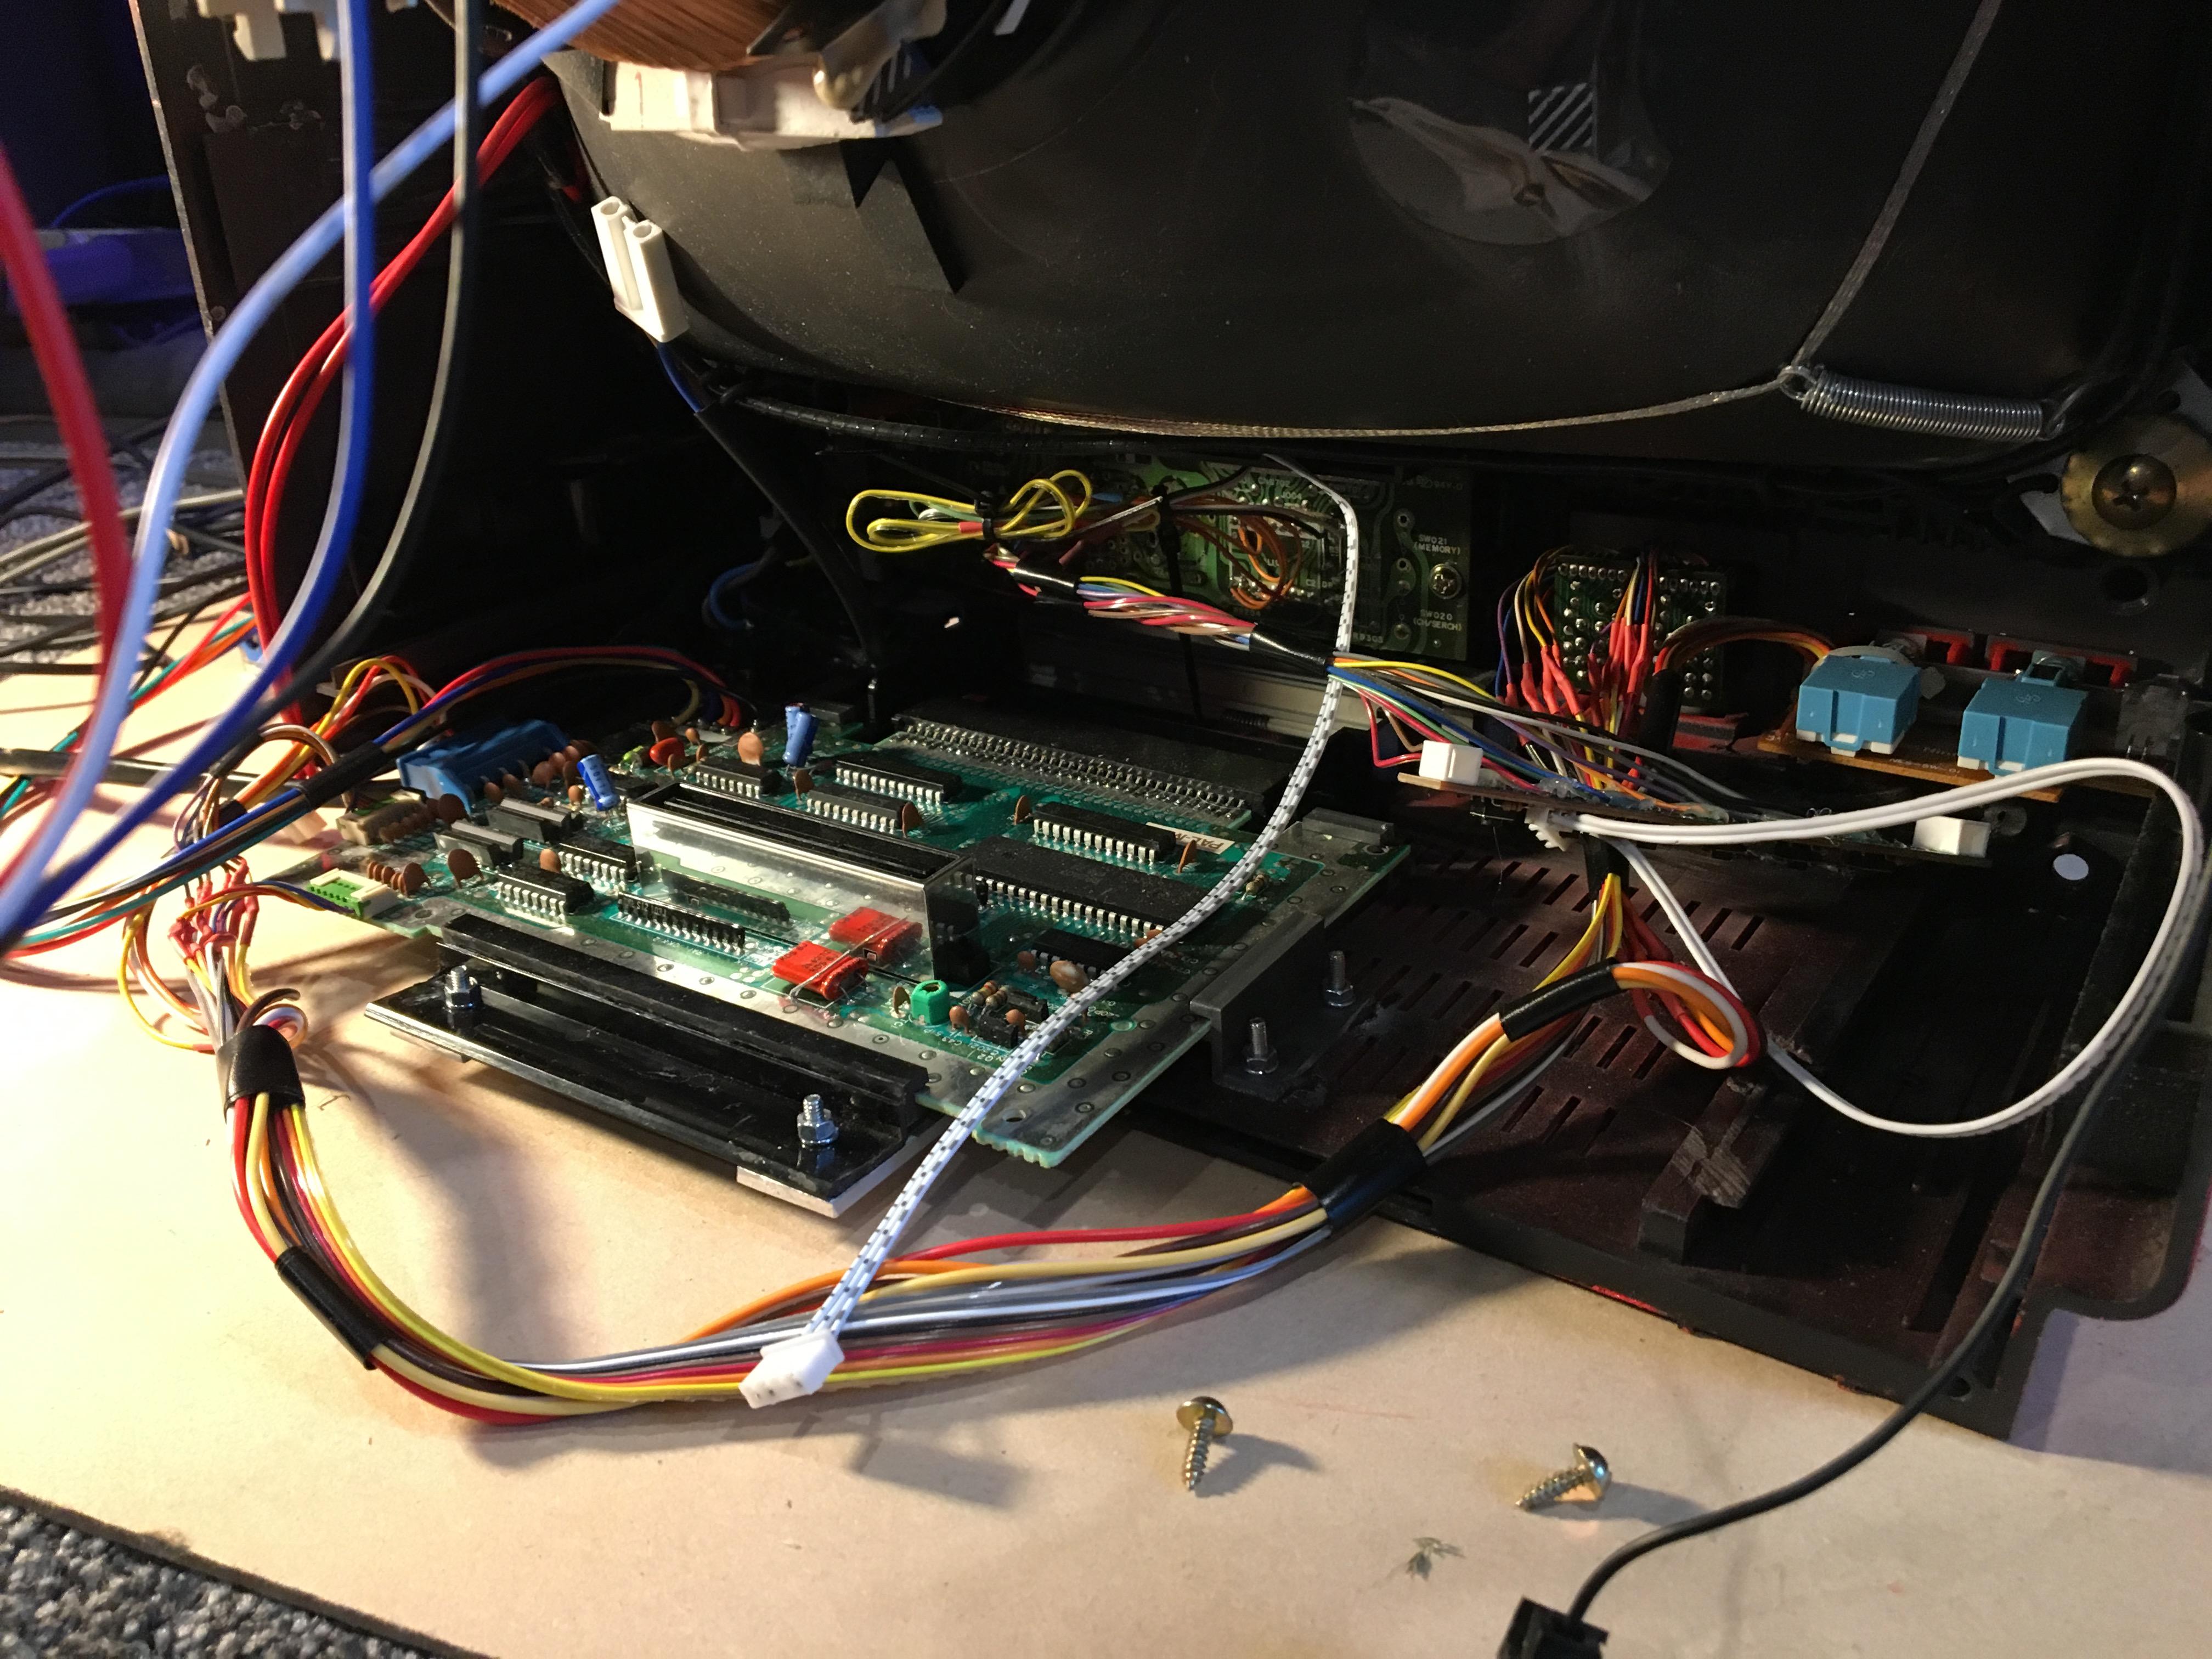
This project took a lot of careful and fiddly work, especially since the boards are all bracketed in place and easy to remove. But it totally looks like it was worth it, and now [insomniacfactory] can retro game all night for a while before starting the next insomnia-driven project.
Are you in the mood for more iconic NES? Take a guided tour.