On the face of it, making a clock that displays the time by moving a pointer along a linear scale shouldn’t be too hard. After all, steppers and linear drives should do the job in a jiffy. Throw an Arduino in and Bob’s your uncle, right?
Wrong. At least that’s not the way [Leo Fernekes] decided to build this unique ratcheting linear clock, a brilliant decision that made the project anything but run-of-the-mill. The idea has been kicking around in [Leo]’s head for years, and there it stayed until inspiration came in the unlikely form of [This Old Tony], one of our favorite YouTube machinists. [Old Tony] did a video on the simple genius of latching mechanisms, like the ones in retractable pens, and that served as an “A-ha!” moment for [Leo]. For a ratchet, he used a strip of bandsaw blade oriented so the teeth point upward. A complex bit of spring steel, bent to engage with the blade’s teeth, forms a pawl to keep the pointer moving upward until it reaches the top.
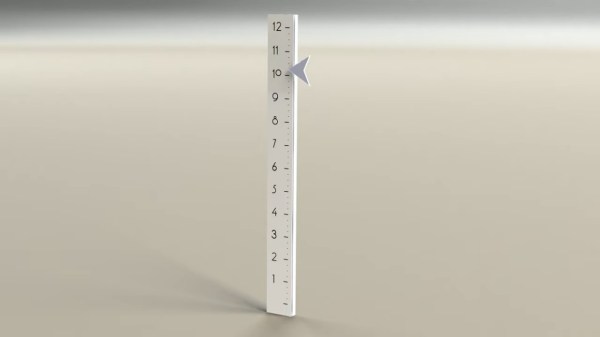
[Leo] decided early on that this would be an impulse clock, like the type used in schools and factories. He used a servo to jog a strip of tape upward once each minute; the tape is engaged by jaws that drag the pointer along with it, moving the pawl up the ratchet by one tooth and lifting the pointer one minute closer to the top. The pointer releases at the top and falls back to start the cycle over; to arrest its freefall, [Leo] had the genius idea of attaching magnets and using eddy currents induced in the aluminum frame for the job. Finished off with a 3D-printed Art Deco scale, the clock is a unique timepiece that’s anything but boring.
We really appreciate [Leo]’s unique and creative take on projects, and his range. Check out his everlasting continuity tester and his phage-like sentry gun for some neat build details.