There is always something interesting to find when browsing the projects on Hackaday.io. I’m always amazed at how much hackers can get done in their basements and home labs. One surprising trend I’ve found is the sheer number of spectrometer projects people across the globe are working on. I’ve always known what a spectrometer is, but I never knew so many hackers would want them. The numbers don’t lie though – plenty of hackers around the world want to measure the spectra of light — be it to test out a new LED, or determine the structure of an object. This week we’re checking out some of the best spectrometer projects on Hackaday.io!
 We start with [fl@C@] and ramanPi – Raman Spectrometer. RamanPi is one of the first spectrometer projects on Hackaday.io. [fl@C@] entered his project in the 2014 Hackaday Prize, and was one of 5 finalists. As the name implies, ramanPi is a raman spectrometer, a type often used in chemistry. [fl@C@’s] original use for the machine was determining atomic bond angles. RamanPi uses 3D printed parts created with standard desktop printers wherever possible. A Raspberry Pi runs the system, originally a model B, though now I’m sure a Pi 3 would fit the bill. The detector is a Toshiba linear CCD.
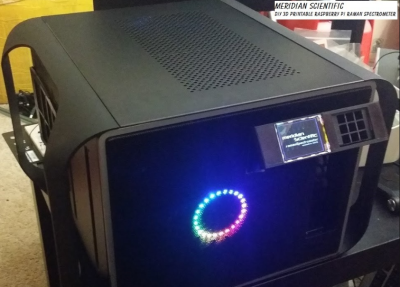
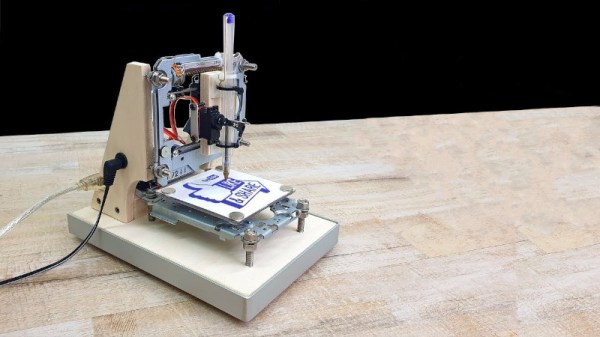
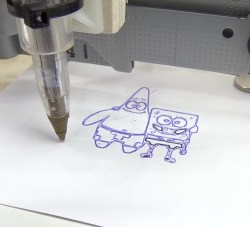
 Next up is [David H Haffner Sr] with DH 4.0 Spectrometer V 4 ( upgrade 2 ). [David’s] project doesn’t give a lot of background in the description text – he dives right in to the technical details of designing and building a spectrometer. His sensor is a JDEPC-OV04, which is a webcam module intended for use in laptops. Much of [David’s] recent work has been on the optical path. Optical spectrometers can use a diffraction grating and a slit to split light into spectra. [David] is using a recordable DVD as his diffraction grating. The slit is a bit more home-made. Two Gillette razor blades and an acetate strip are used to form an optical slit only 0.11 mm wide. [David] has already used his spectrometer to analyze crude oil.
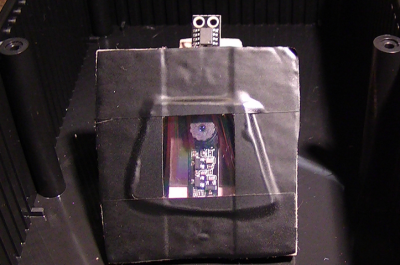
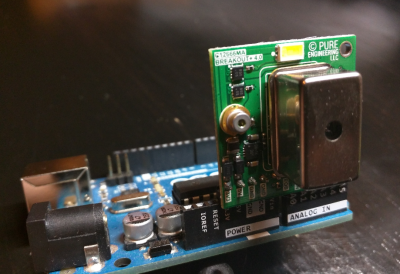 Next we have [Pure Engineering] with C12666MA Micro-Spectrometer. Electro-Optics manufacturer Hamamatsu has created an optical spectrometer in a fingertip sized can. Their C12666MA micro-spectrometer sounds like it must be magic — and it is. The magic of Microelectromechanical systems (MEMS) have brought this device to life. Bringing one of these devices up isn’t exactly an easy task though. [Pure Engineering] has designed a breakout board for the C12666MA. They’ve even included a 404nm laser diode and a white LED for illumination. The board can plug into a standard Arduino header.
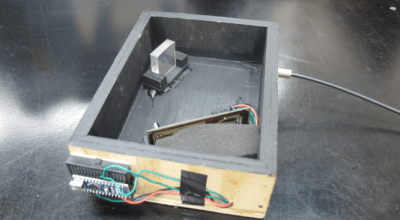 Finally, we have [Adam] with Handheld VNIR Spectrometer. VNIR in this case stands for visible and near-infrared. [Adam] created this device so he could learn how spectrometers worked. That’s a noble purpose if I ever heard one. He is building his system to be portable, so he can take measurements outside the lab. The sensor is a Sony ILX511B linear CCD. An Arduino nano reads the CCD and passes the data on to a PC for analysis. [Adam’s] diffraction grating is a concave holographic affair from Public Lab. [Adam] is also using an acetate slit purchased from Public Lab. Illumination enters via a fiber optic bundle.
If you want to see more spectrometer projects, check out our new spectrometer projects list. See a project I might have missed? Don’t be shy, just drop me a message on Hackaday.io. That’s it for this week’s Hacklet, As always, see you next week. Same hack time, same hack channel, bringing you the best of Hackaday.io!
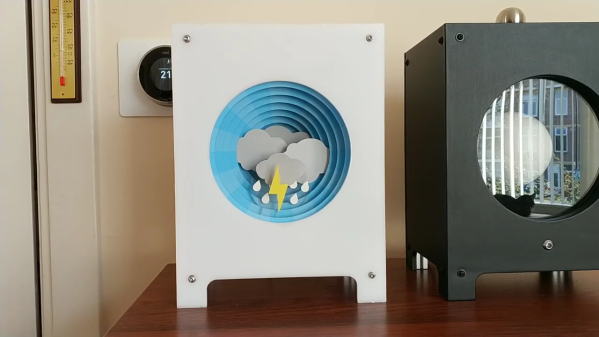
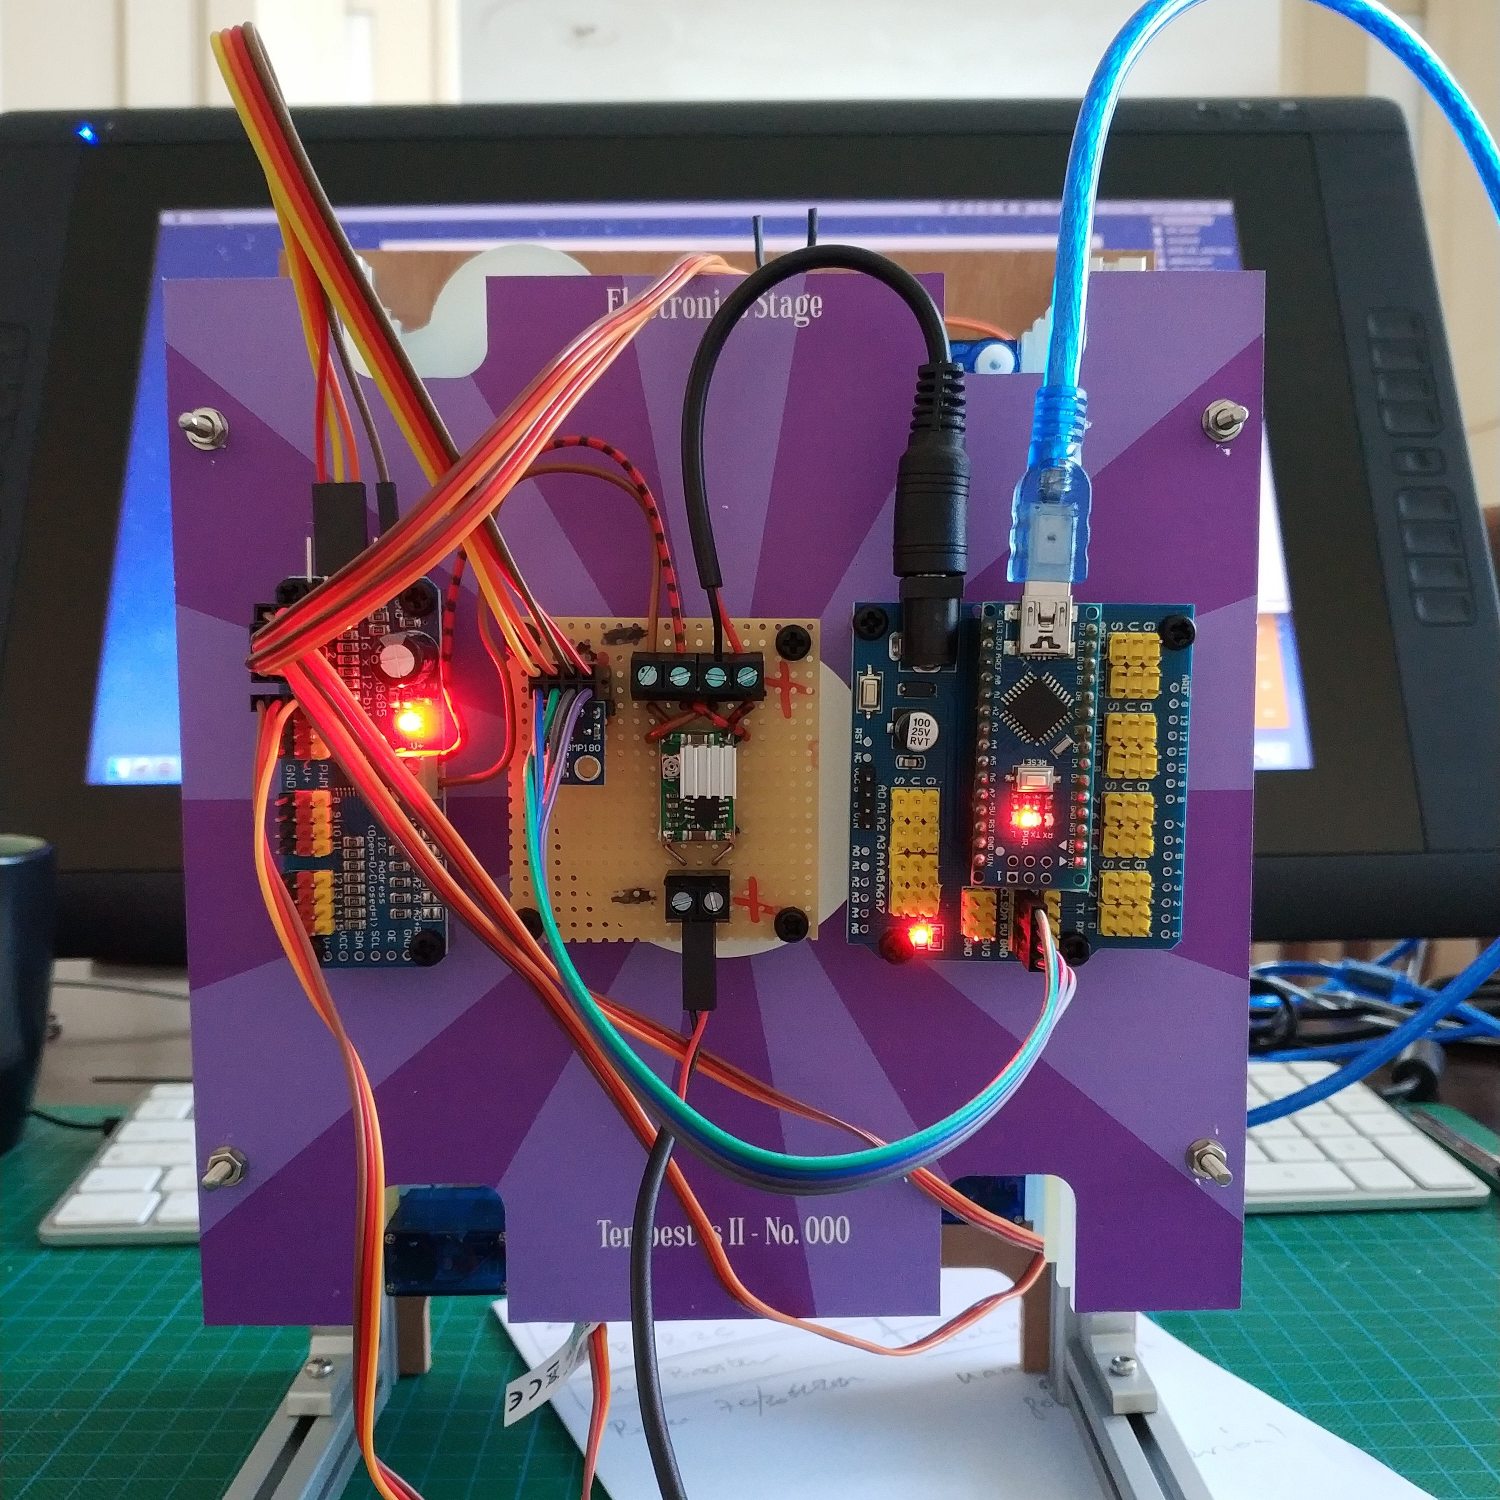 [SephenDeVos]’ beautiful barometer, dubbed Tempestas II, demands nothing of the viewer, but will likely command attention anyway because it looks so cool. If the weather is anything but clear and sunny, the appropriate sun-obscuring weather actor, be it clouds, more clouds, rain, or lightning will swing into place, blocking out the blue sky in layers, just like real life.
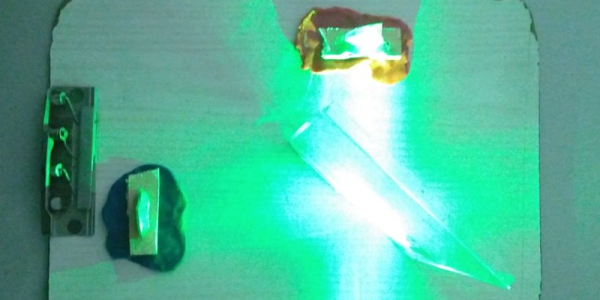

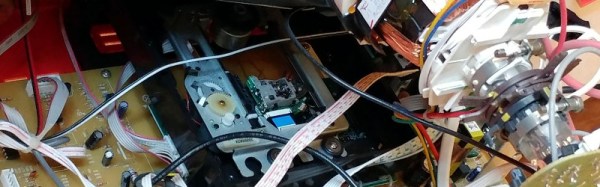
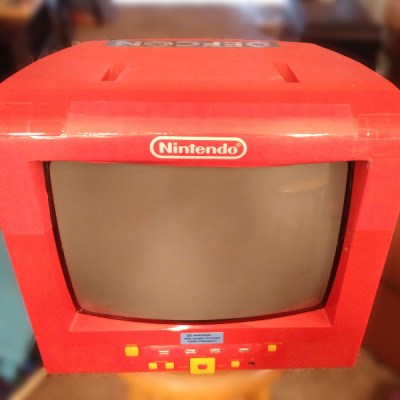 This is however not merely a Pi stuffed inside the rear casing with a few holes for cables, instead he took away the substantial part of the DVD mechanism and mounted his Pi safely in a plastic box. Some USB extension cables bring all four USB sockets to the front panel through the DVD slot with a bit of Sugru to hold them in place. An HDMI panel-mount extension goes to the TV’s rear connector panel, as does a power switch for the Pi which is wired to a USB charger mounted on a trailing mains socket inside the case. The composite video from the Pi is wired to the TV’s AV in video socket.


